My first guitar build
I haven’t been very active on this blog recently. My work has been sporadically documented across different work logs/lab logs specific to various projects. This time though it’s going to be perfect to showcase something I’ve been working on for quite a while. In this post I’ll do a medium-length writeup of the build. I also plan to write another, separate post that might be interesting for people considering their own guitar build. As such, I’ll leave out the technical details and will mostly focus on the timeline and the results.
Idea
Being an avid guitar player, the idea of building an instrument has of course crossed my mind multiple times over the years. It’s been only semi-recently when I got more into woodworking, and built a shop where I could reasonably start thinking about making it a reality. The pieces for it have been gathering semi-accidentally over the years; I had some offcuts from my friend’s guitar enterprise, had a block of mystery wood that I got when buying in bulk, and the aforementioned bulk - a large ash slab that would be enough for at least five instruments. The final push was an offer to buy a set of top quality pickups for a good price. At this point, I decided it’s time to give it a shot.
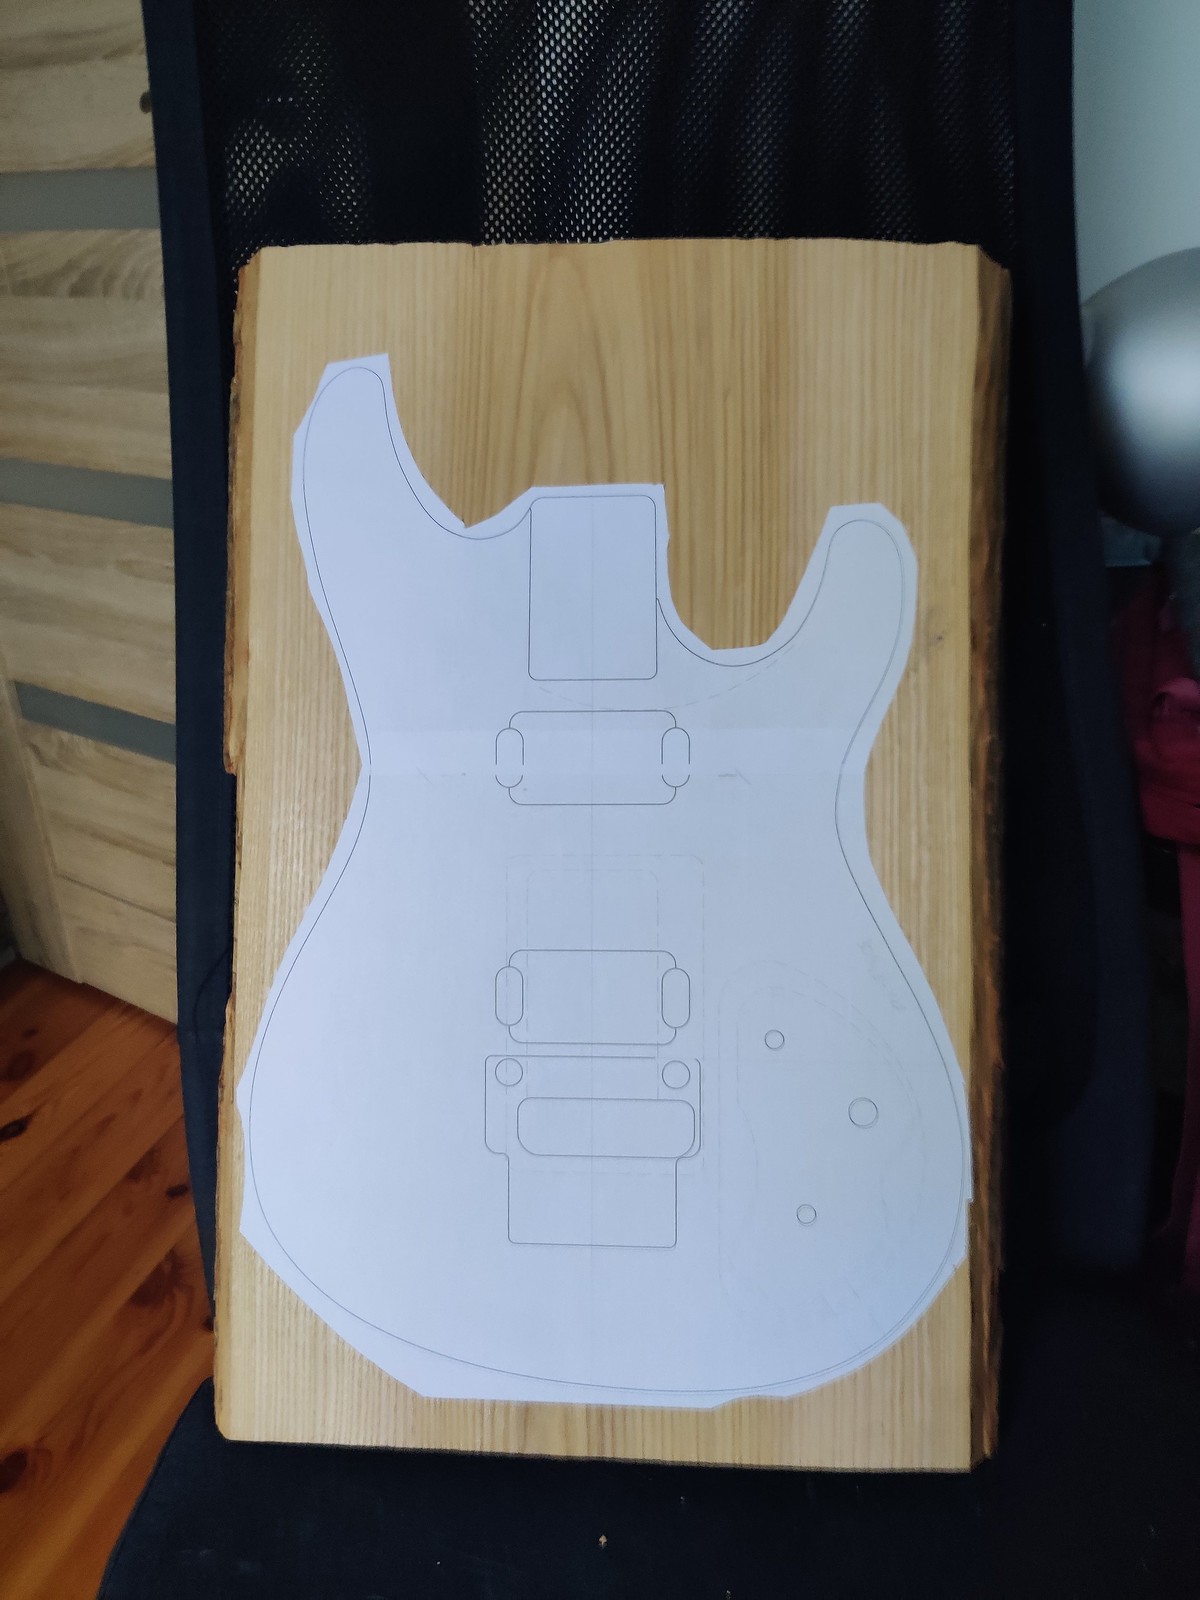
I like challenges, so I couldn’t just go about it the easiest way possible. Thanks to the amazing Tchiks Guitars ADDLINK channel on YouTube, I already knew that the right decision would be to build a Telecaster copy. In fact the pickups I had were exactly for a tele, so that would have been an obvious choice. I really don’t like the tele body shape, though, not just because of poor ergonomics, but overall slab crudeness. While browsing guitar templates online, I found a template for a JSX - Ibanez Joe Satriani signature model. The new ones particularly struck a chord with me for featuring an uncovered single-sized pickup in the neck position, directly body-mounted.1
That body mount location seemed like a great fit for the tele pickup2, but the JSX had some more aces up its sleeve. Joe swears by the traditional neck plate (which sounded easier to do), and also the headstock on it is actually flat, not tilted like you’d expect from a quality guitar. I believe this is the reason of him playing on such built instruments forever, and never taking to the newer developments. I liked the body shape3, had plans, so that was an easy choice.
The other challenge I set for myself was to try and not to buy any wood specifically for this project. This meant I couldn’t go the easy way of buying a pre-slotted fretboard, and would actually have to measure the fret distances myself. I already had the pickups, so I made an order for all the parts.
Build timeline
Having all parts in hand made me confident that whatever I build will actually fit those parts, so it was time to get to work. I was just getting done with the saddle hangers for my SO’s place and my workshop was cleaning up.
2022-11-13
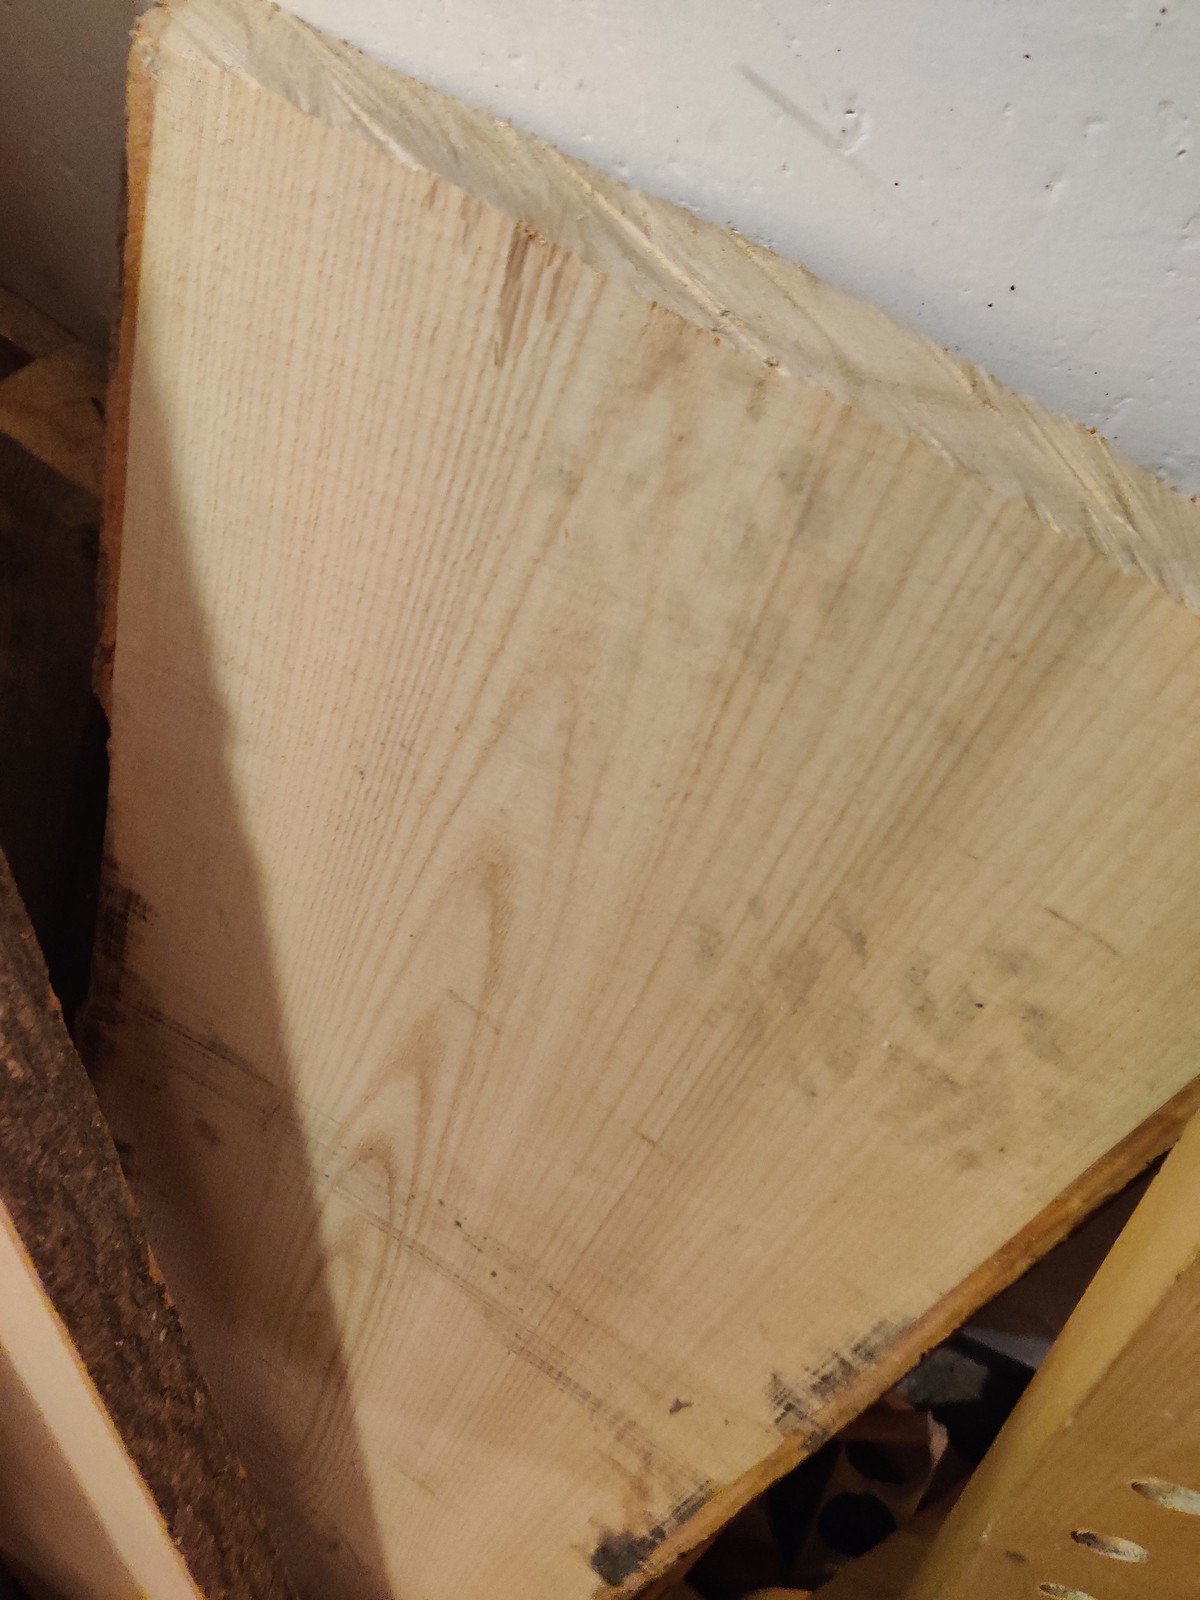
Planed the mystery wood slab and measured up all wood.

2022-11-24
Decided to install a vise at my desk because I felt I was going to need it.
2022-12-17
Borrowed the A3-format printer at work to get nice template printouts.
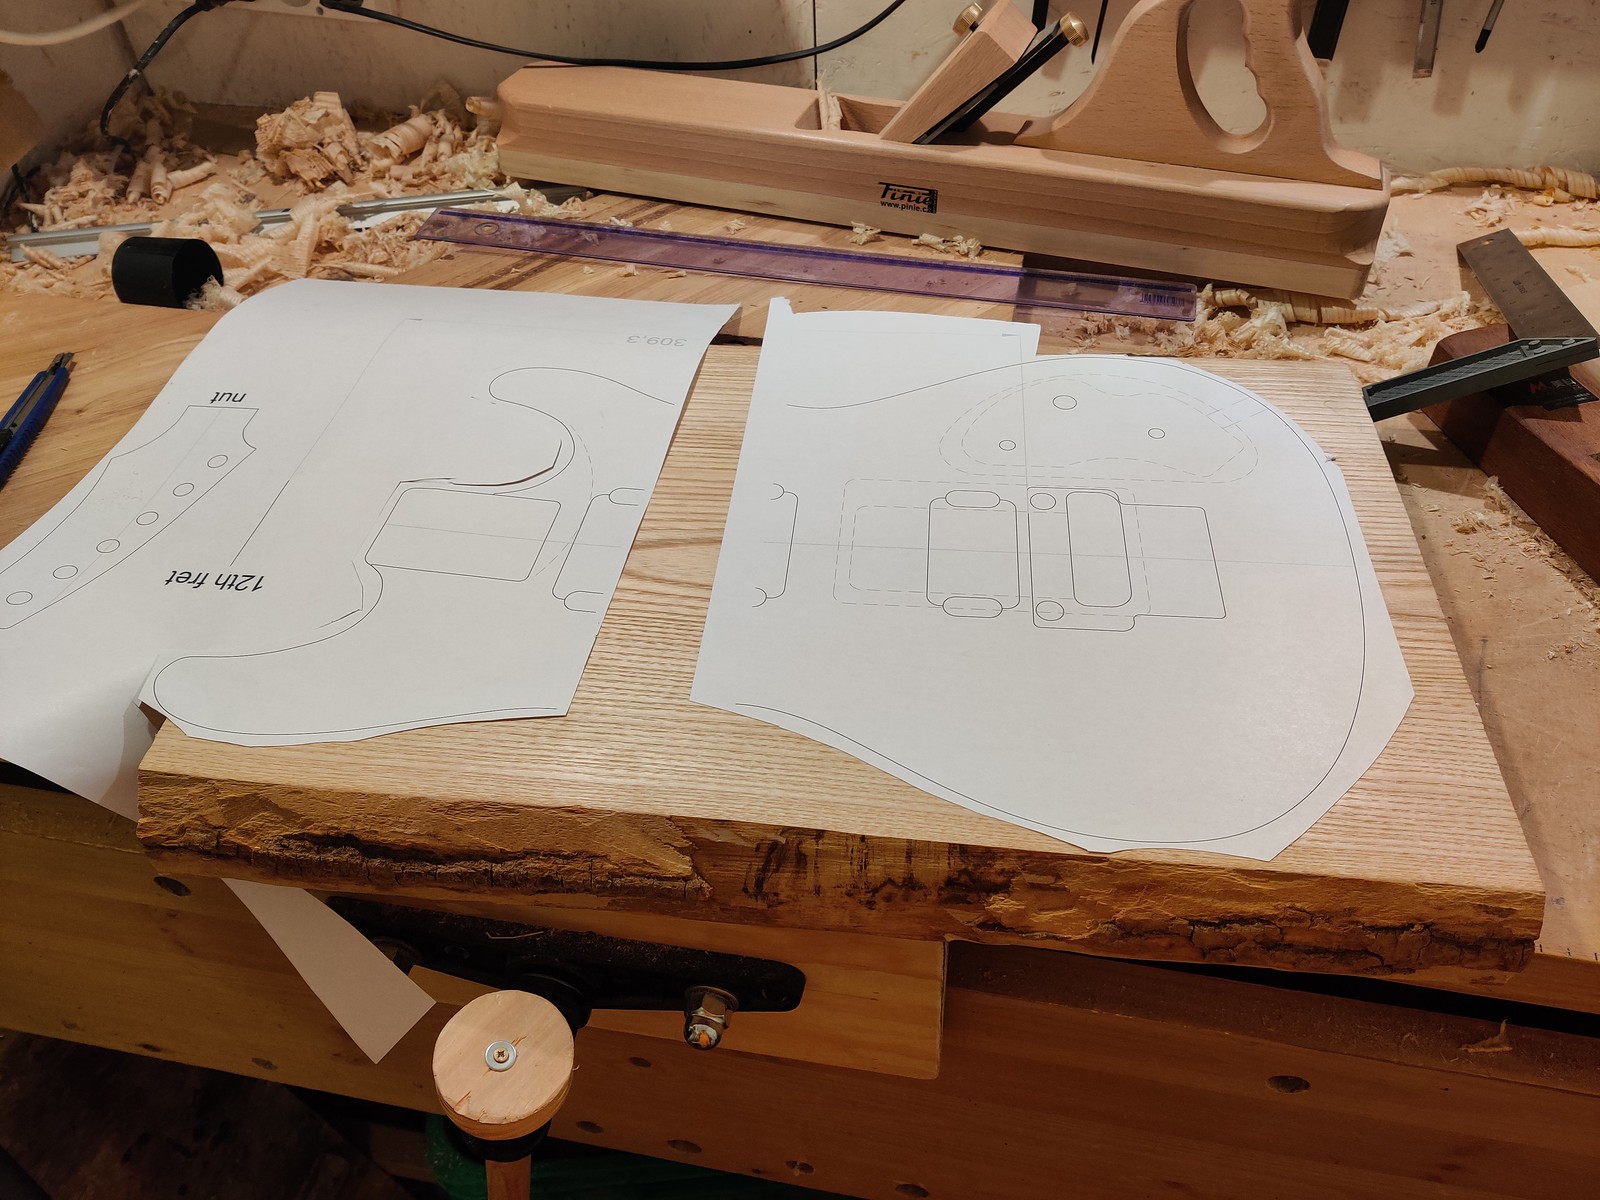
I was pondering on “properly” bookmatching the slab, but figured it’s one less problematic edge to joint. My slab was also barely wide enough for the entire body, so I decided to go for it and see what happens. Worst case I could always make another body.
2022-12-19
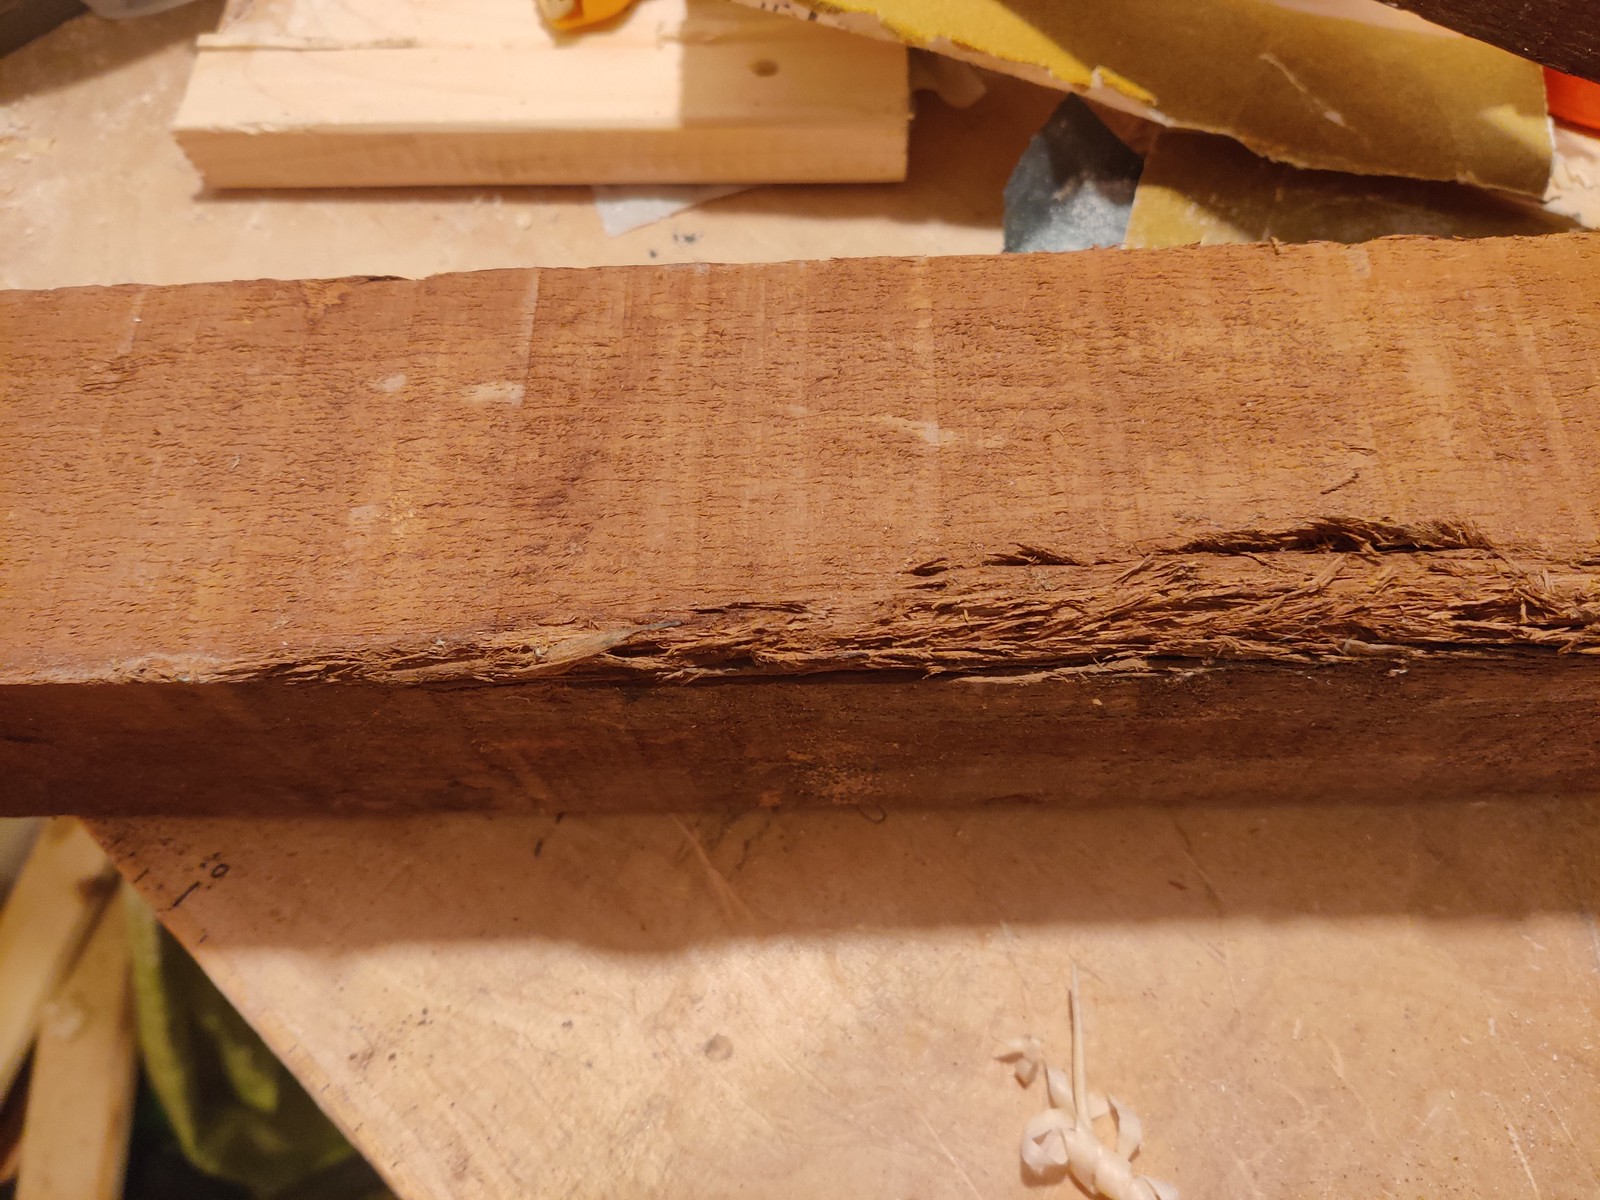
I cut the shape out roughtly mostly with the fast, rough hardpoint saw. I tried to use the coping saw on the curves, but a 50mm-thick ash slab is a really demanding piece for a saw, and after a couple broken blades i just roughly removed material then proceeded to chisel the sides out. This was initially going well, but overall turned to be quite a lot of work.
2023-01-03
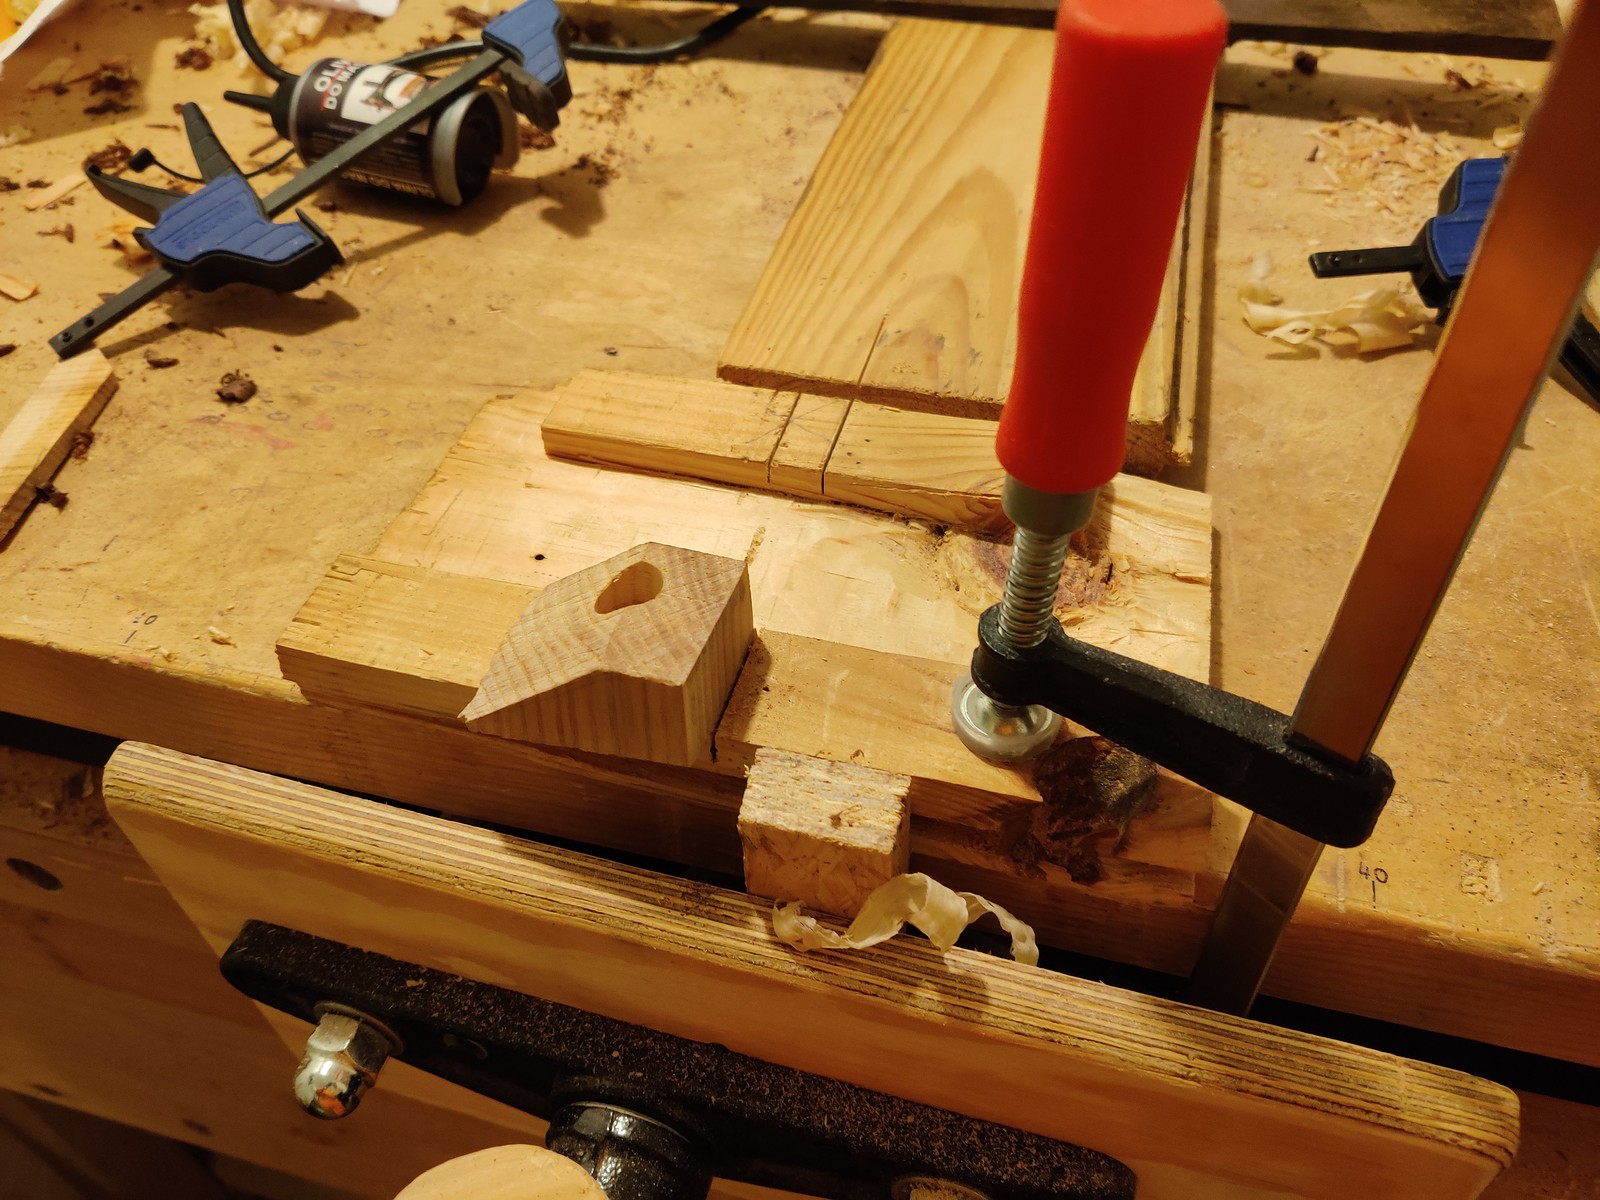
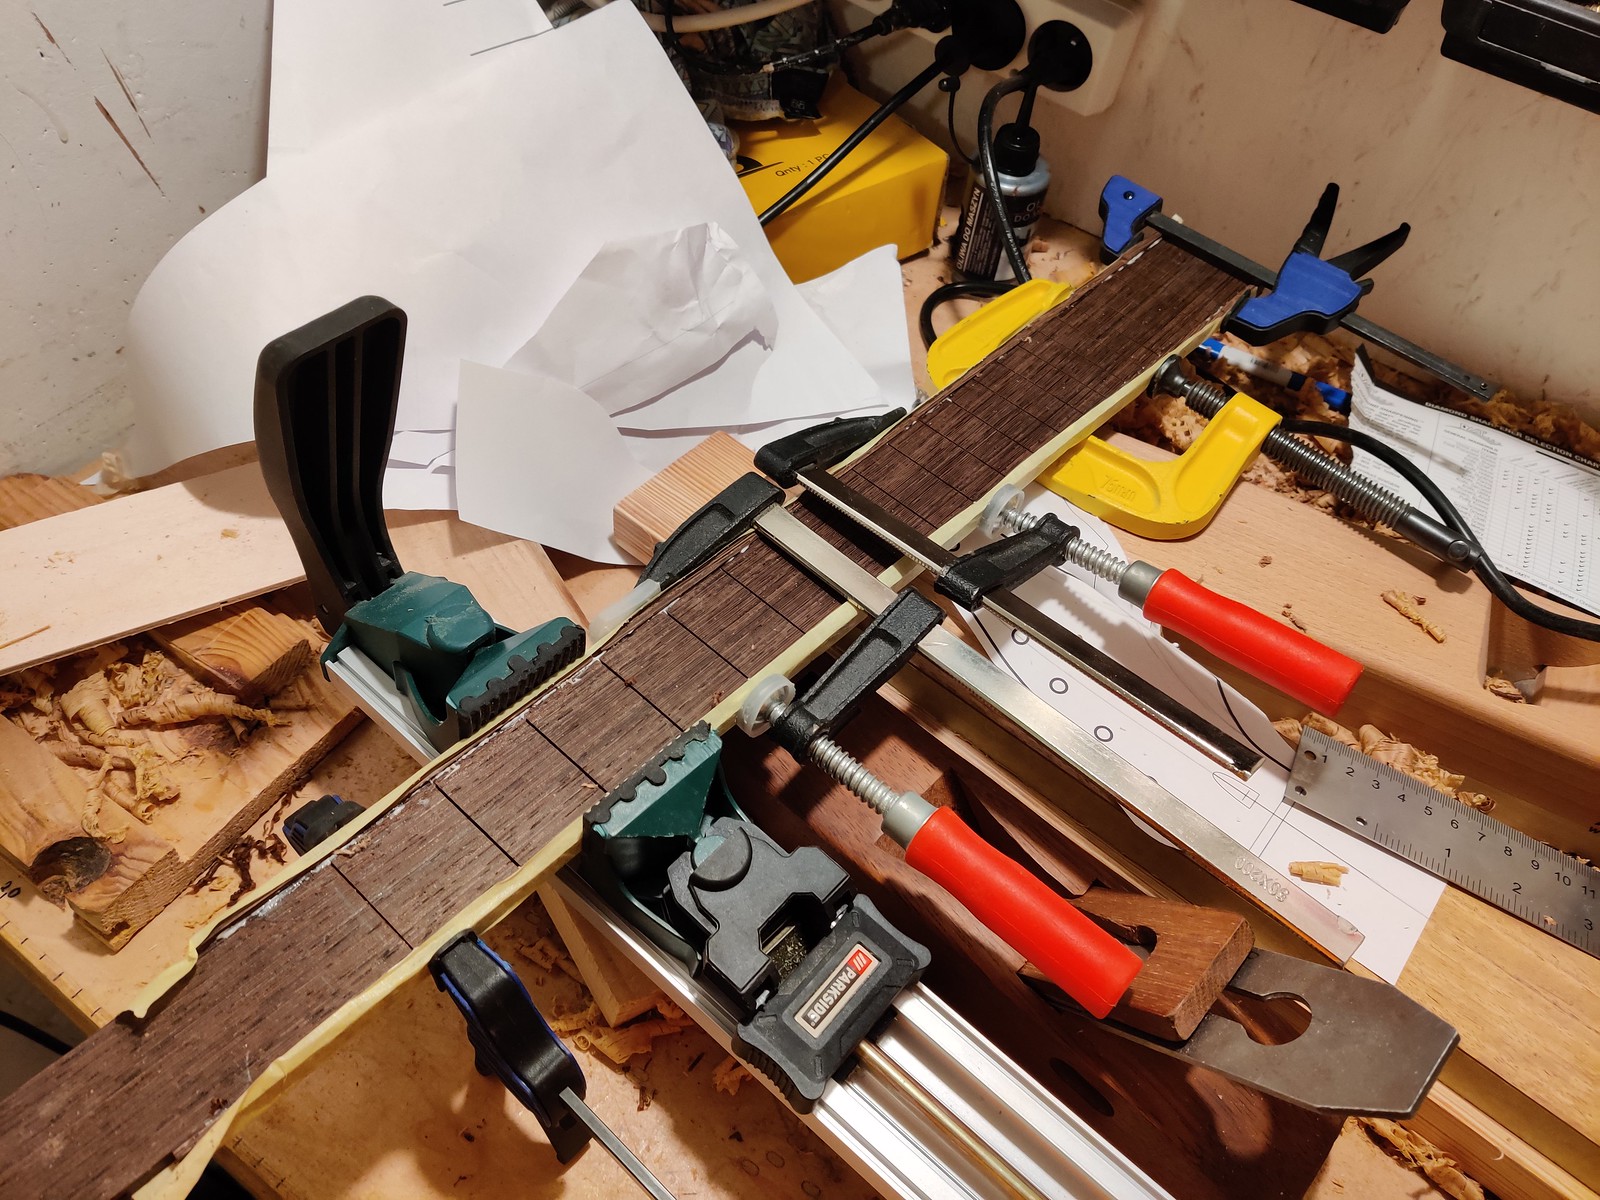
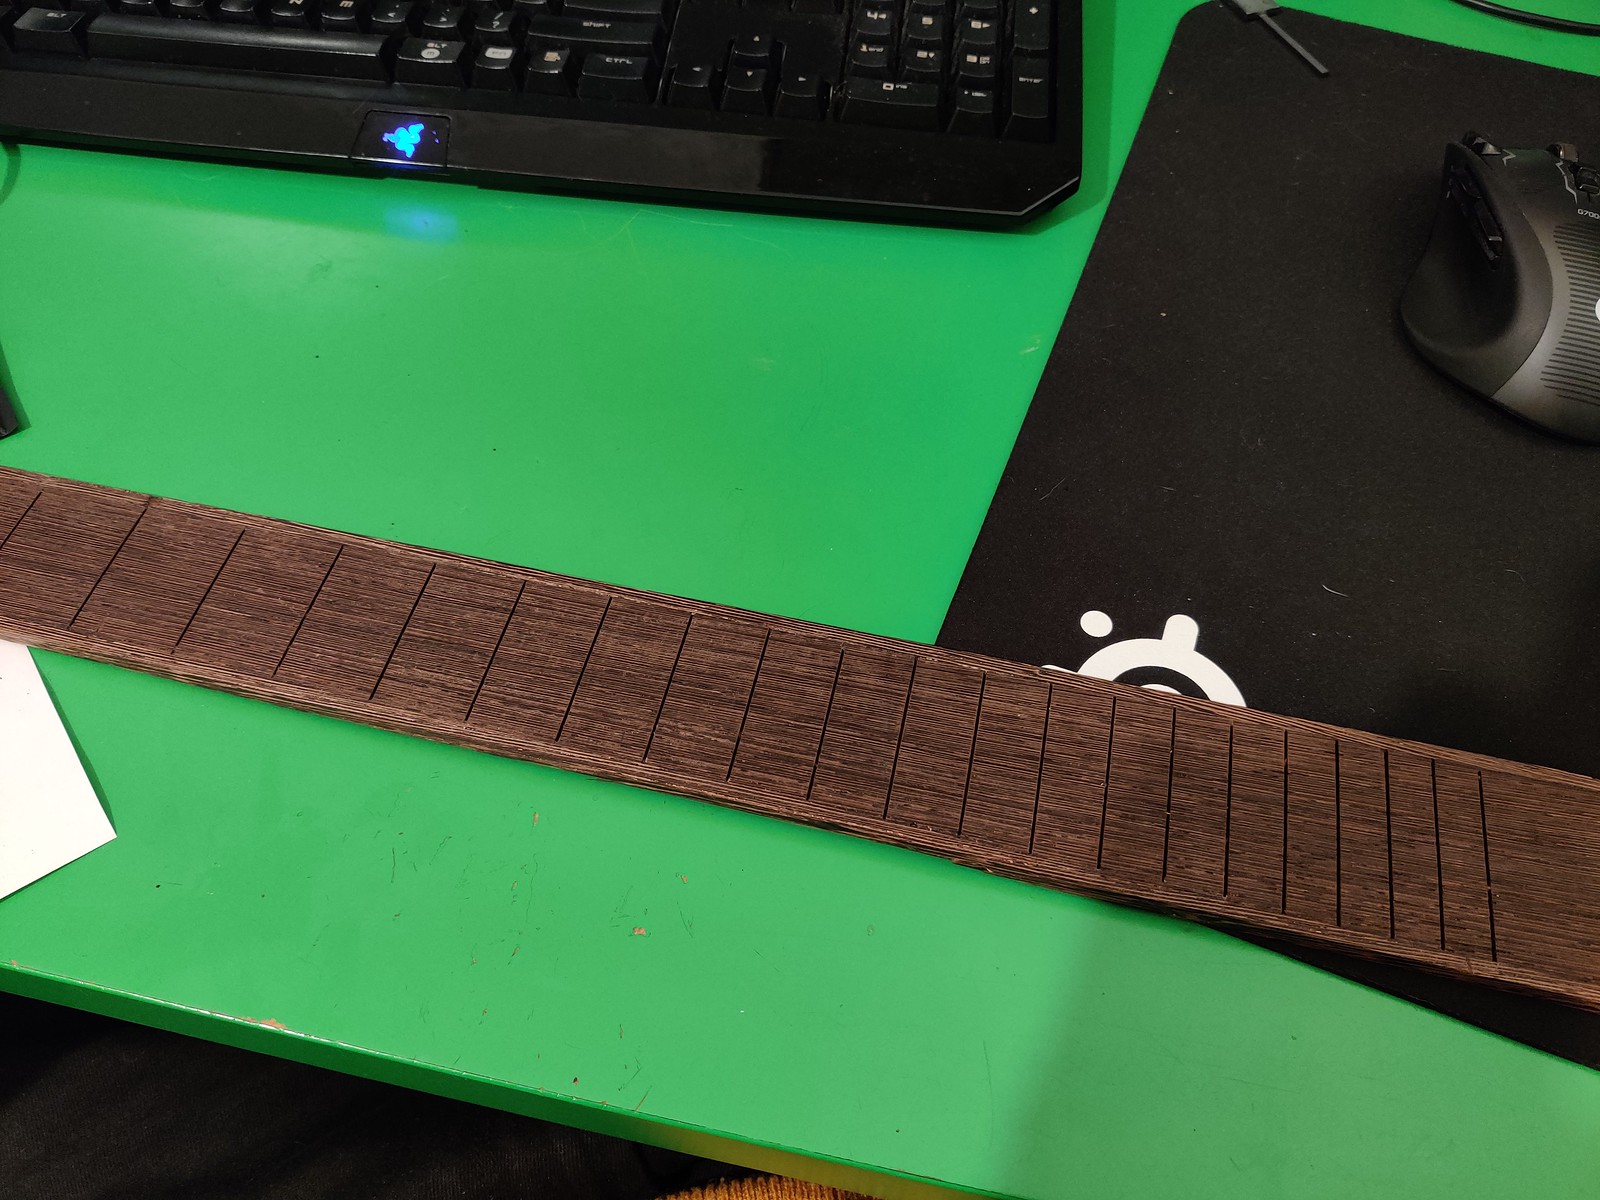
Christmas and New Year’s Eve passed and I was back at work. To cut the fret slots, I built probably the roughest miter box on the planet:
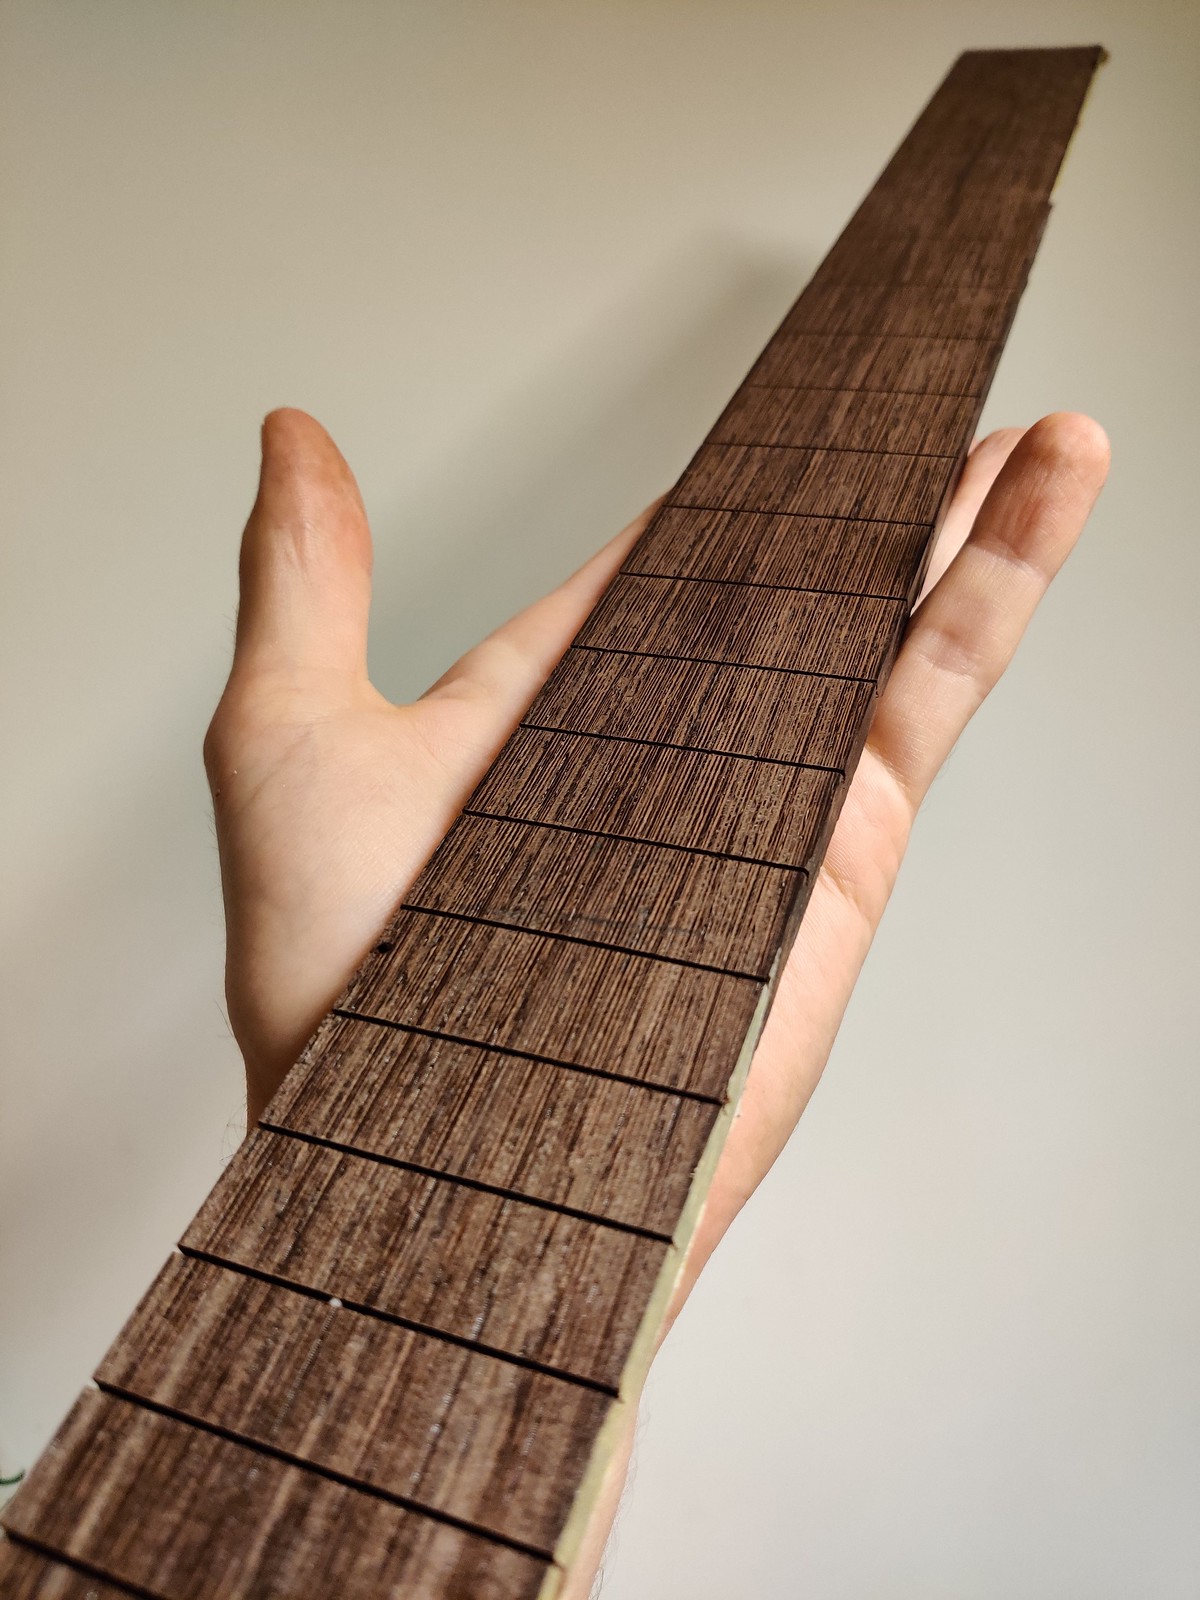
What was important was that it worked and produced the slots i wanted. I’ve glued the neck template on the fretboard blank4:
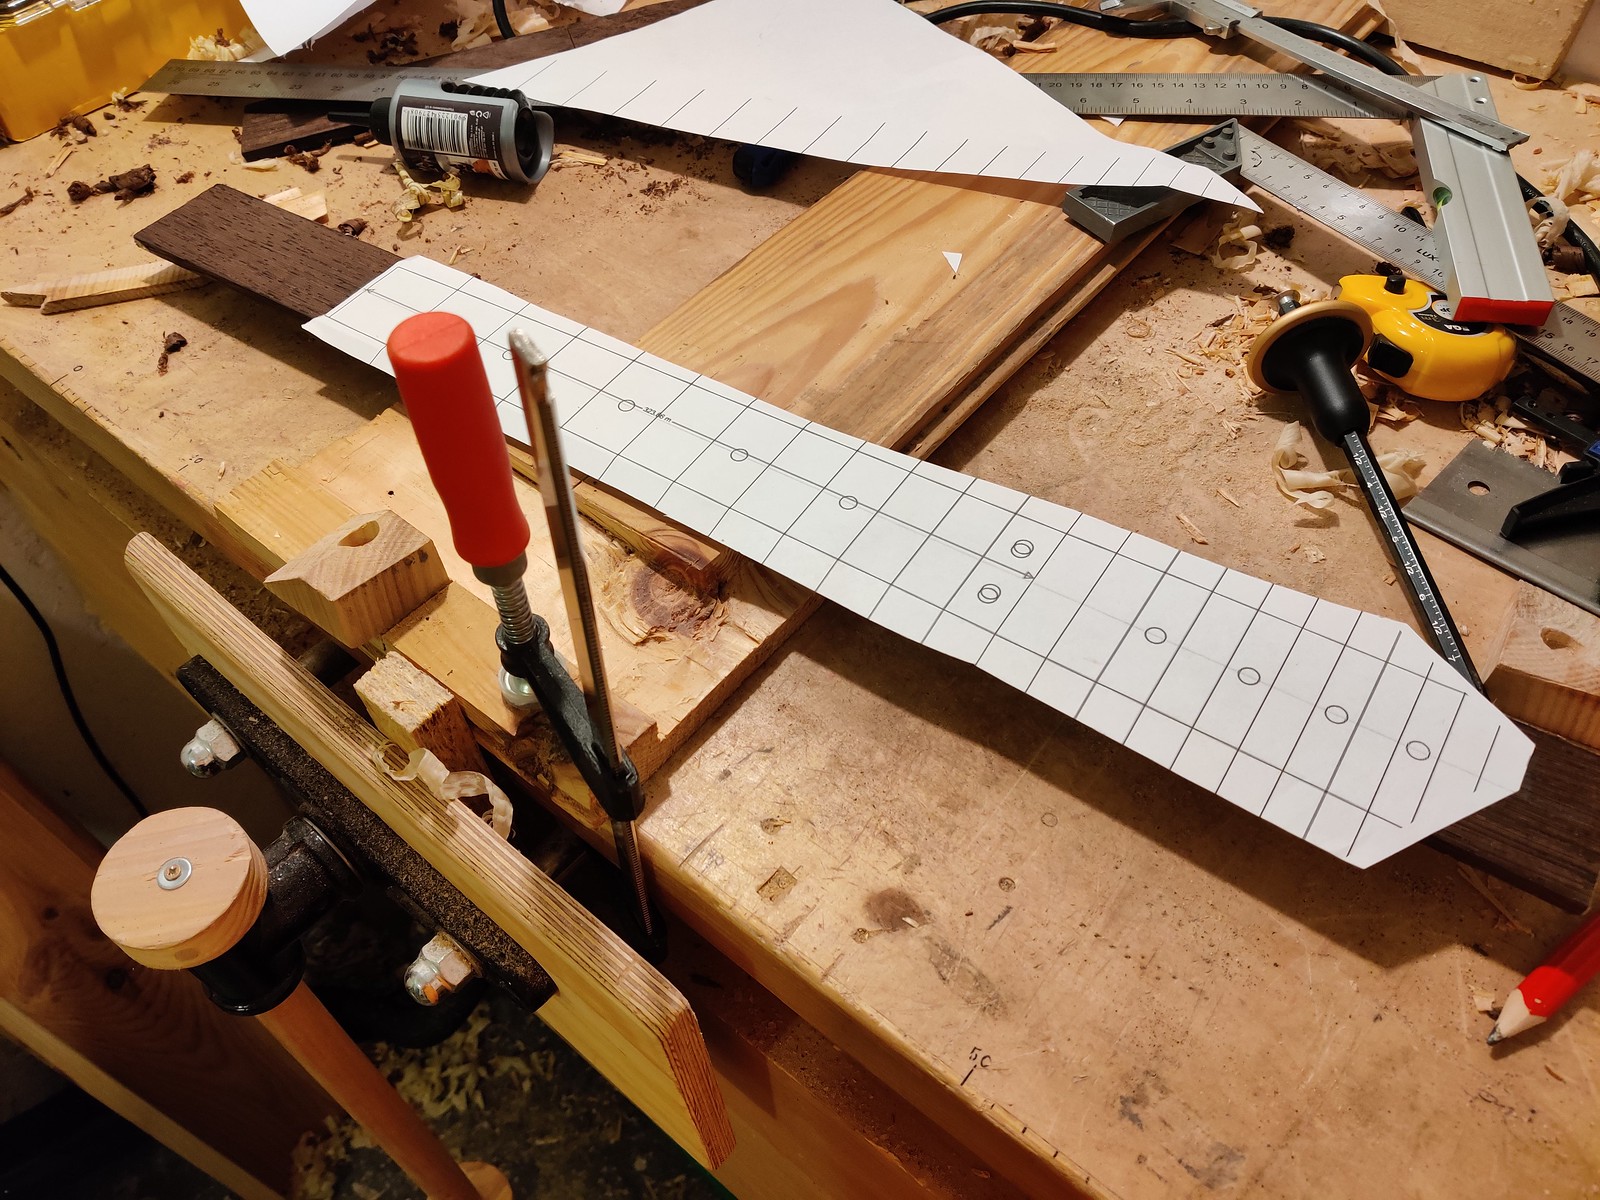
And cut the slots!
2023-01-06
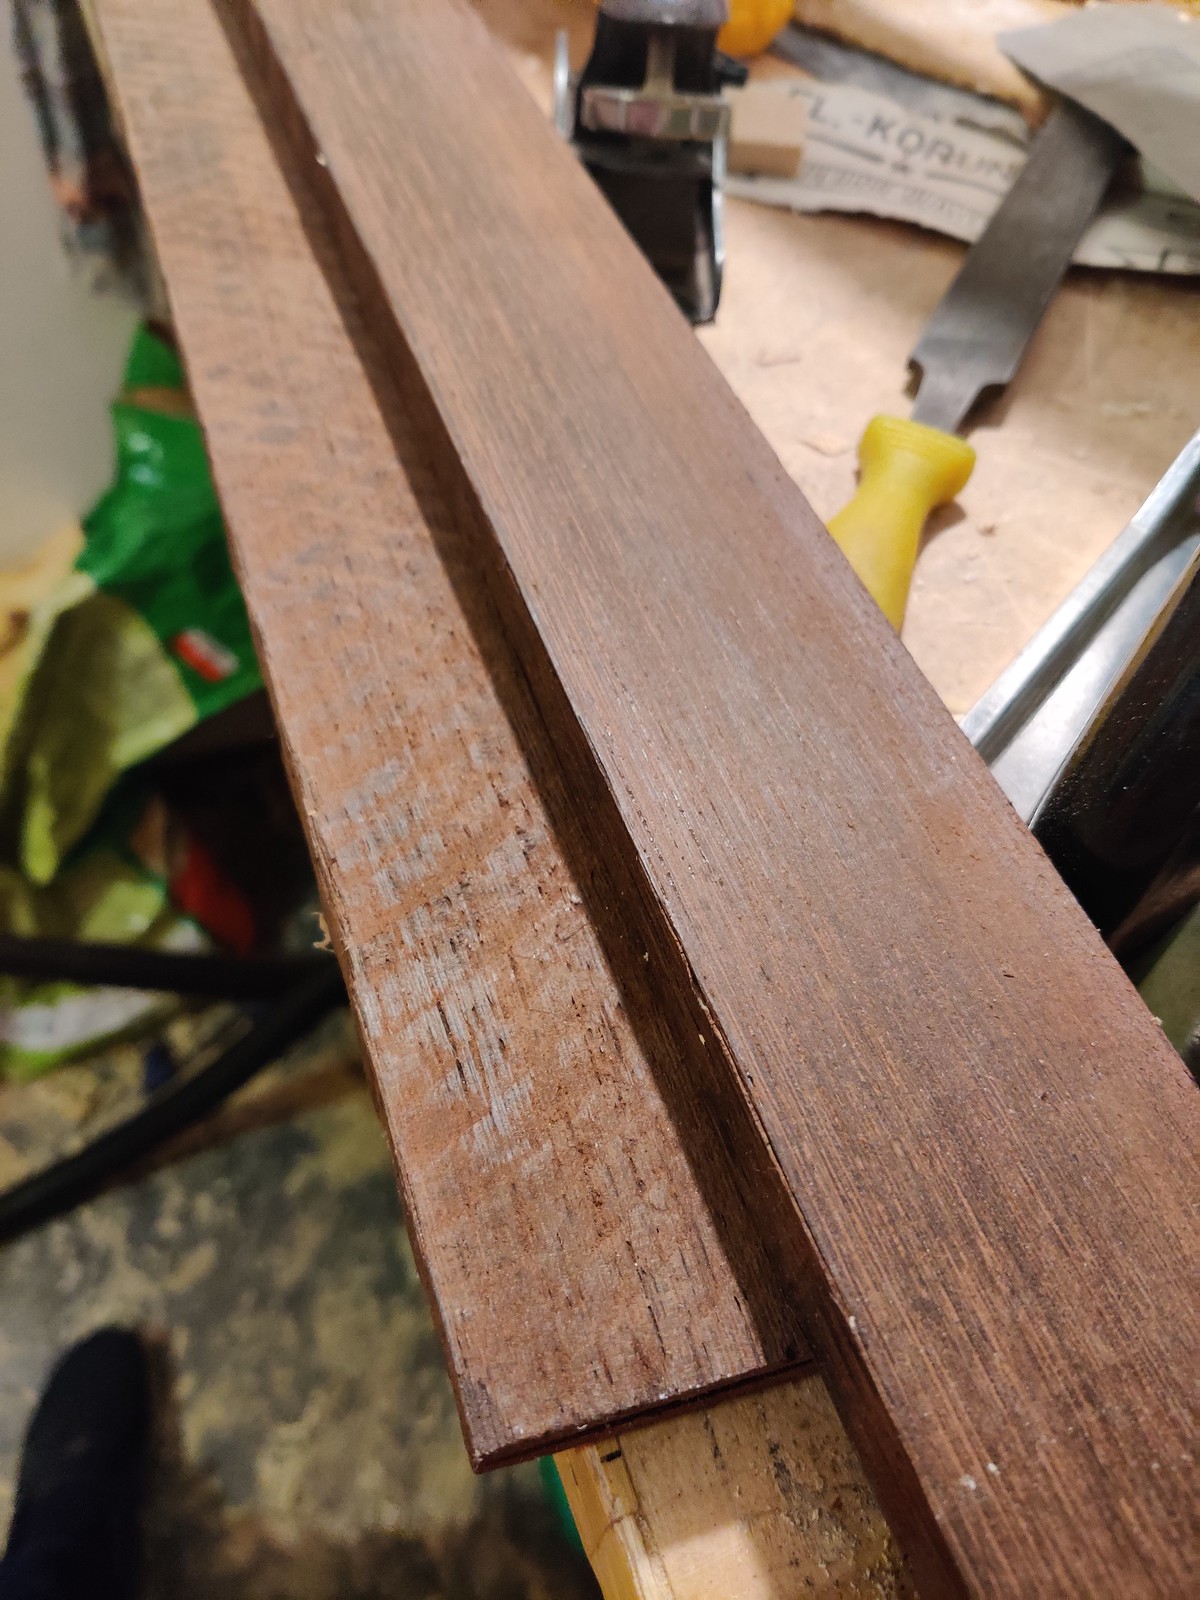
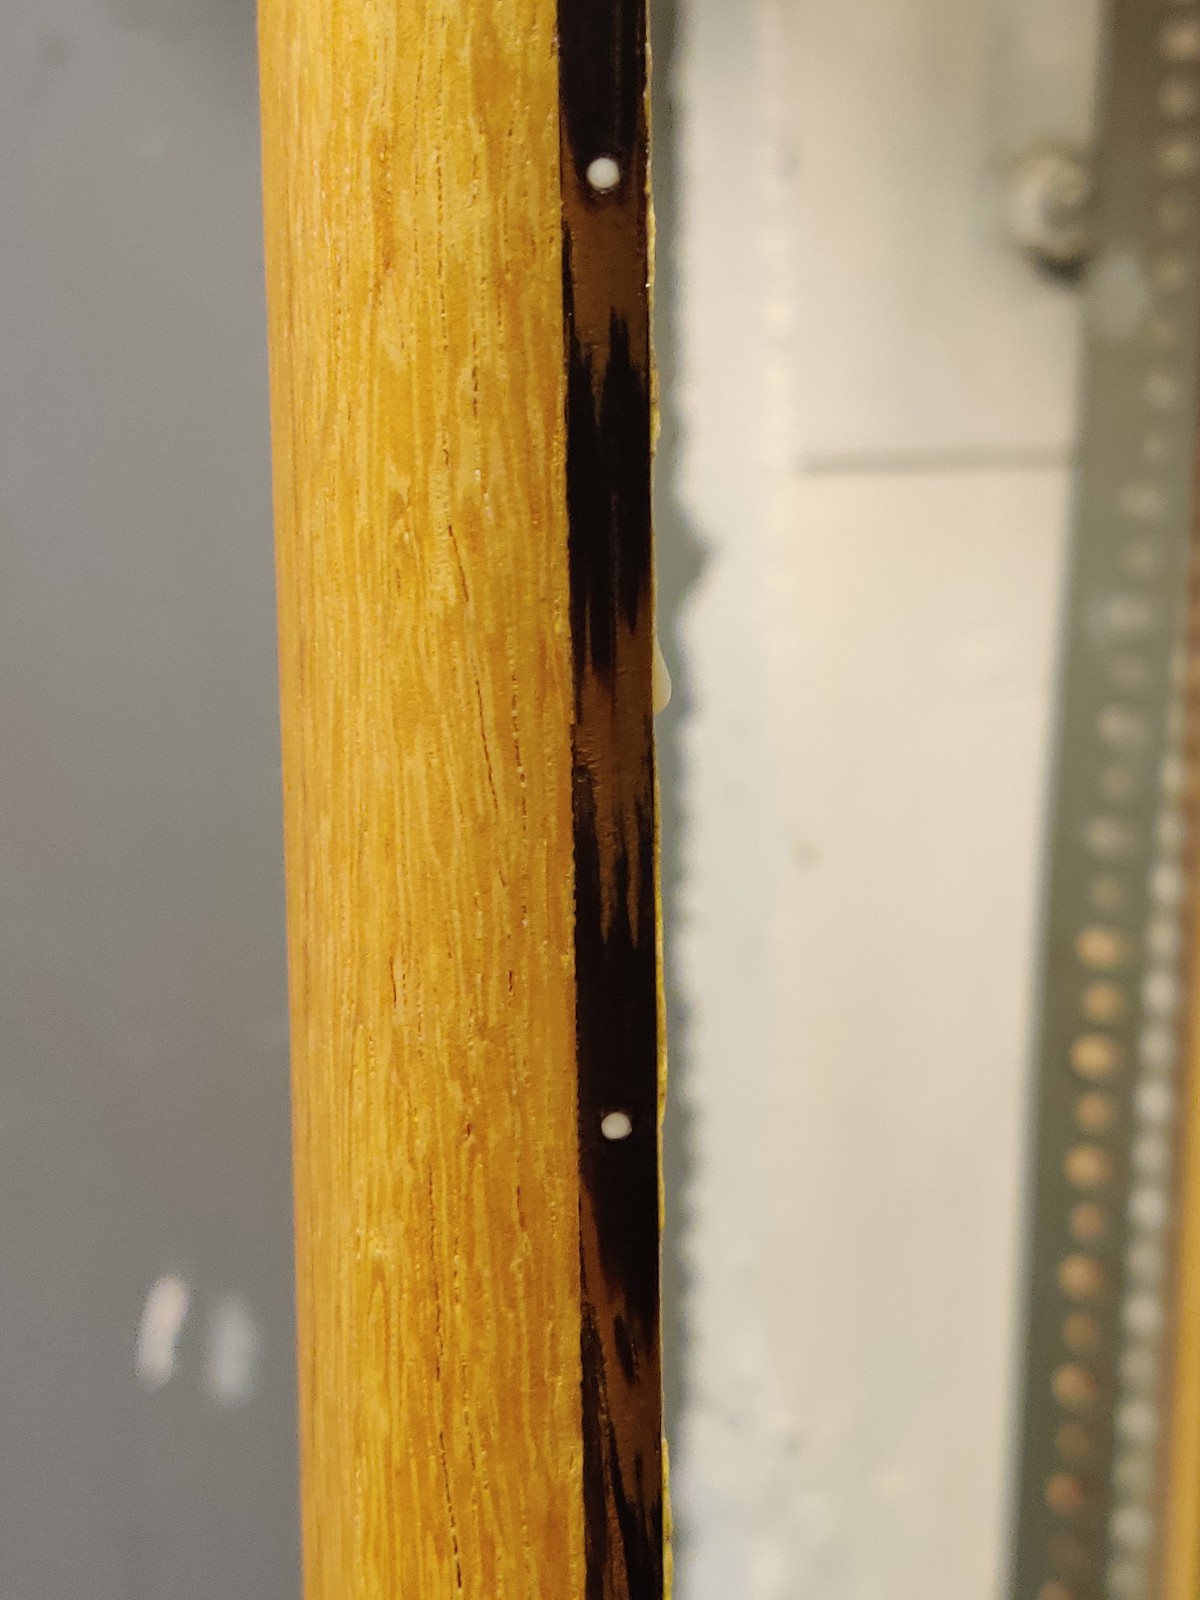
I’ve started working on the binding edges and really started hating Wenge. It’s a great material once it’s done, but working with it is blood, sweat and tears. Sometimes literally.
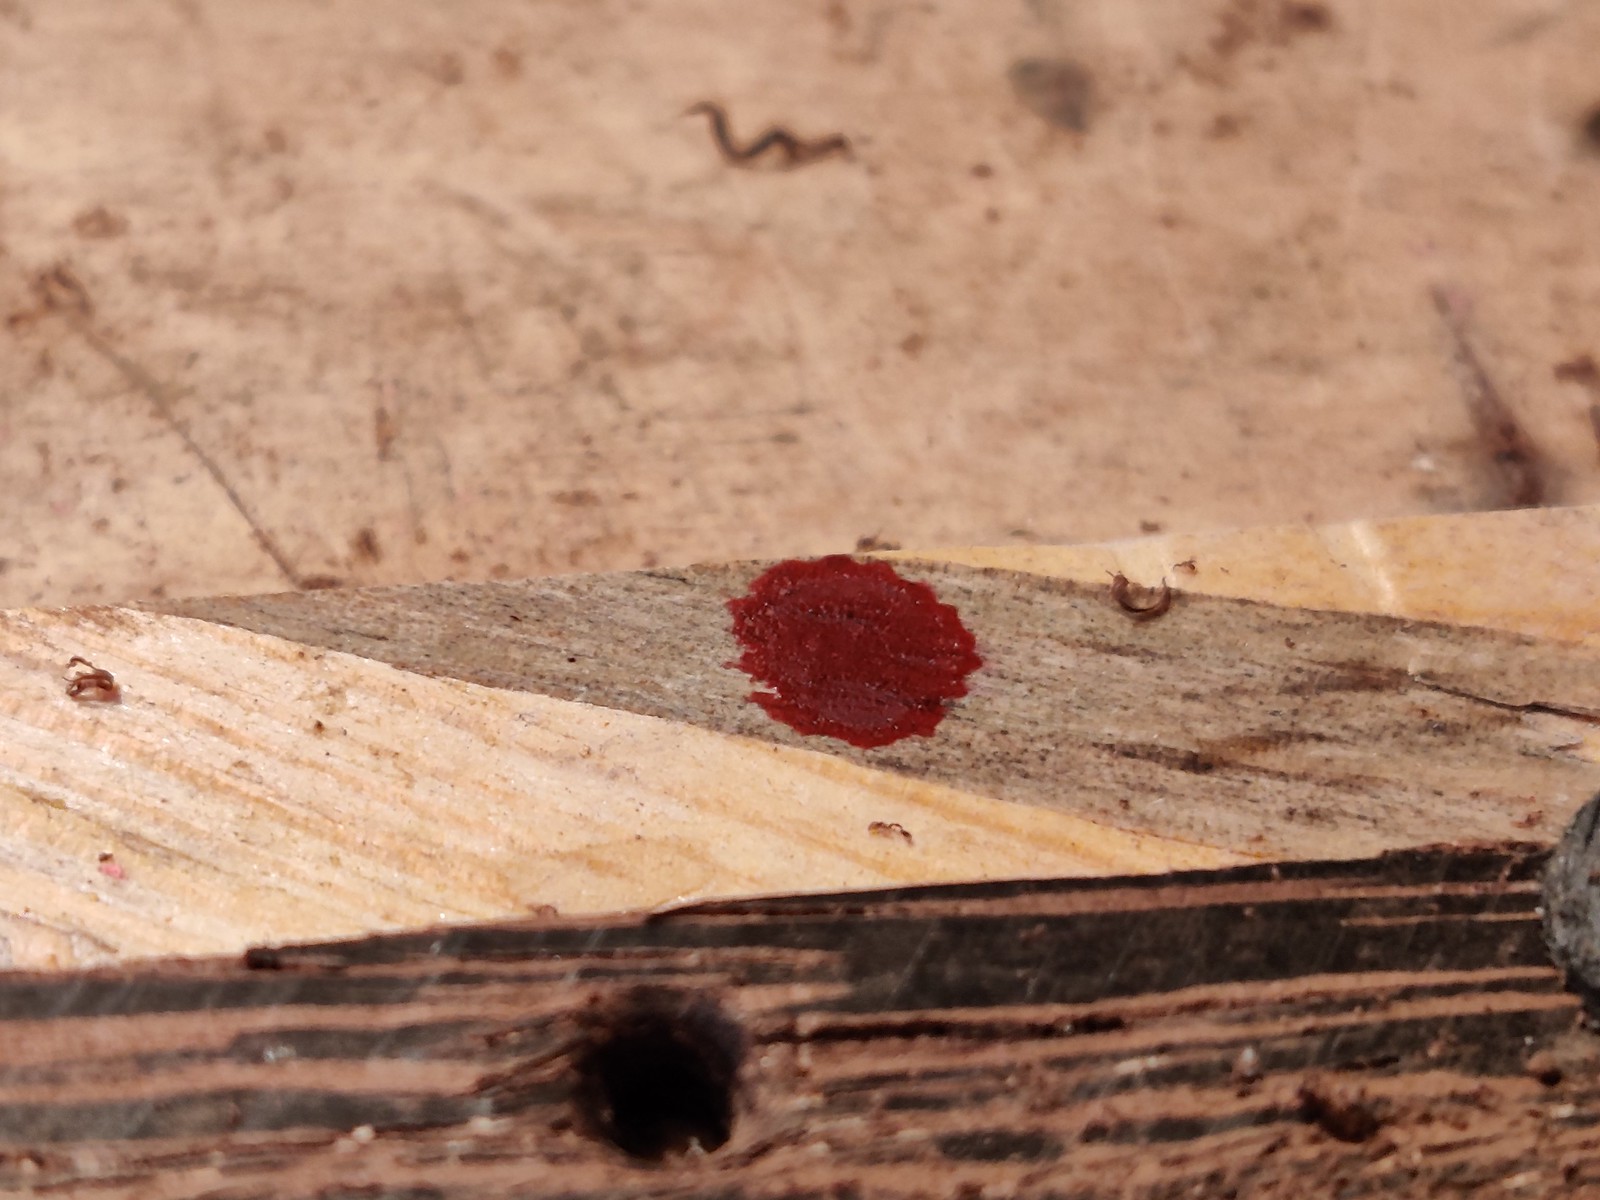
I wish I could say I learned to be more careful with my block plane, unfortunately my fingers rarely were without some sort of band-aid over the course of the next months. This was a nuissance more than anything, and so I continued to rip-cut the neck blank to thickness. Turns out the best saw for the job was the oldest, rustiest one in my shop5.

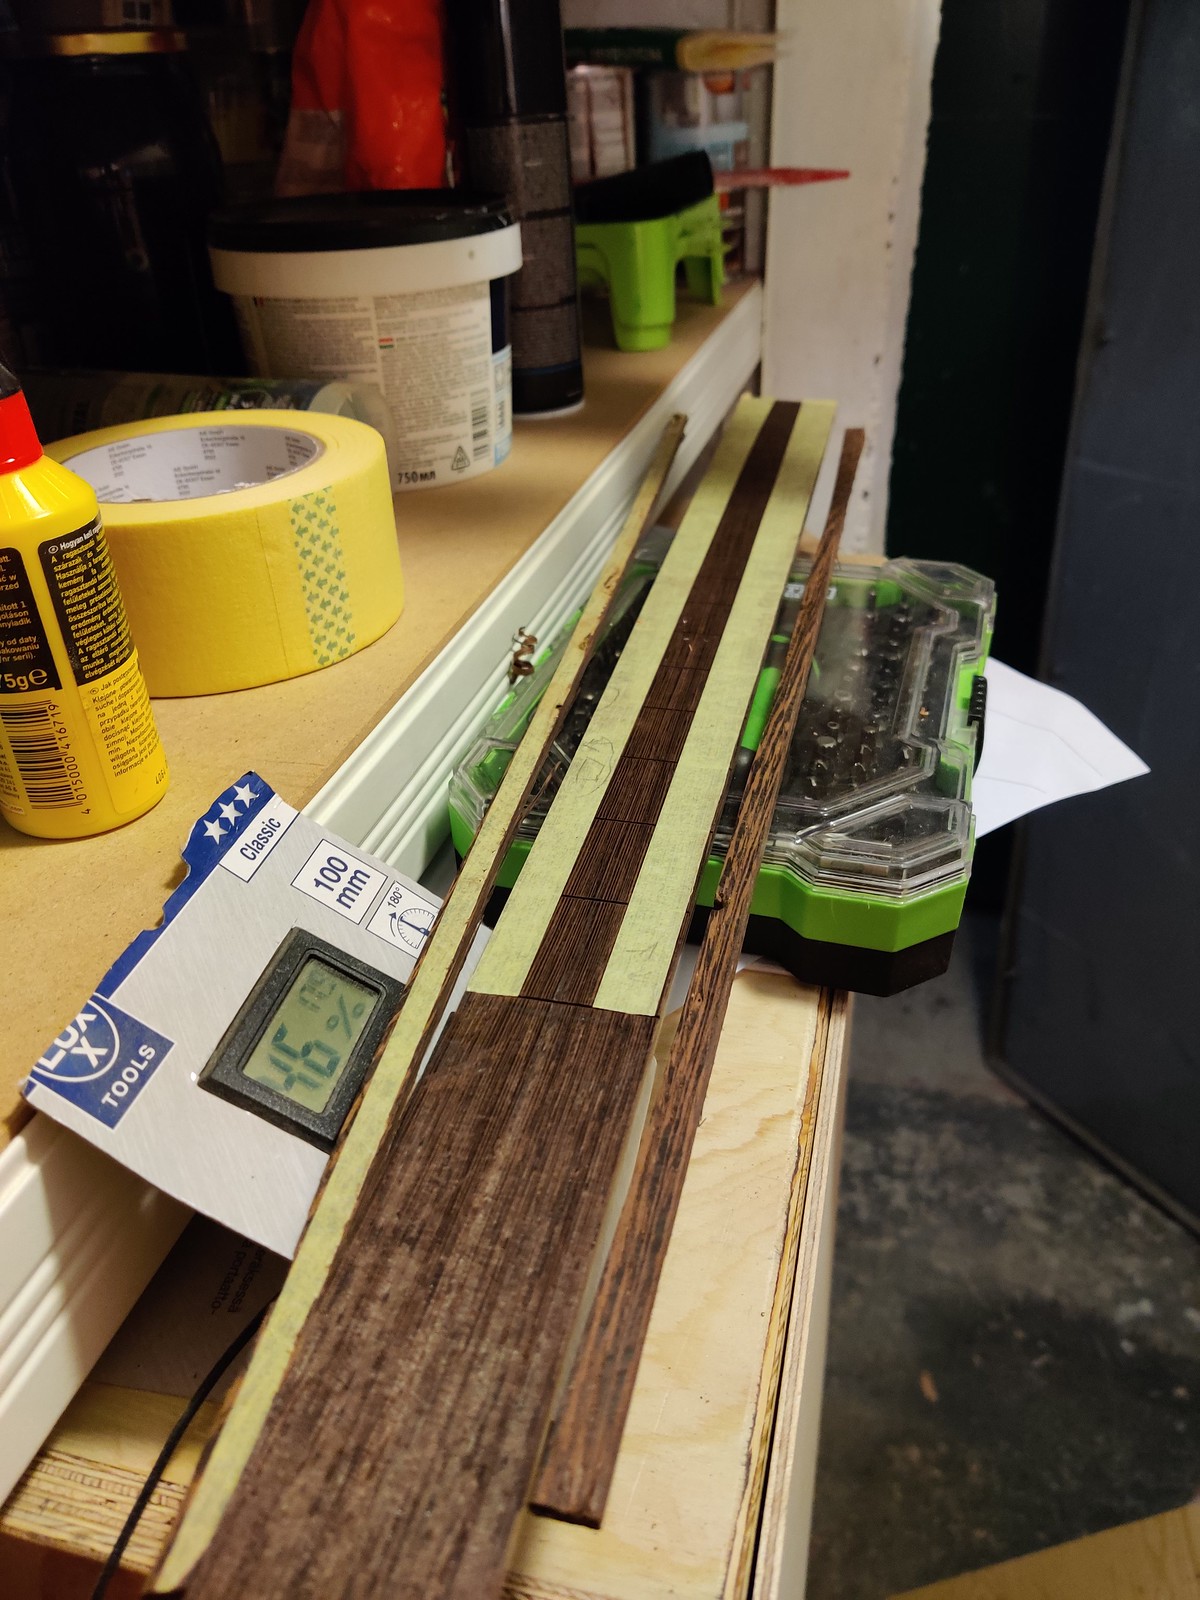
This is a good point to mention that I have never ever done such long, precision rip cuts before. The entire project taught me an absurd amount of skills by literally just making me do them for the first time. Using masking tape and cutting it with the marking gauge is one of such great tricks that will now forever remain in my arsenal.
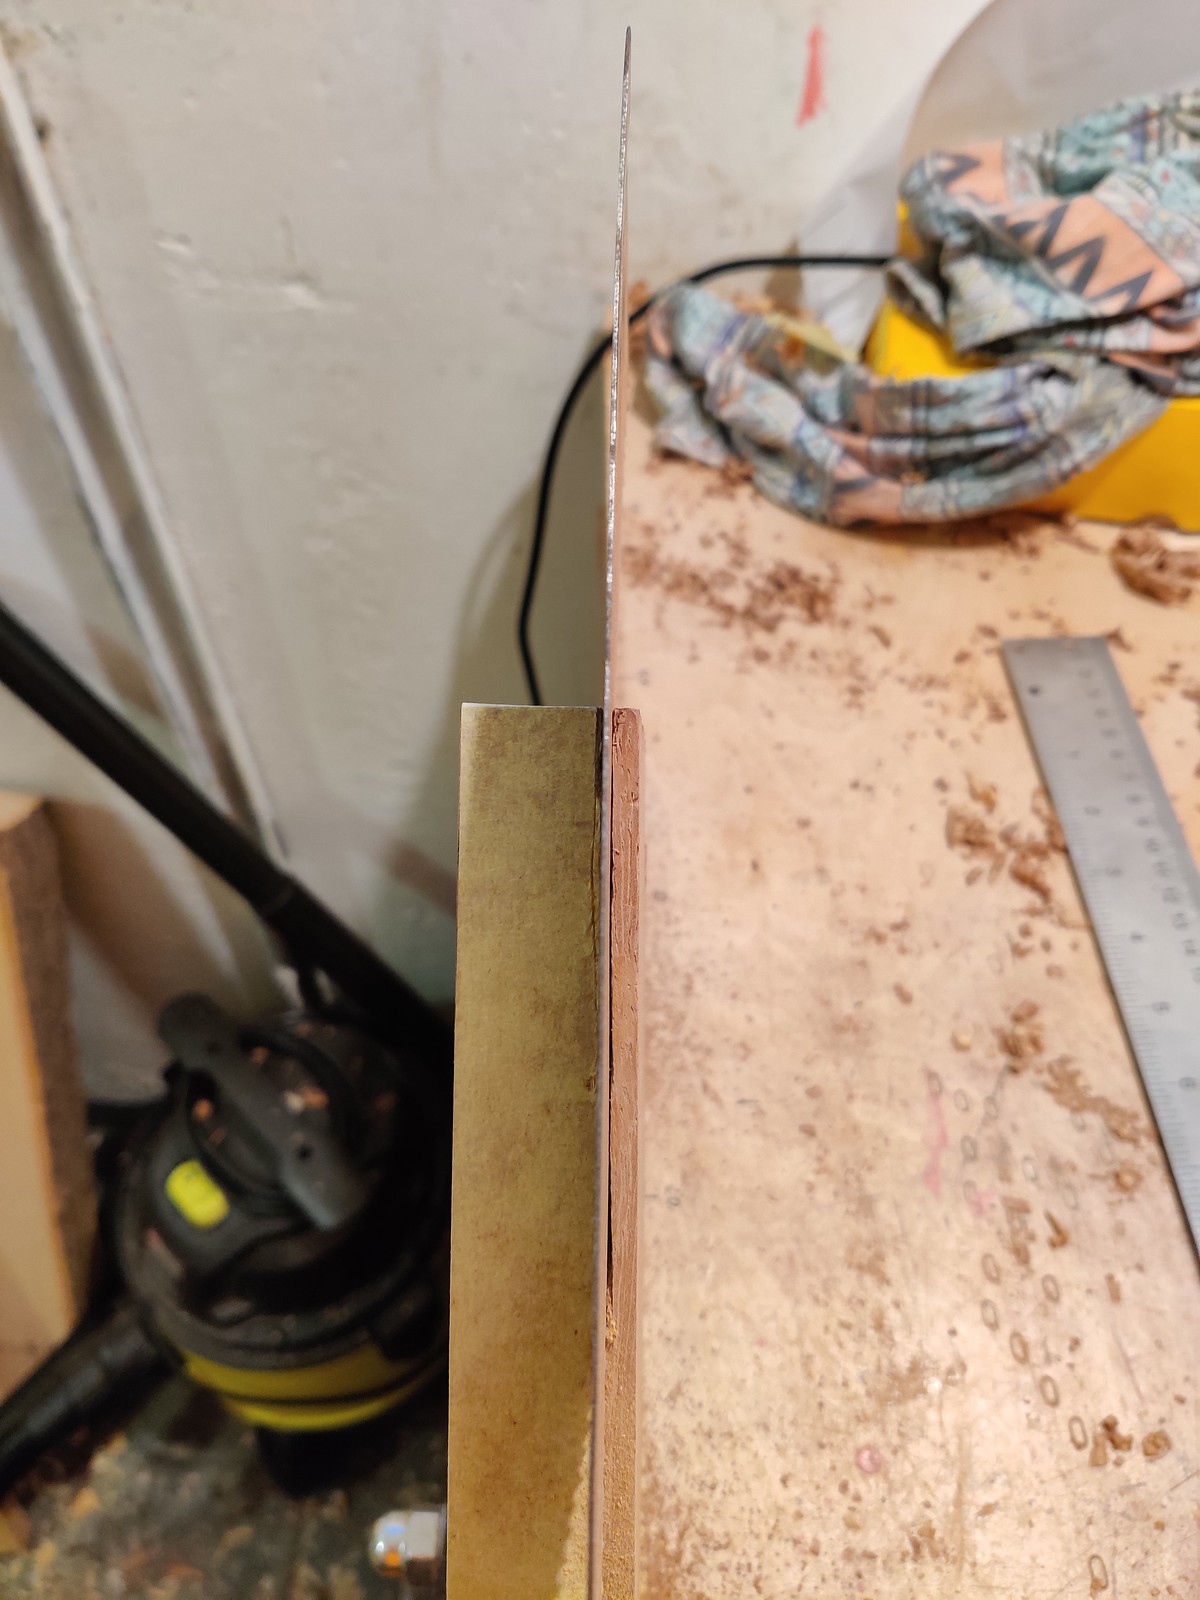
It works much better on darker woods because of contrast of course. Looking back at the photos it was a very busy day. Not only did I prepare the binding and jointed all the edges:
I also apparently glued it.
And must’ve used express glue, since it was off the same day. Phew!
2023-01-07
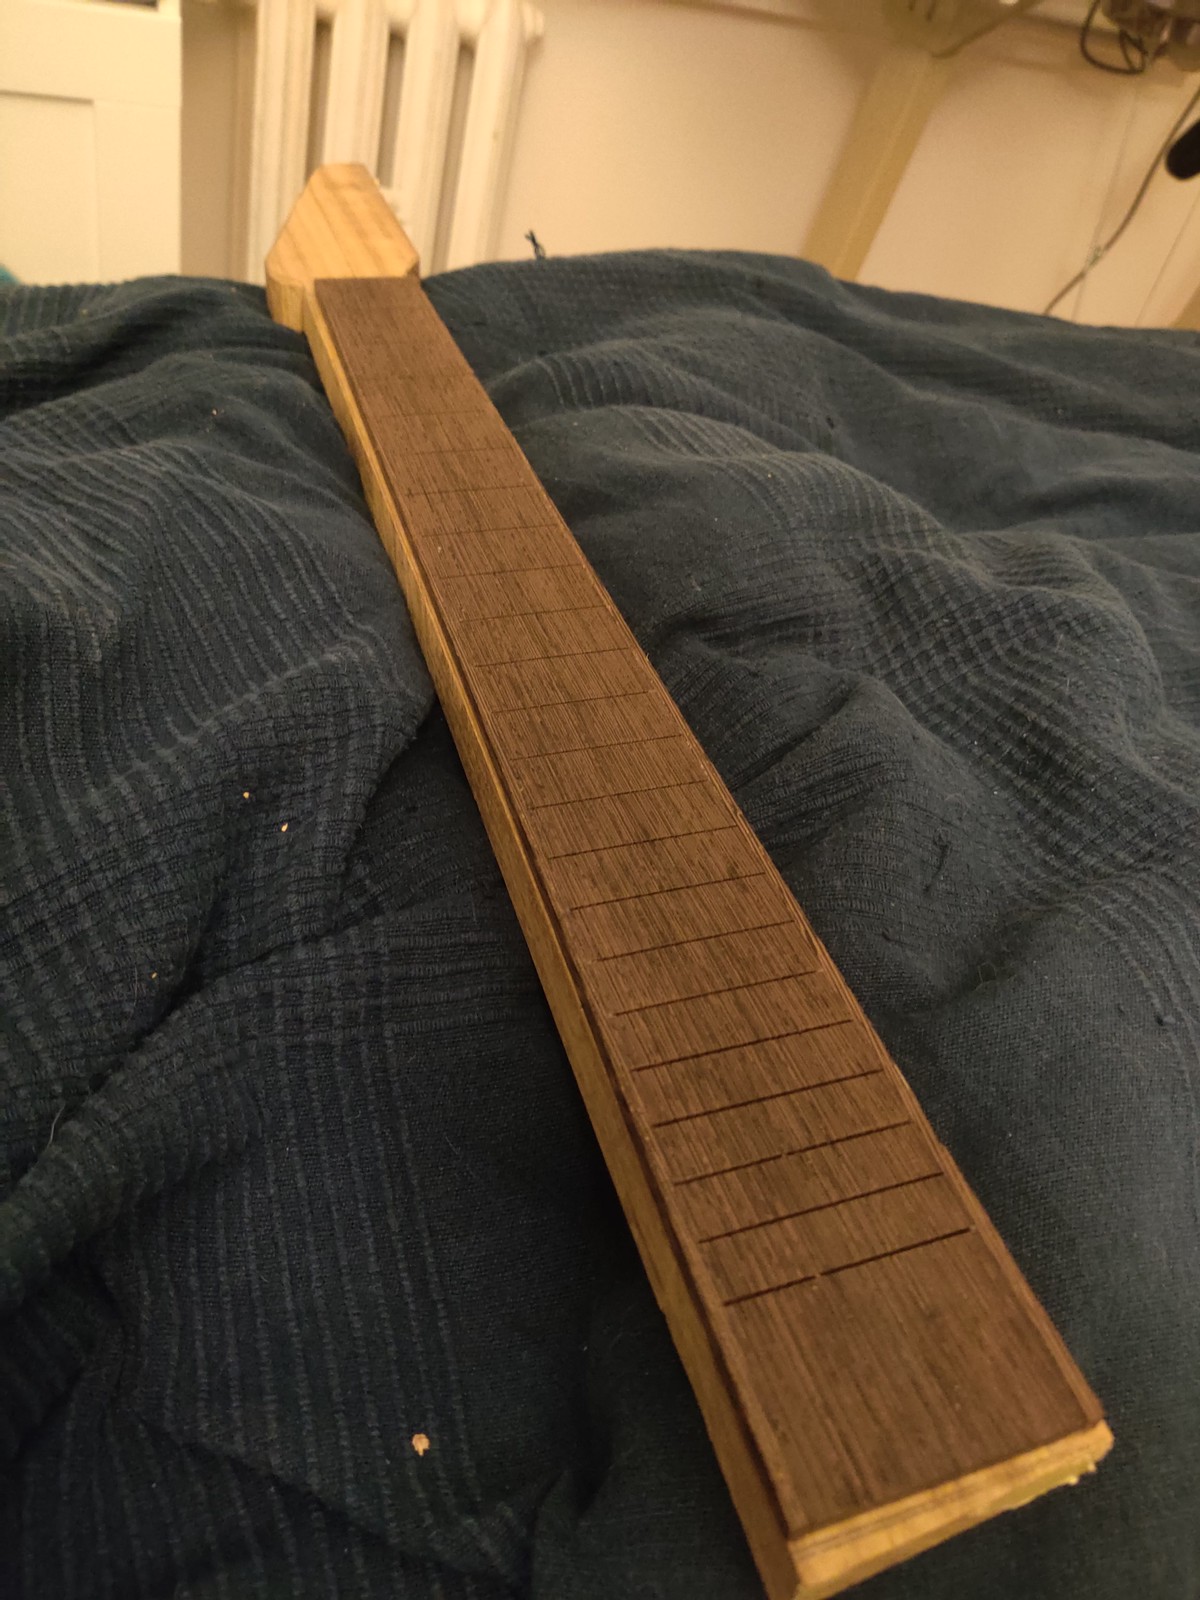
I cut the neck roughly. Starting to look like a guitar already! I still wasn’t decided on the headstock shape.
2023-01-09
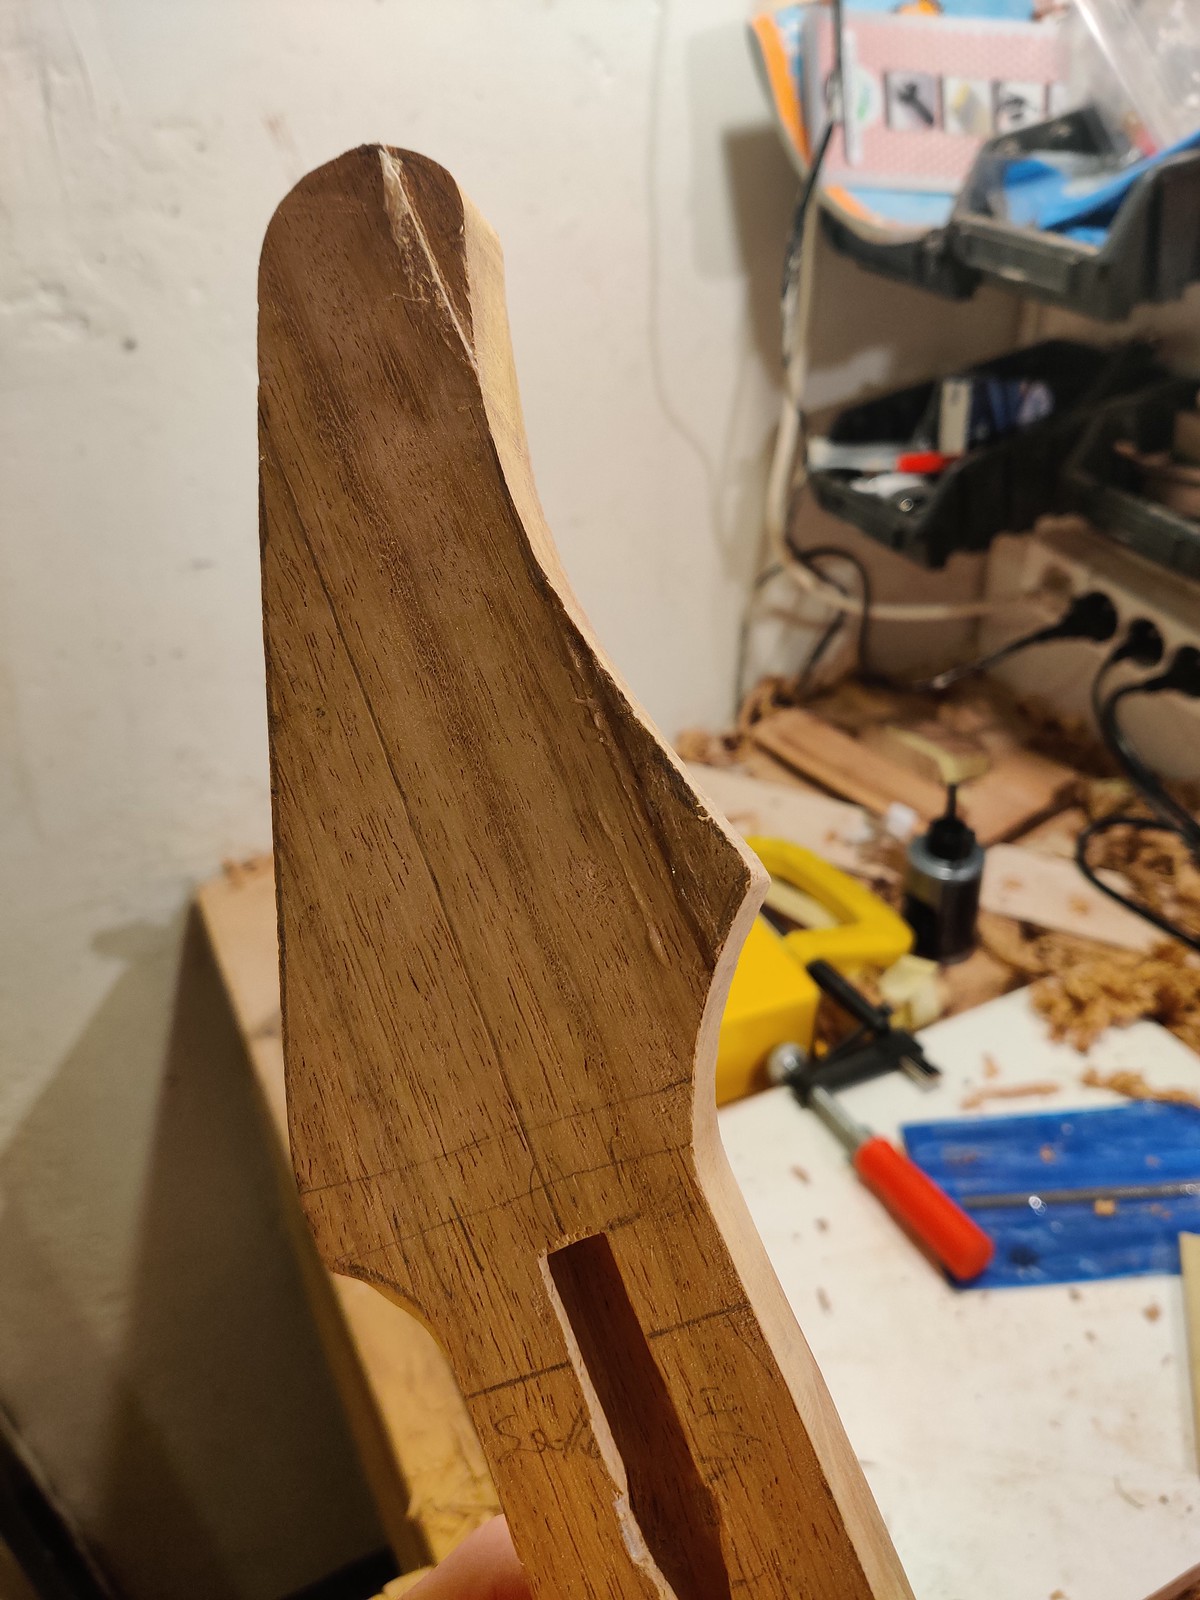
After a bit of consideration, I decided to go for something Suhr-inspired. I didn’t want to do an exact copy, so I just freehanded it. Had to glue two small pieces to make it big enough.
I have no photos from the truss rod channel cutting, but I just did it with a 6mm chisel. Sure, I could’ve used the router, but where’s the fun in that? Plus, until that point, there were still almost 0 power tools used6.
2023-01-10
Neck shaping time! I used the Tchiks method of reference cut lines.
You need to make two of them:
And simply join them. A spokeshave would really be ideal, but as of the time of writing I still don’t have one, so I just used my block plane.
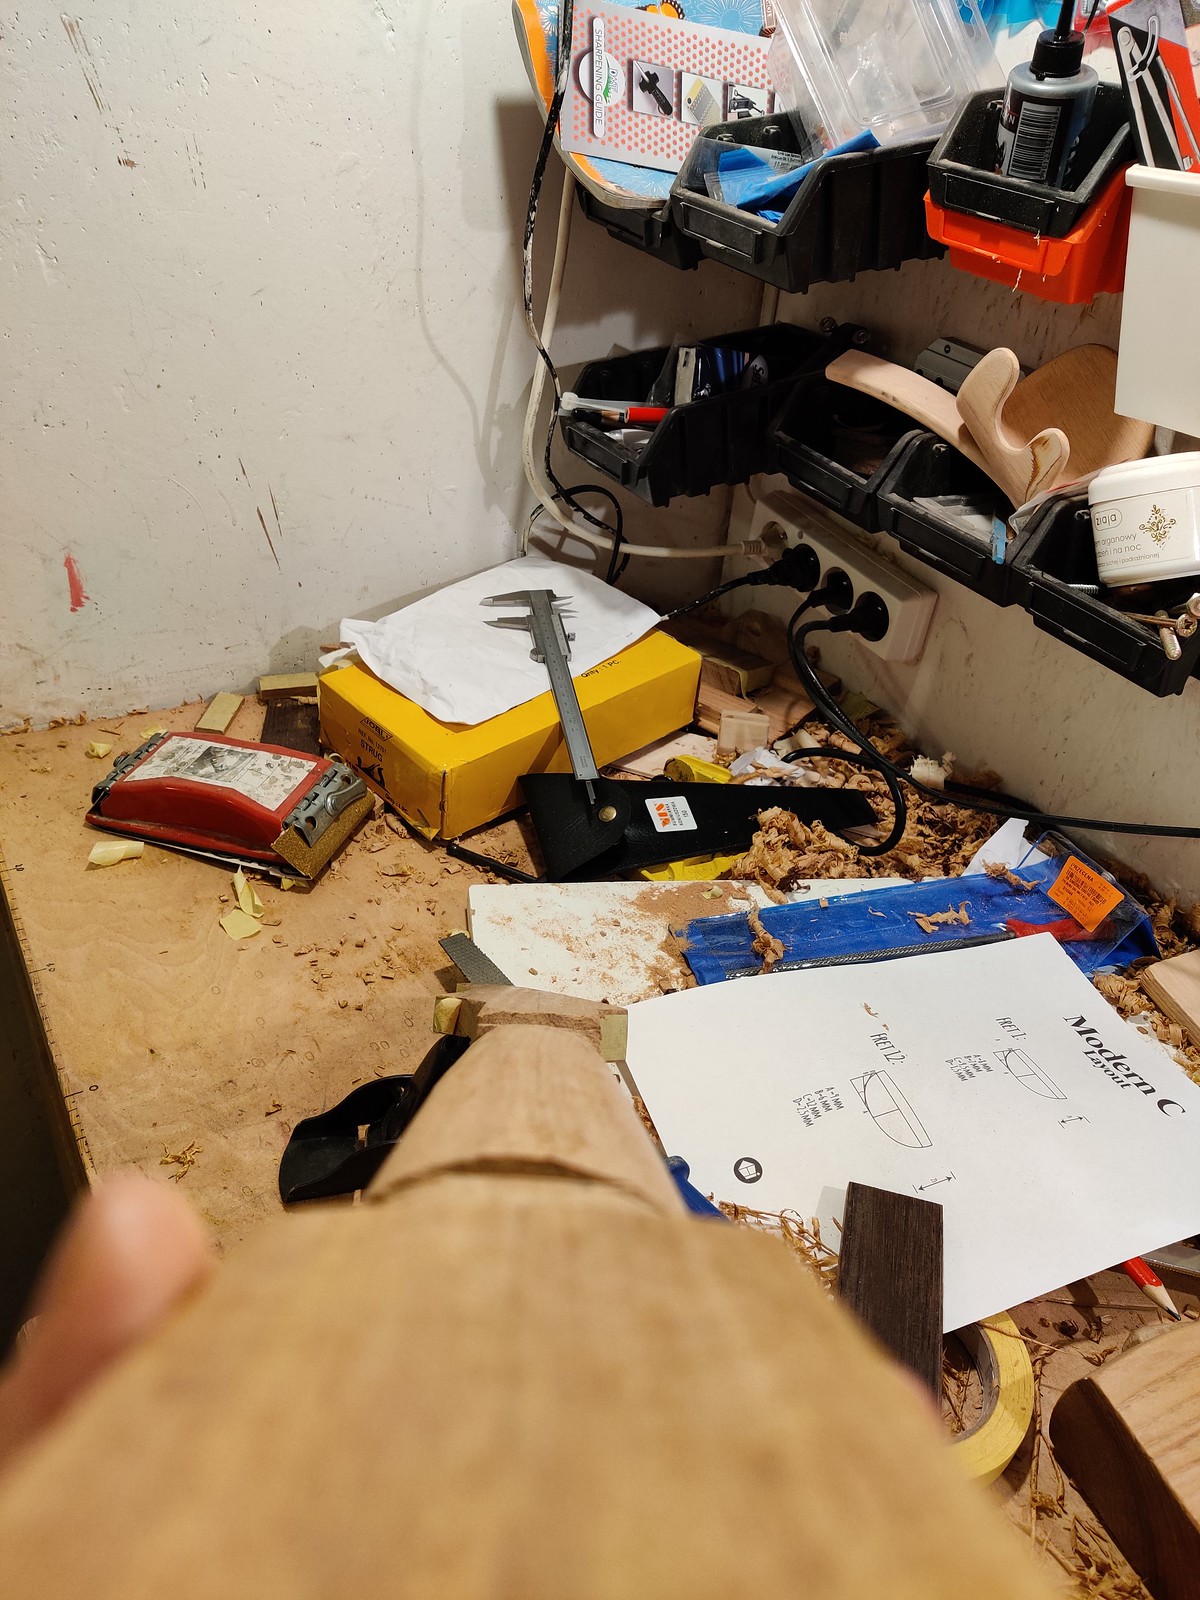
I watned to say that I was fretting over this part way more than necessary, and looking back it took a lot of time, but it’s one part of the guitar that I’m really happy about. I didn’t do the exact Modern C from the template, since I wanted it slightly flatter in the center, and it’s exactly what I was going for.
2023-01-11
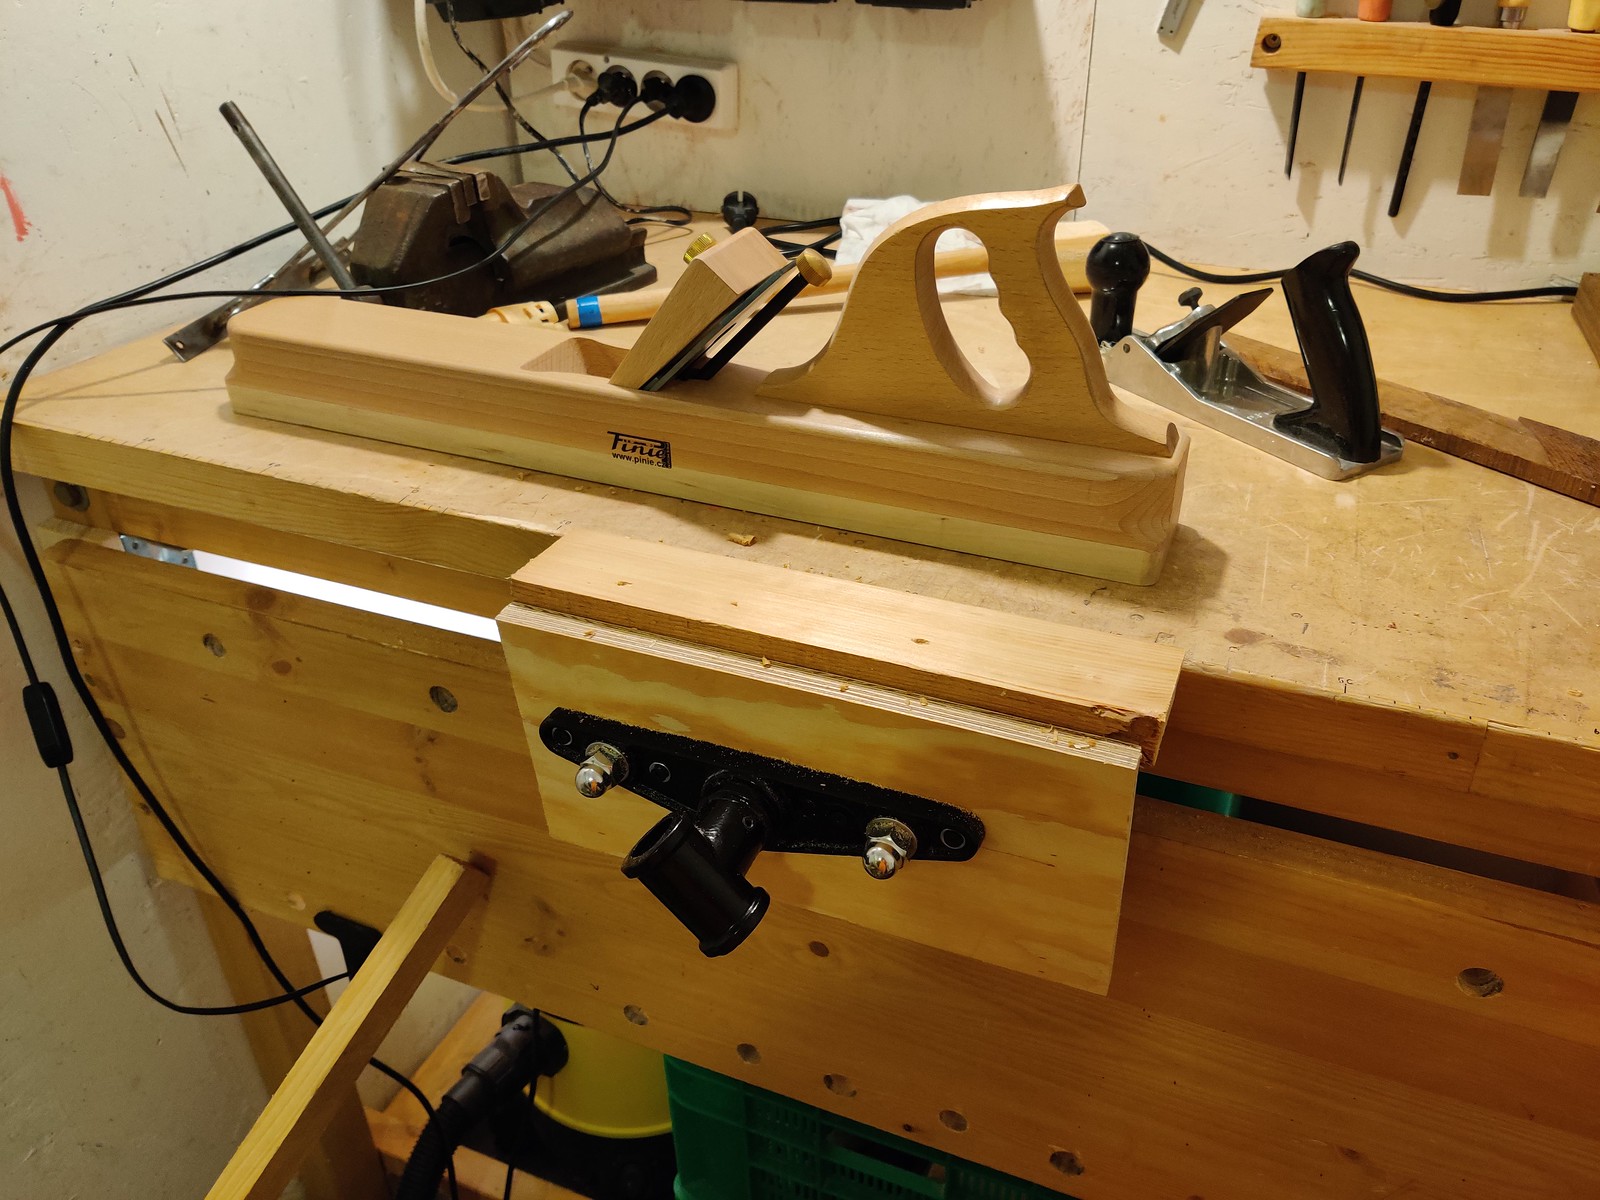
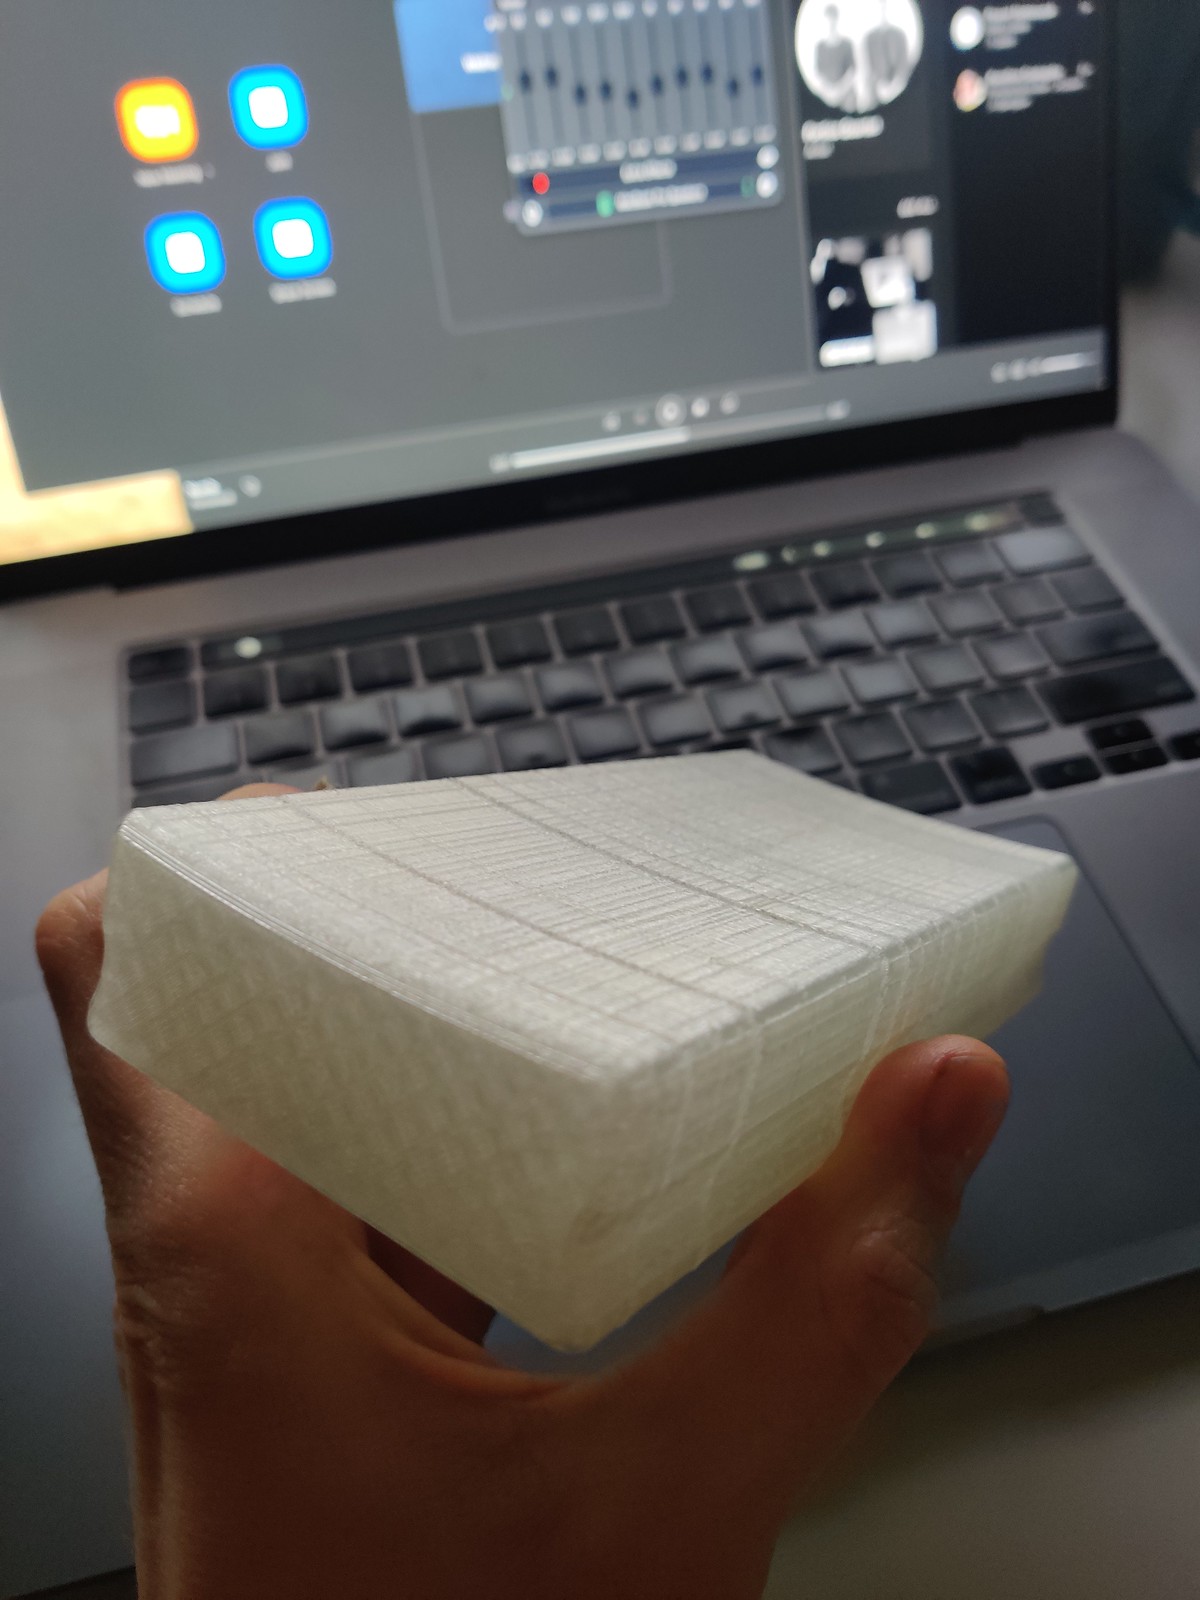
The project was hanging on the lack of a sanding block, since I wanted to do the radiusing before glueing it on the neck. I was a cheapskate and didn’t buy one (in fact, I bought zero luthier-specialist tools. I still don’t know if I even like making instruments). Instead, I quickly opened my CAD and at the next visit at the office I borrowed another printer, this time in 3D. Unfortunately, it was having some issues at the time, so I had to reprint it later on my Ender. I did most sanding with the block but it was just a bit too weak and eventually cracked.
2023-01-13
Two days later, the first major disaster struck:
I am still not sure what caused such a gap; whether it was inconsistent pressure, lack of pressure at the edges (because I used clamps and not rubber bands/hose/tape), poor jointing, too much glue, masking tape left in… your guess is as good as mine. Anyway, I posted it to /r/Luthier and it was probably the first time I saw a Reddit thread in full agreement - this had to go. I accepted it with heavy heart.
2023-01-14
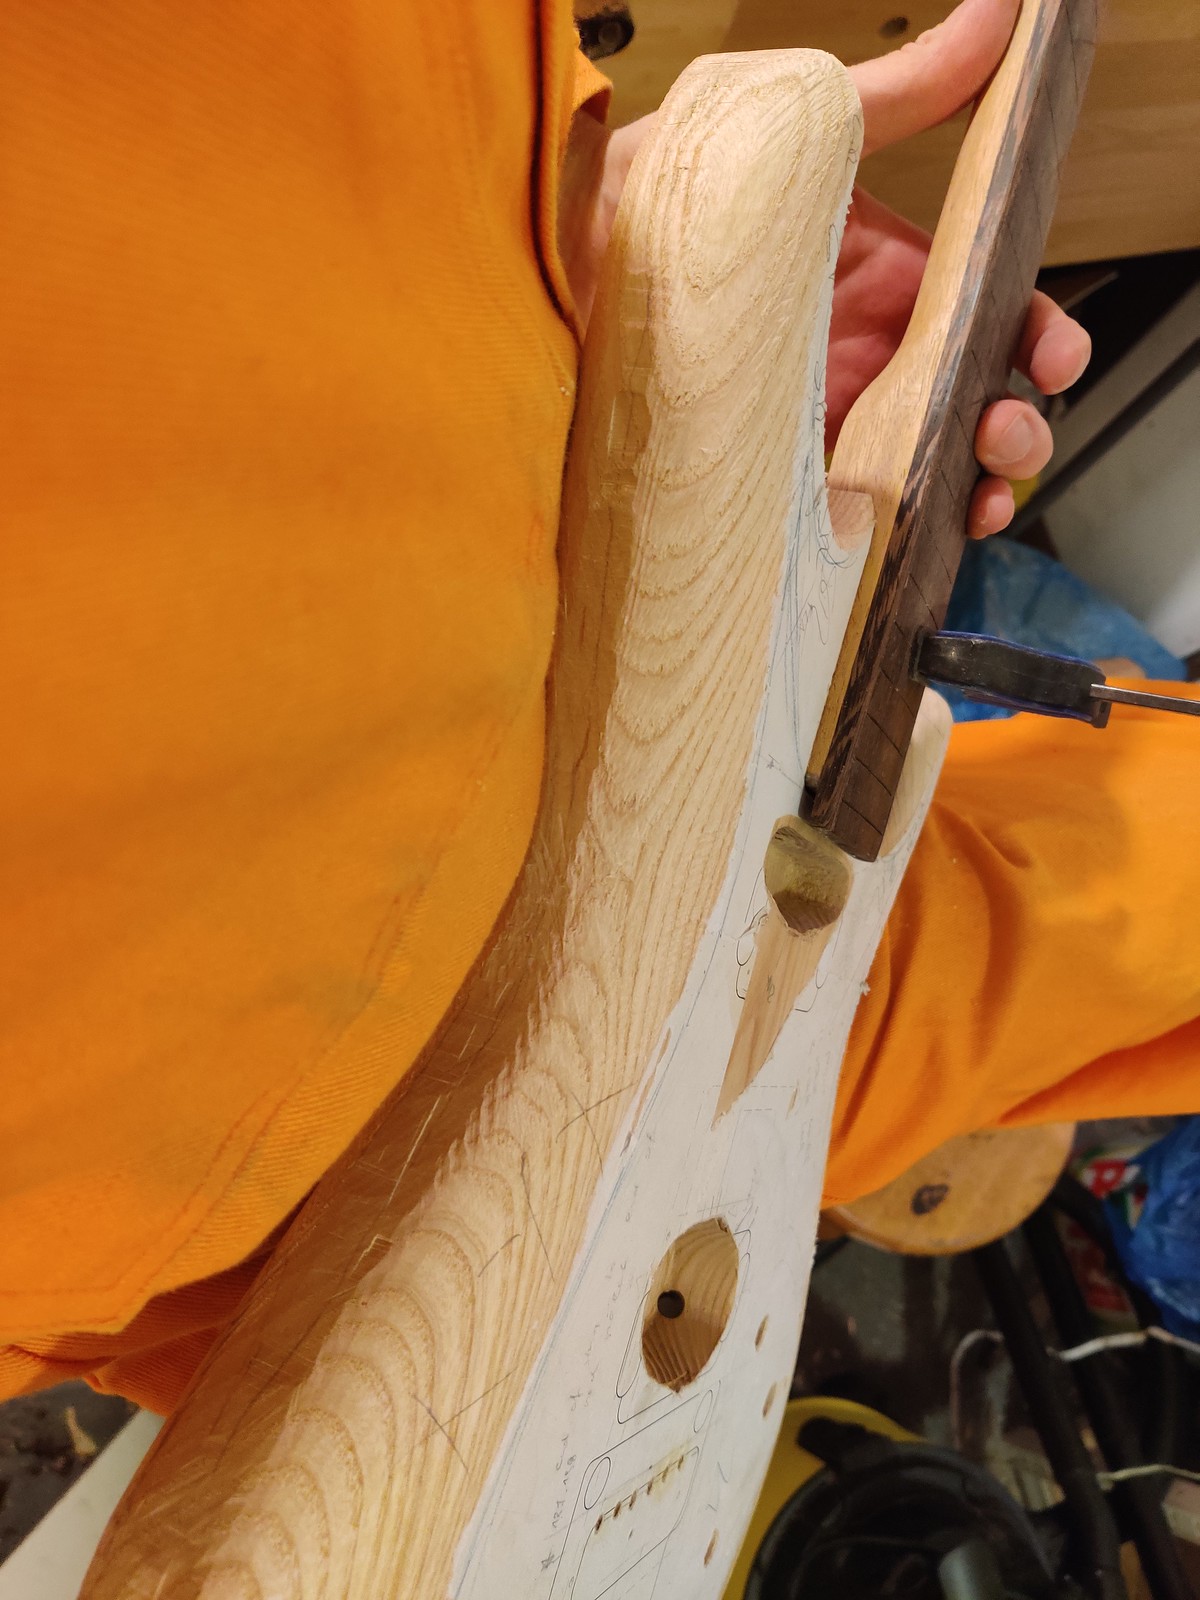
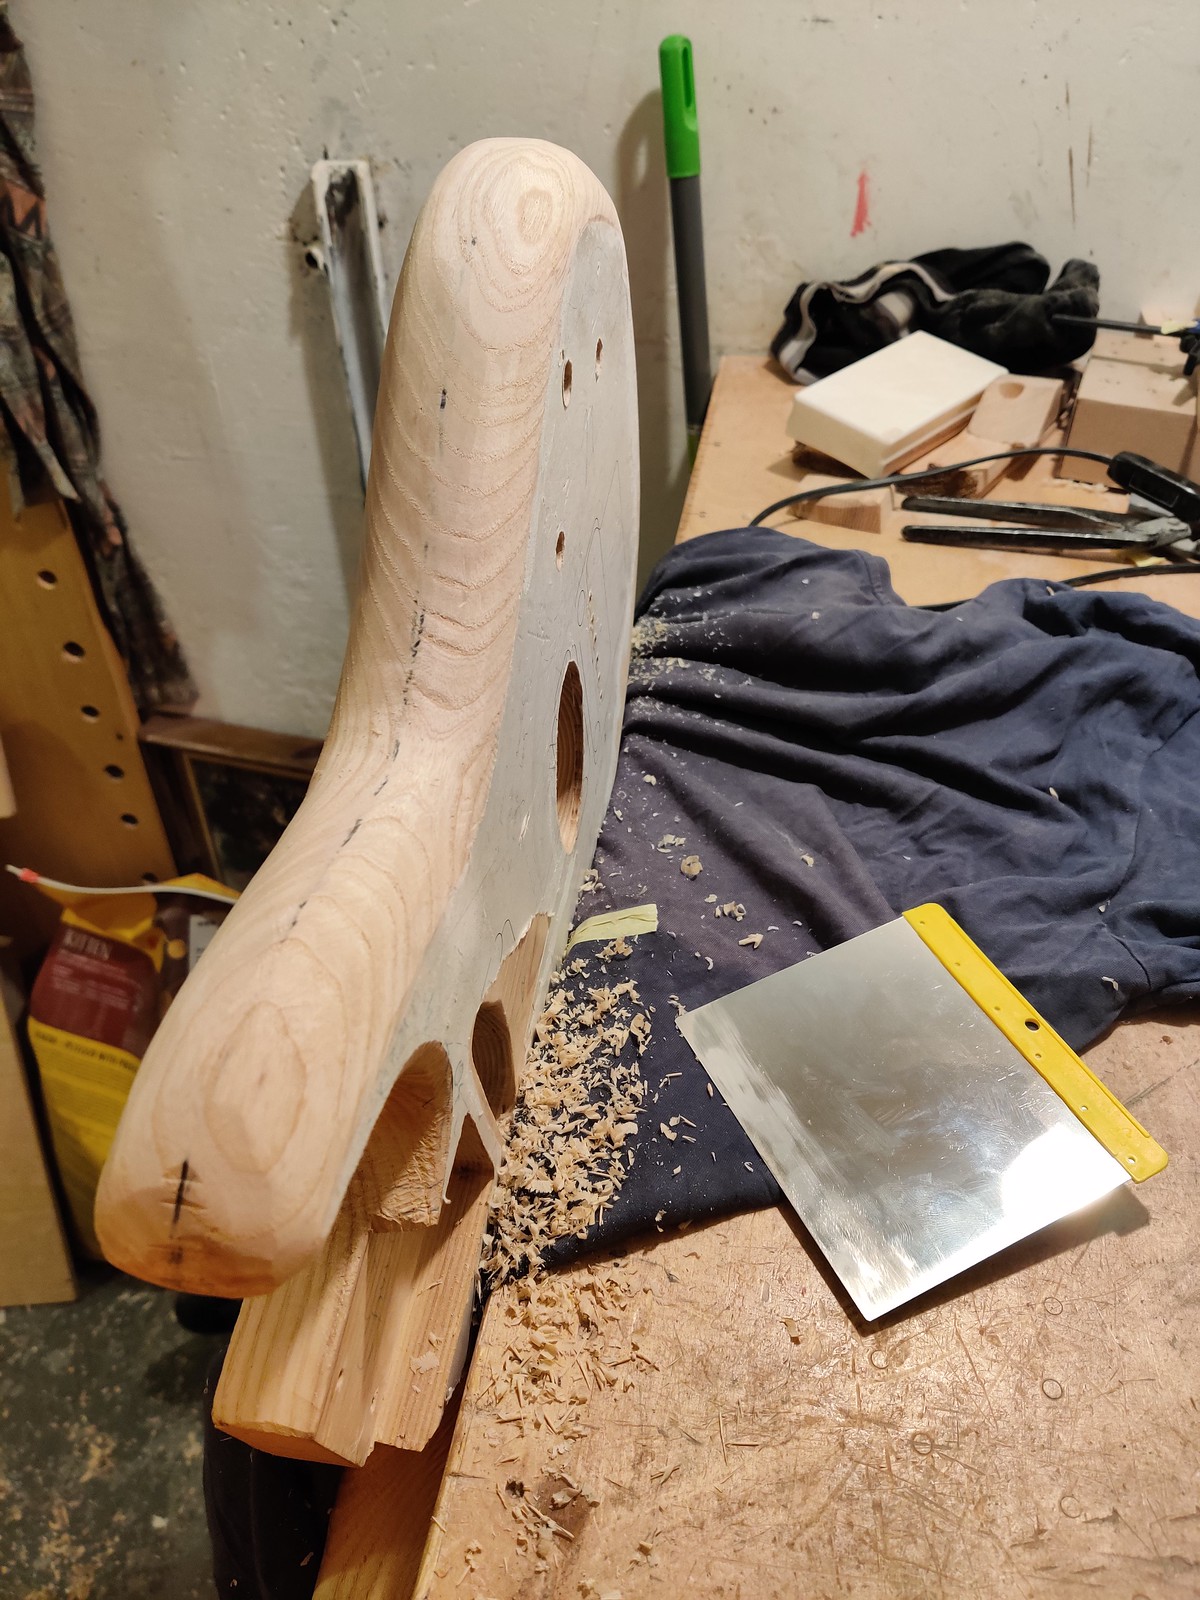
To take my mind off things, I cut the neck pocket - using a router this time. I’d like to quote Tchiks on this one.
If you have a router, or if you have a friend who has a router, or if you know someone that you don’t even particularly like but they have a router, please don’t do it by hand.
So I followed his advice, and I think I did a reasonable job. I didn’t bother making a template, i just freehanded most of it and cleaned it up with a chisel.8

Unfortunately, my hand skills are much better than my planning skills. Clearing the bottom on the other side eventually meant that the fit would end up much looser. At least I know I could make it so precise if I didn’t flub it.
And it looks like a guitar now!
2023-01-15
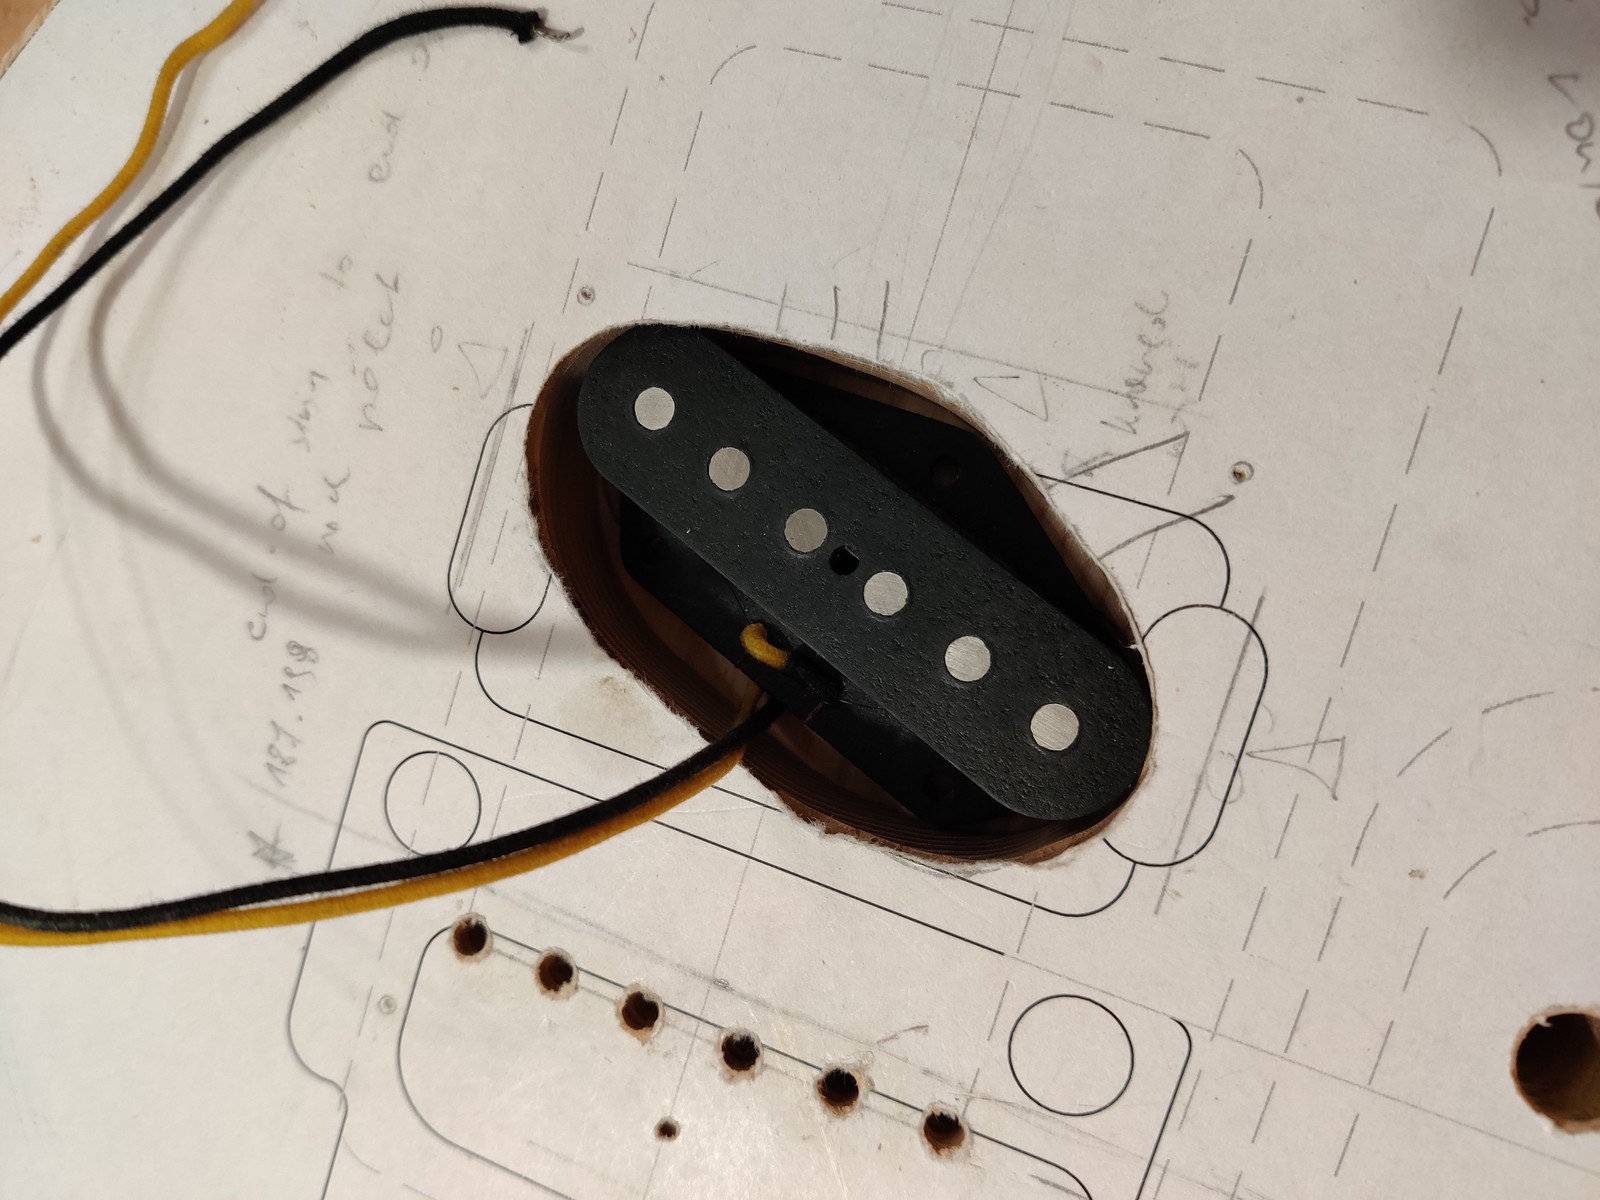
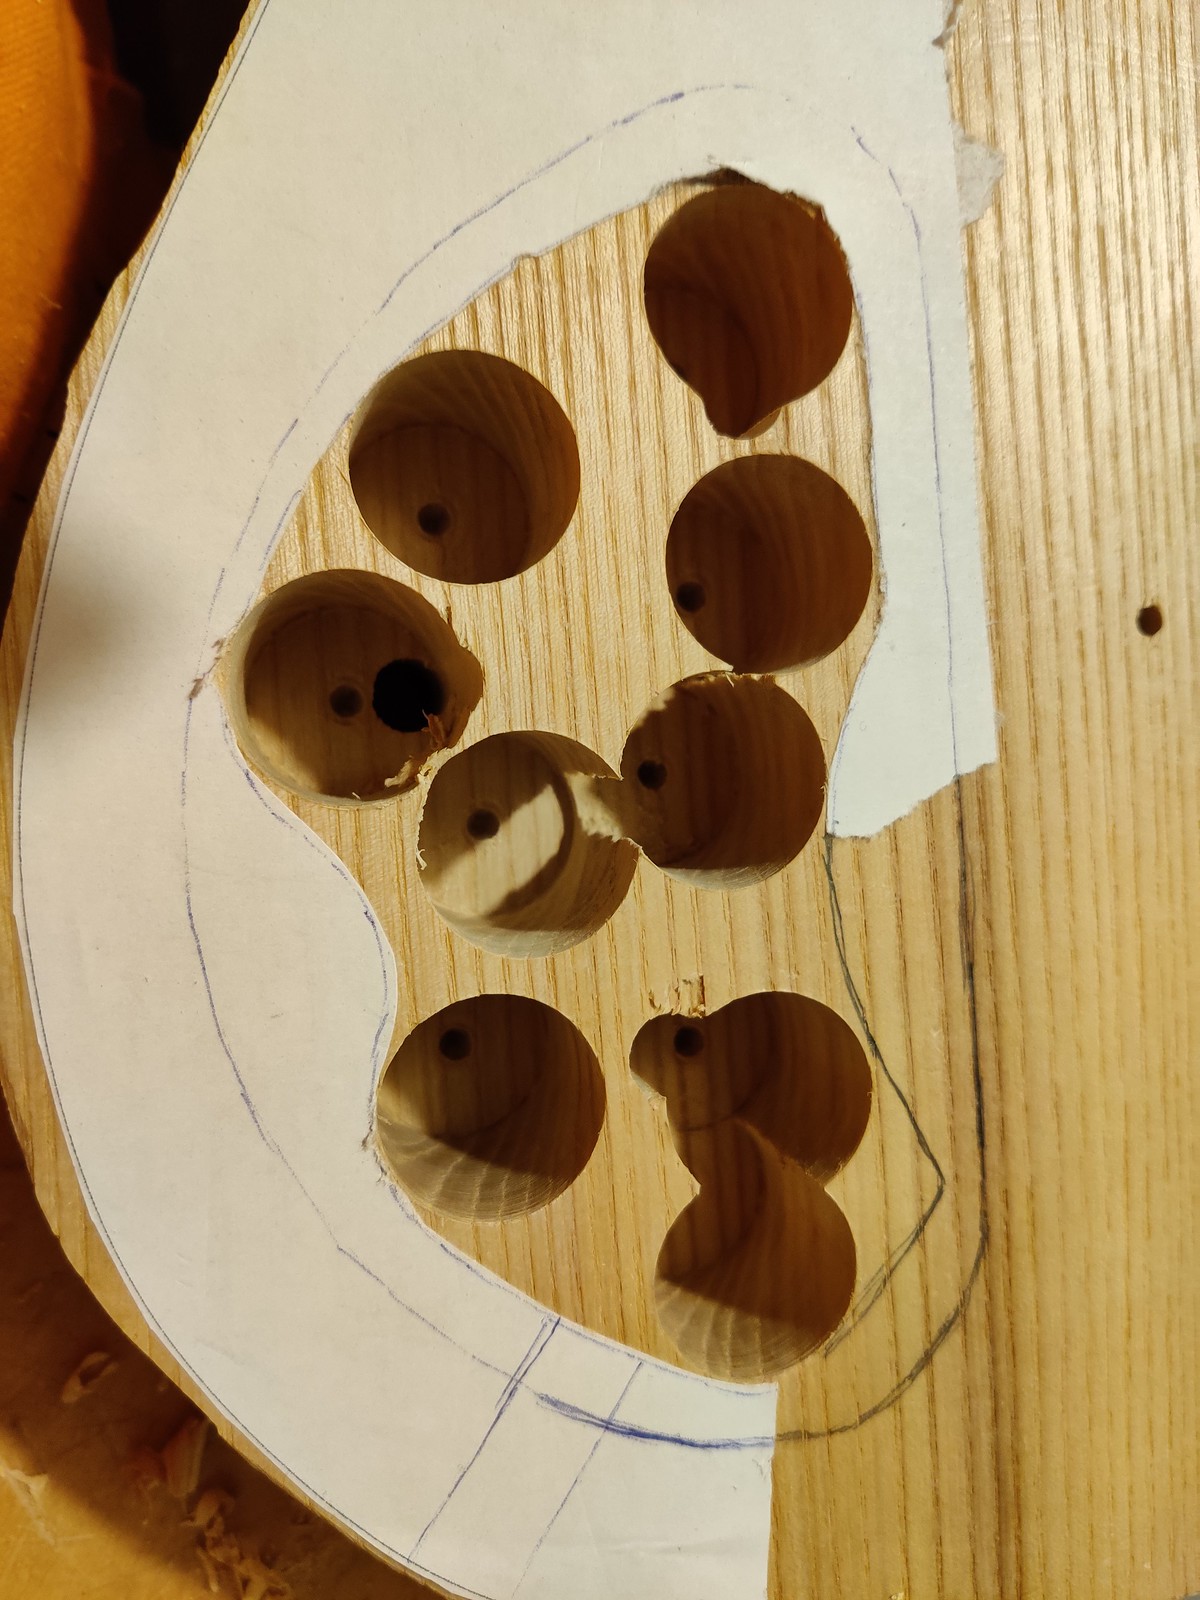
After gaining some confidence in my router abilities, and filling my workshop with dust, I decided to cut the bridge pickup cavity. As is perhaps obvious from the photo, i removed some material with a Forstner bit first9.
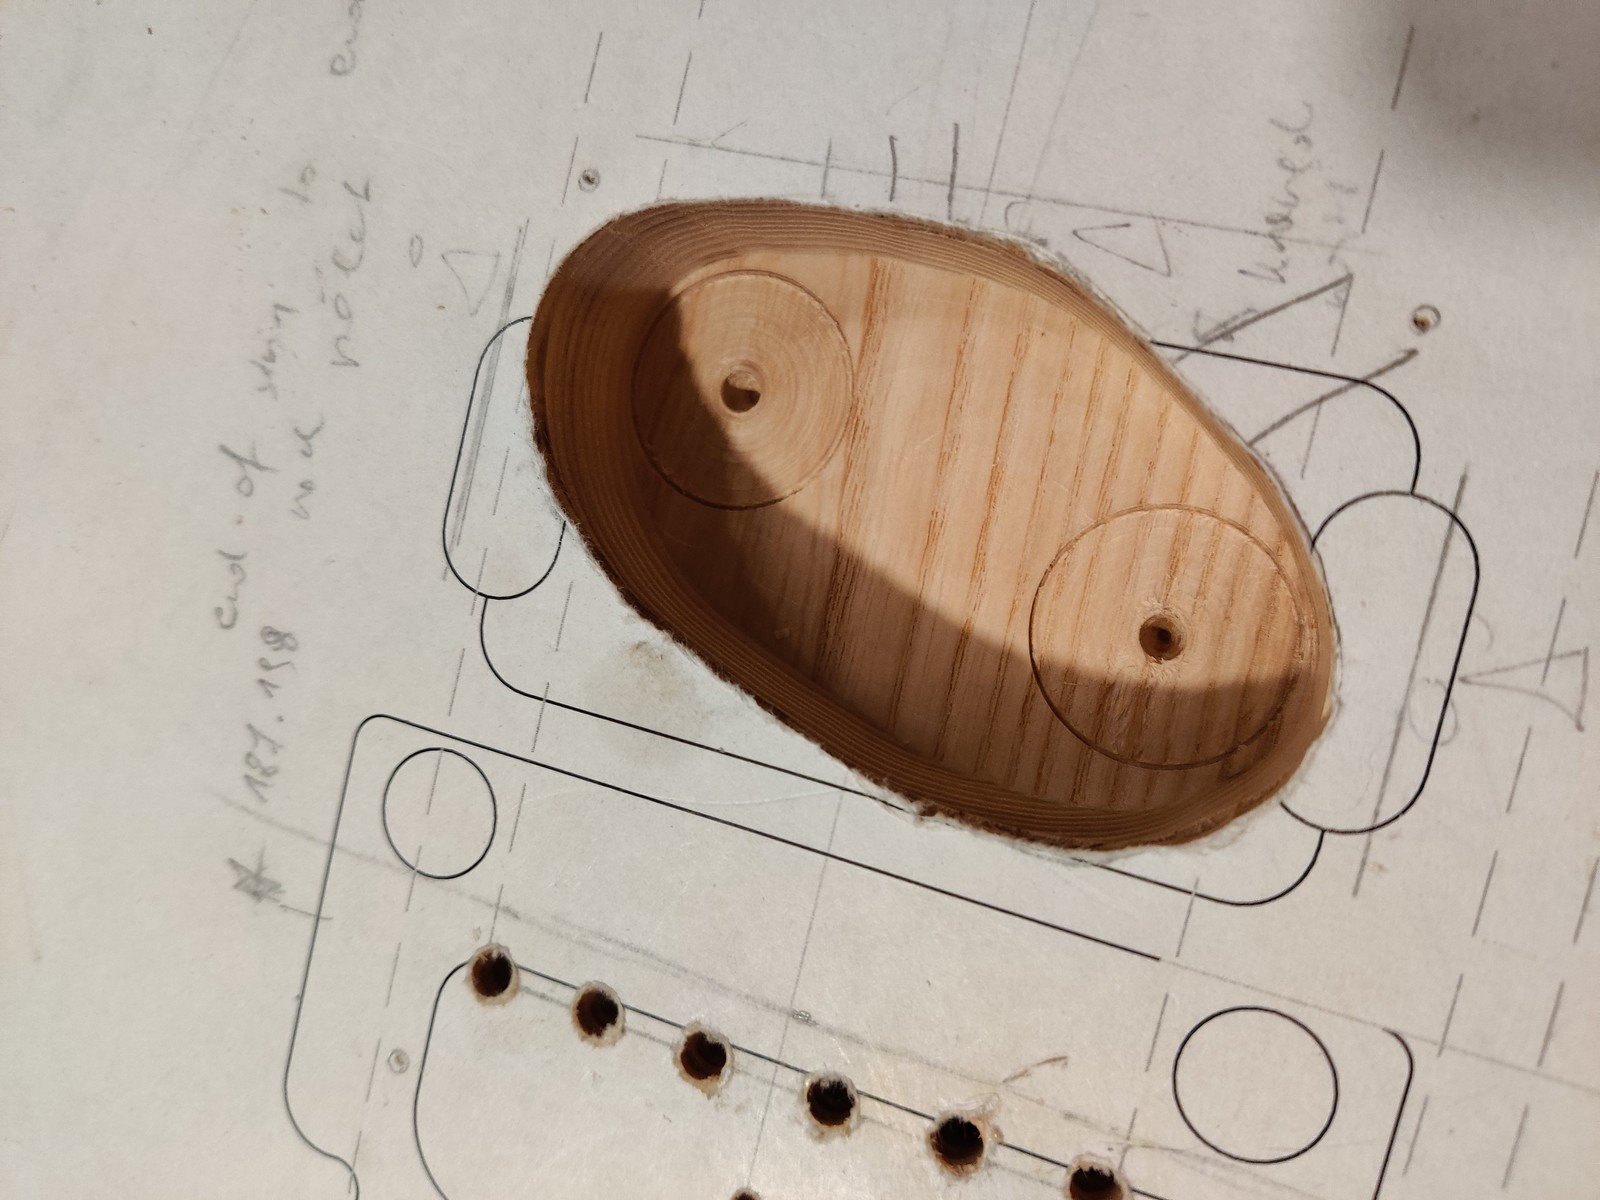
As mentioned it’s good to have all the parts at hand to check fitment. I was a bit anxious about having those pickups in my workshop, though (FORESHADOWING).
The electronics cavity was a similar deal, but my router wouldn’t go to the necessary depth. Time for plan B.
2023-01-18
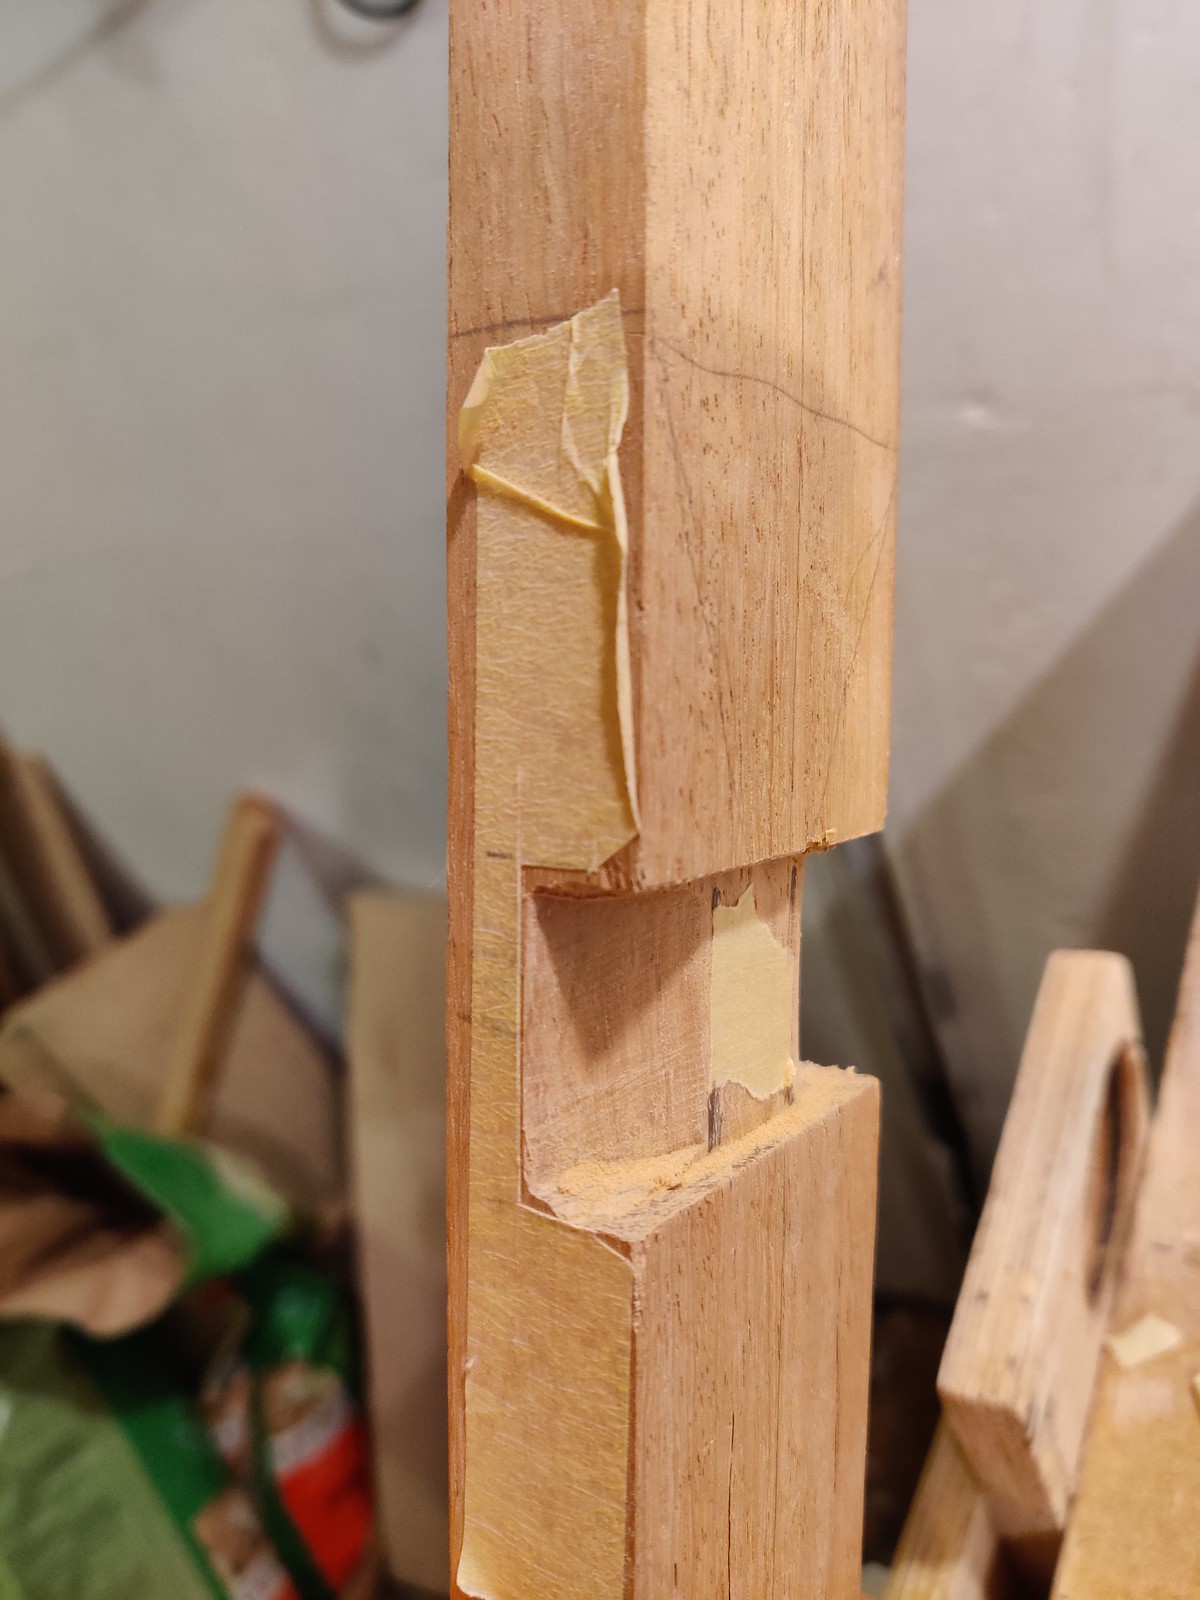
The day I’ve been dreading - fretboard separation. Not much to say about it, really, other than the constant nagging feeling that I’m destroying my entire project.
Overall it wasn’t too bad, but I’ve also managed to unglue one of the binding sides. Oh well, necessary sacrifices, I guess.
2023-01-28
I’ve glued it back together after a while. Having to fight the binding really slowed the process down. I still had some minor gaps visible on the side, but they could’ve as easily been just Wenge porosity; at least that’s what I told myself. In any case, it was much better than before and ready to move on.
2023-02-03
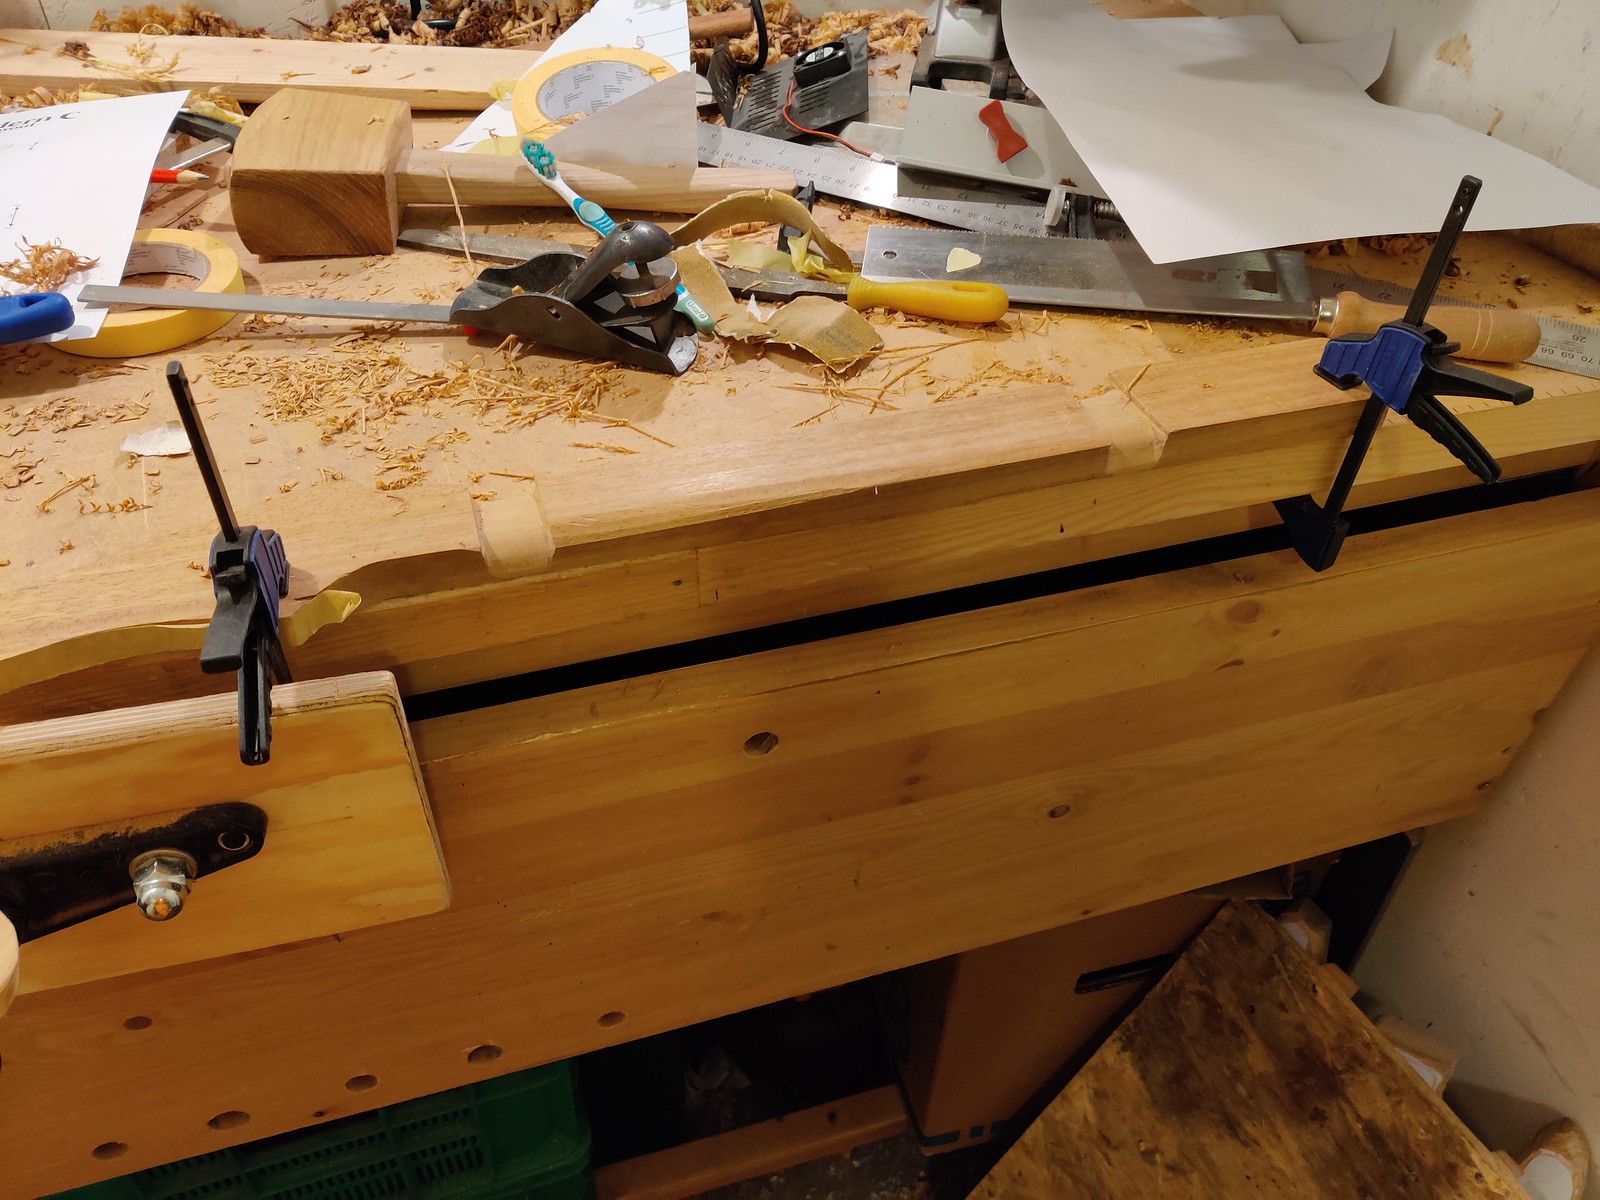
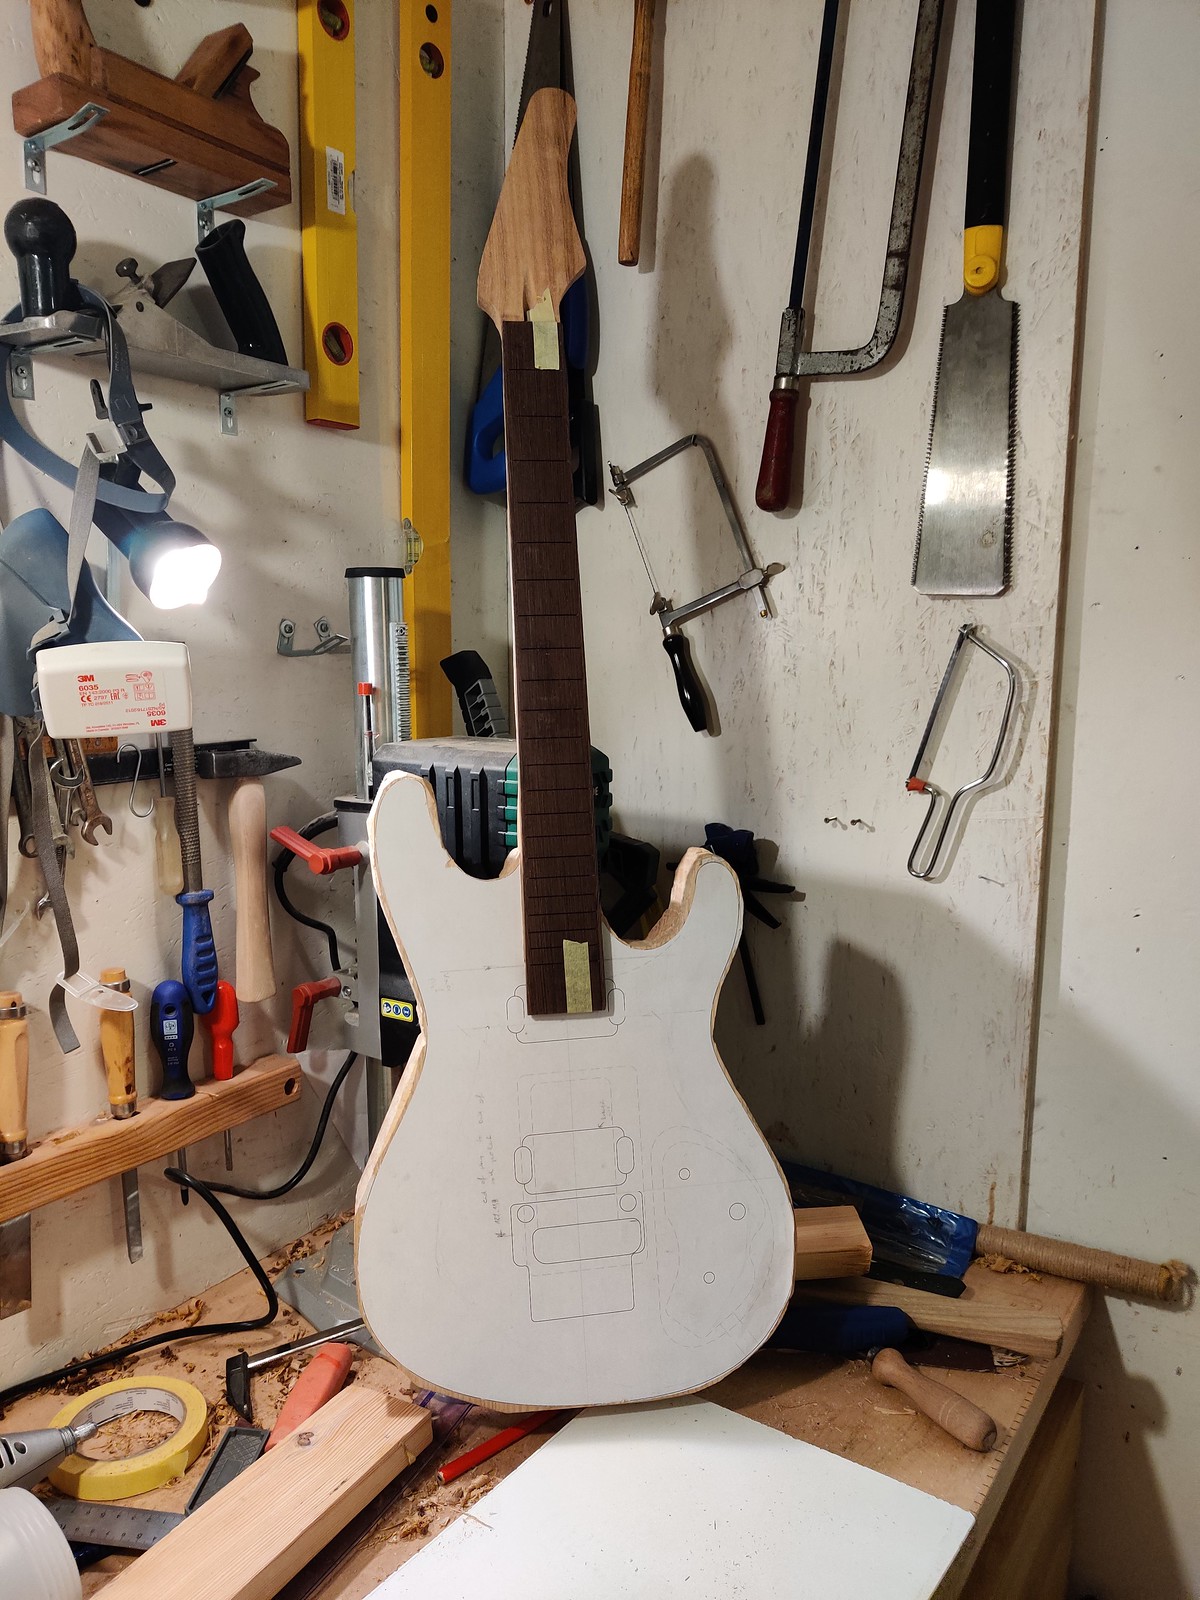
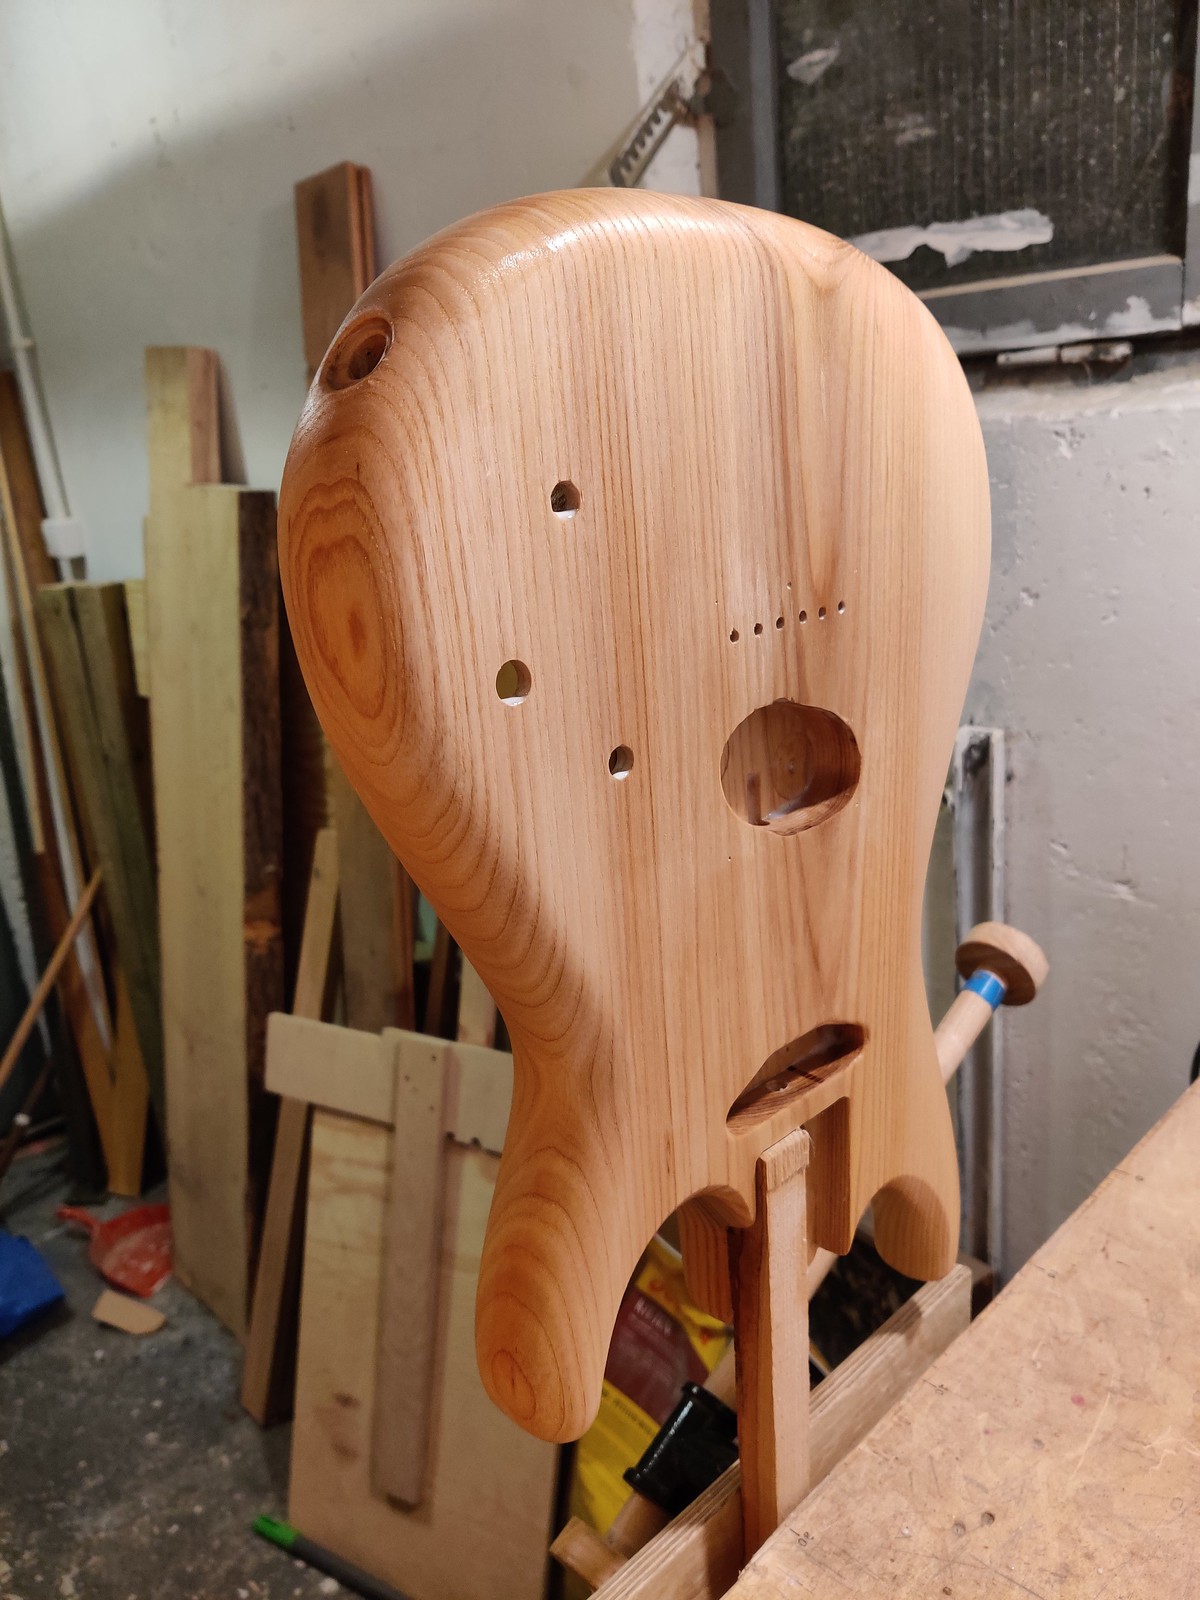
February officially marks the fourth month of working on this project. I’ll admit I started to feel the effects of it already - I was plainly getting tired. My biggest fear was that I’m putting so much work into something that will be at best a wall decor. Shaping the body into the actual, nice, rounded shape was definitely satisfying though:
I also did some playability tests, and they seemed promising. Not sure how I didn’t catch that neck volute shape making it really hard to access the upper frets, though. Another case of “live and learn”.
2023-02-09
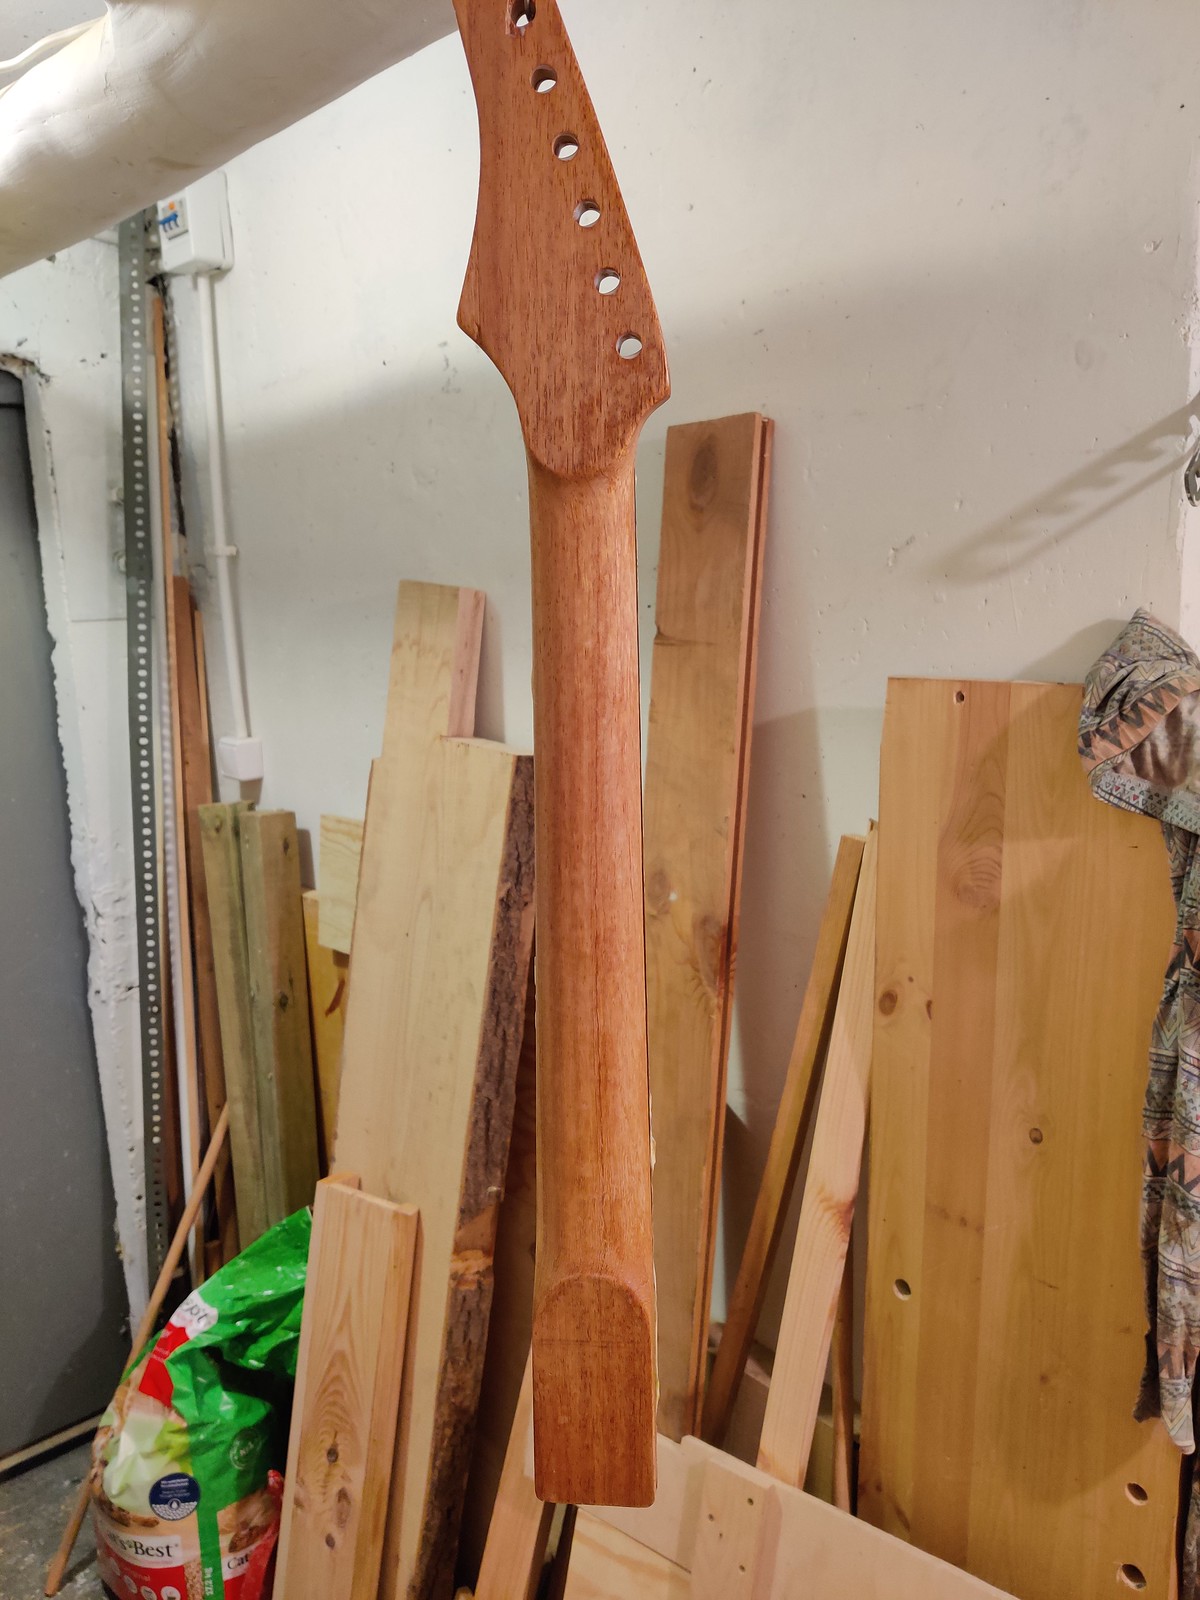
I was working on and off on the neck in the meantime, and at some point figured I won’t make it any better, so I just varnished it, sealing the deal.
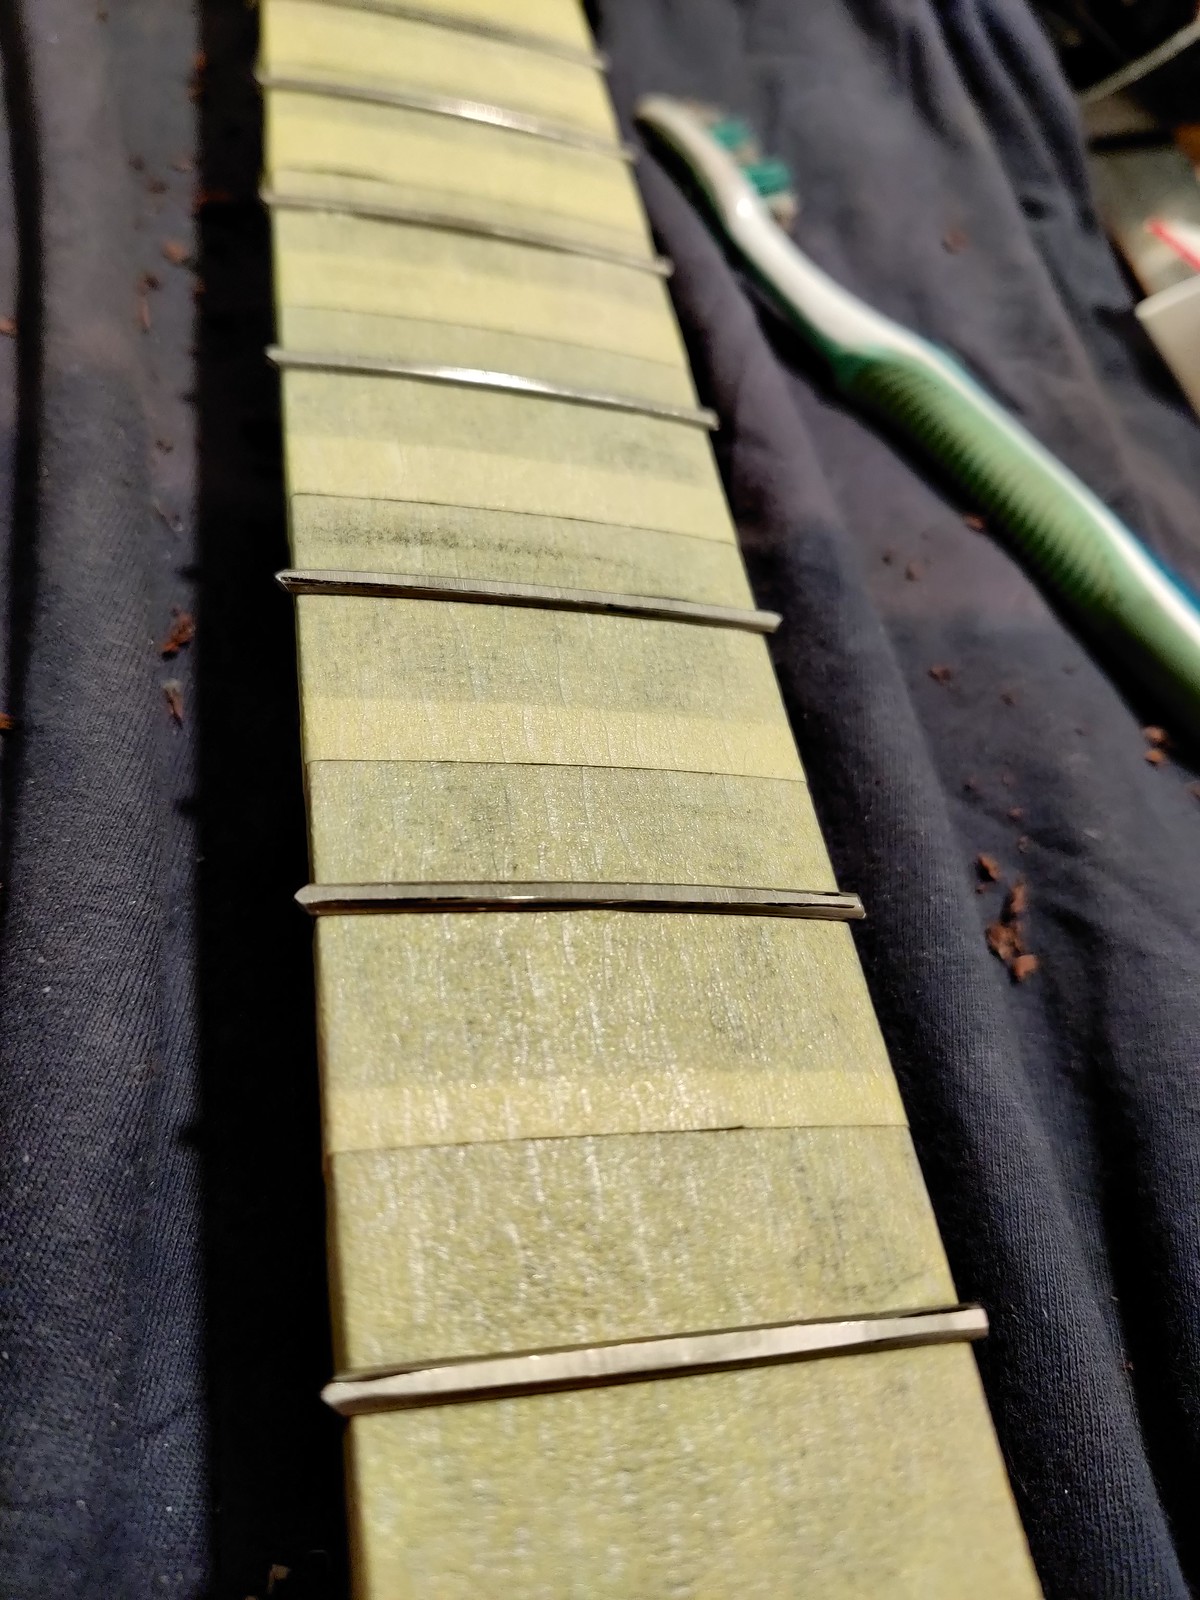
2023-02-12
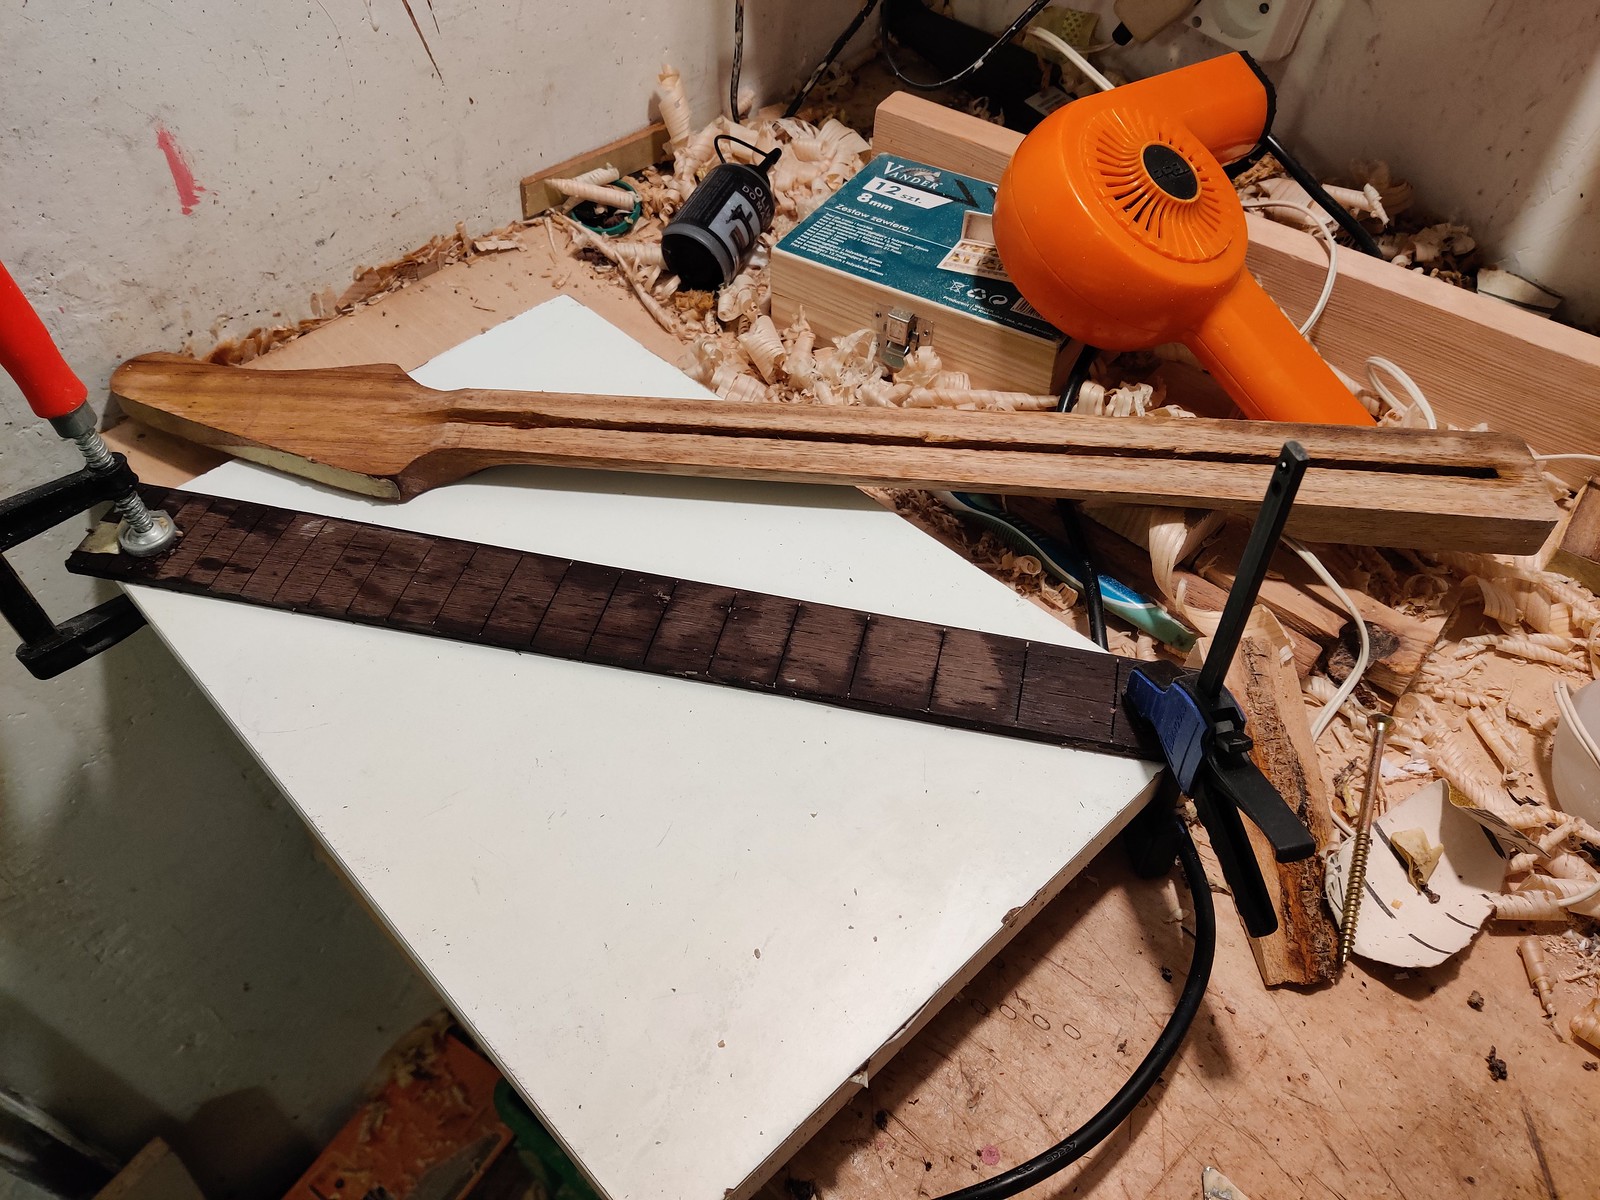
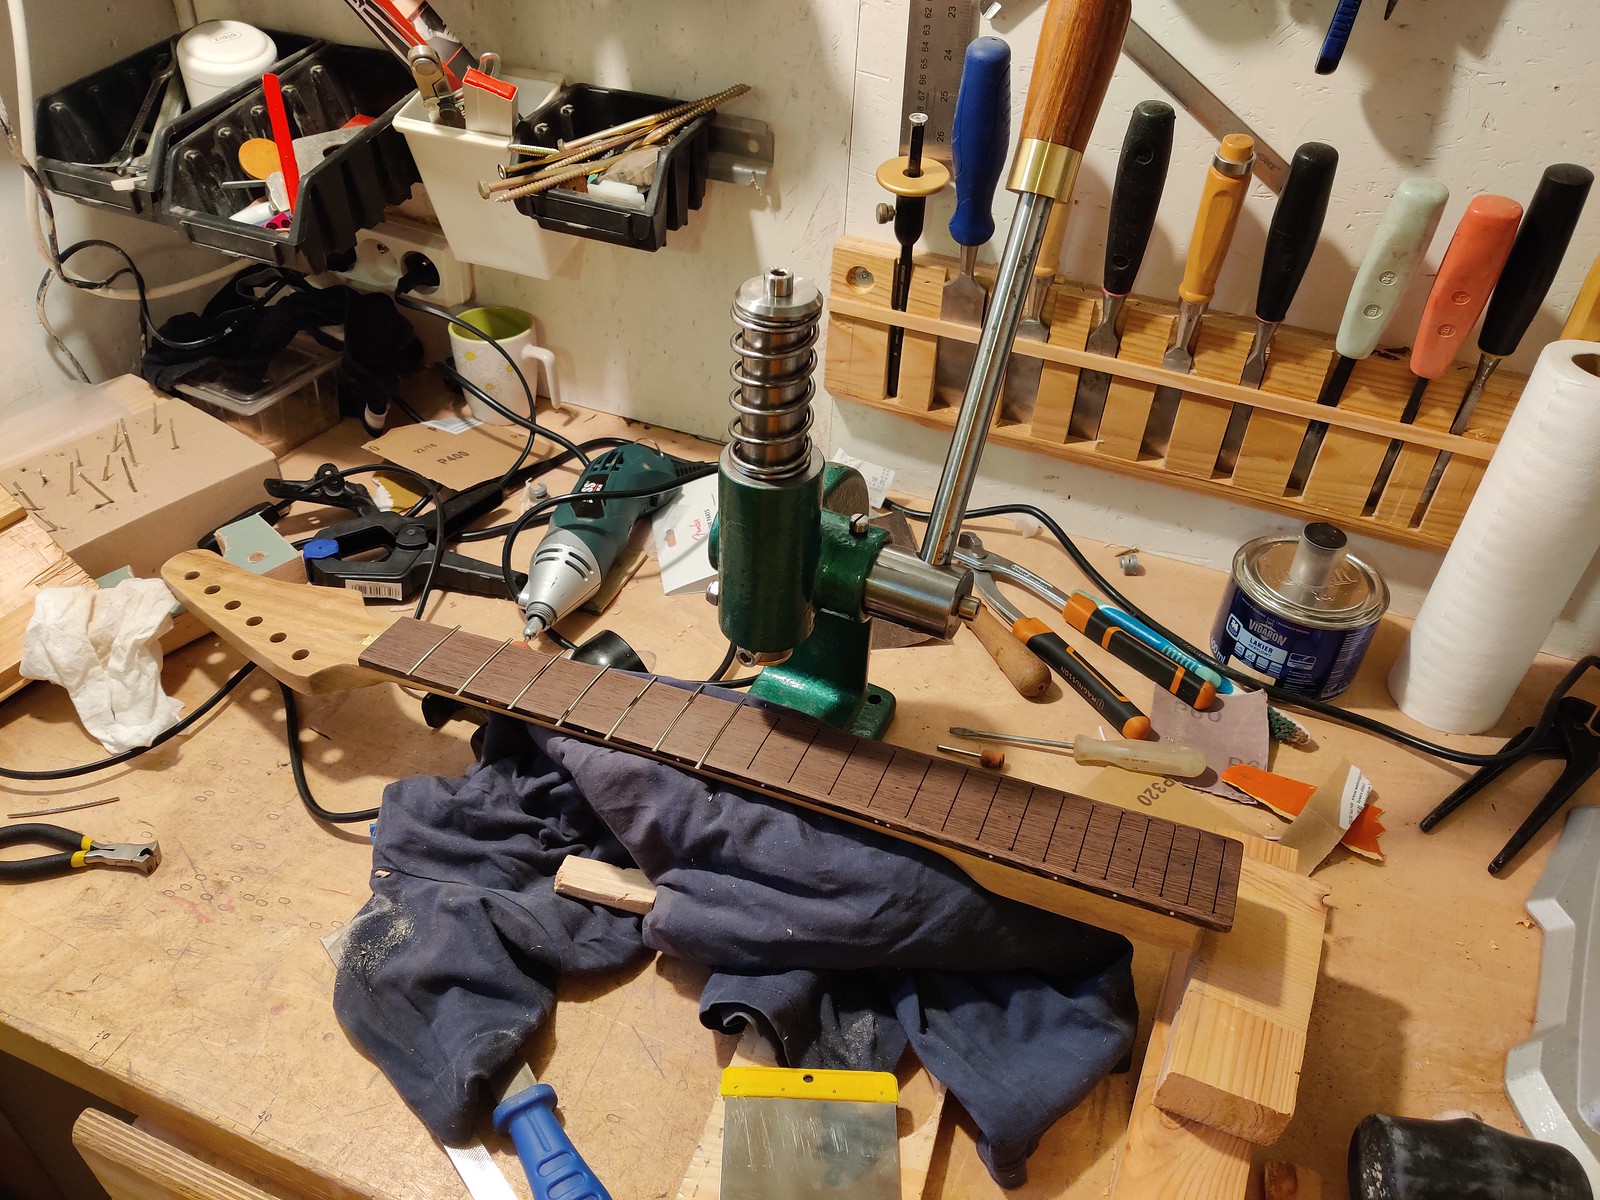
Put the frets in what seems like an eternity, but it was just a week ago from when I’m writing this. Crazy. I’ve made an absurd amount of mistakes during that; this is really luthiery, not woodworking, so we can safely assume my previous experience was exactly 0, and no amount of YouTube tutorials will remedy that. At the end of the day, the important part is that they were in solidly.
2023-02-11
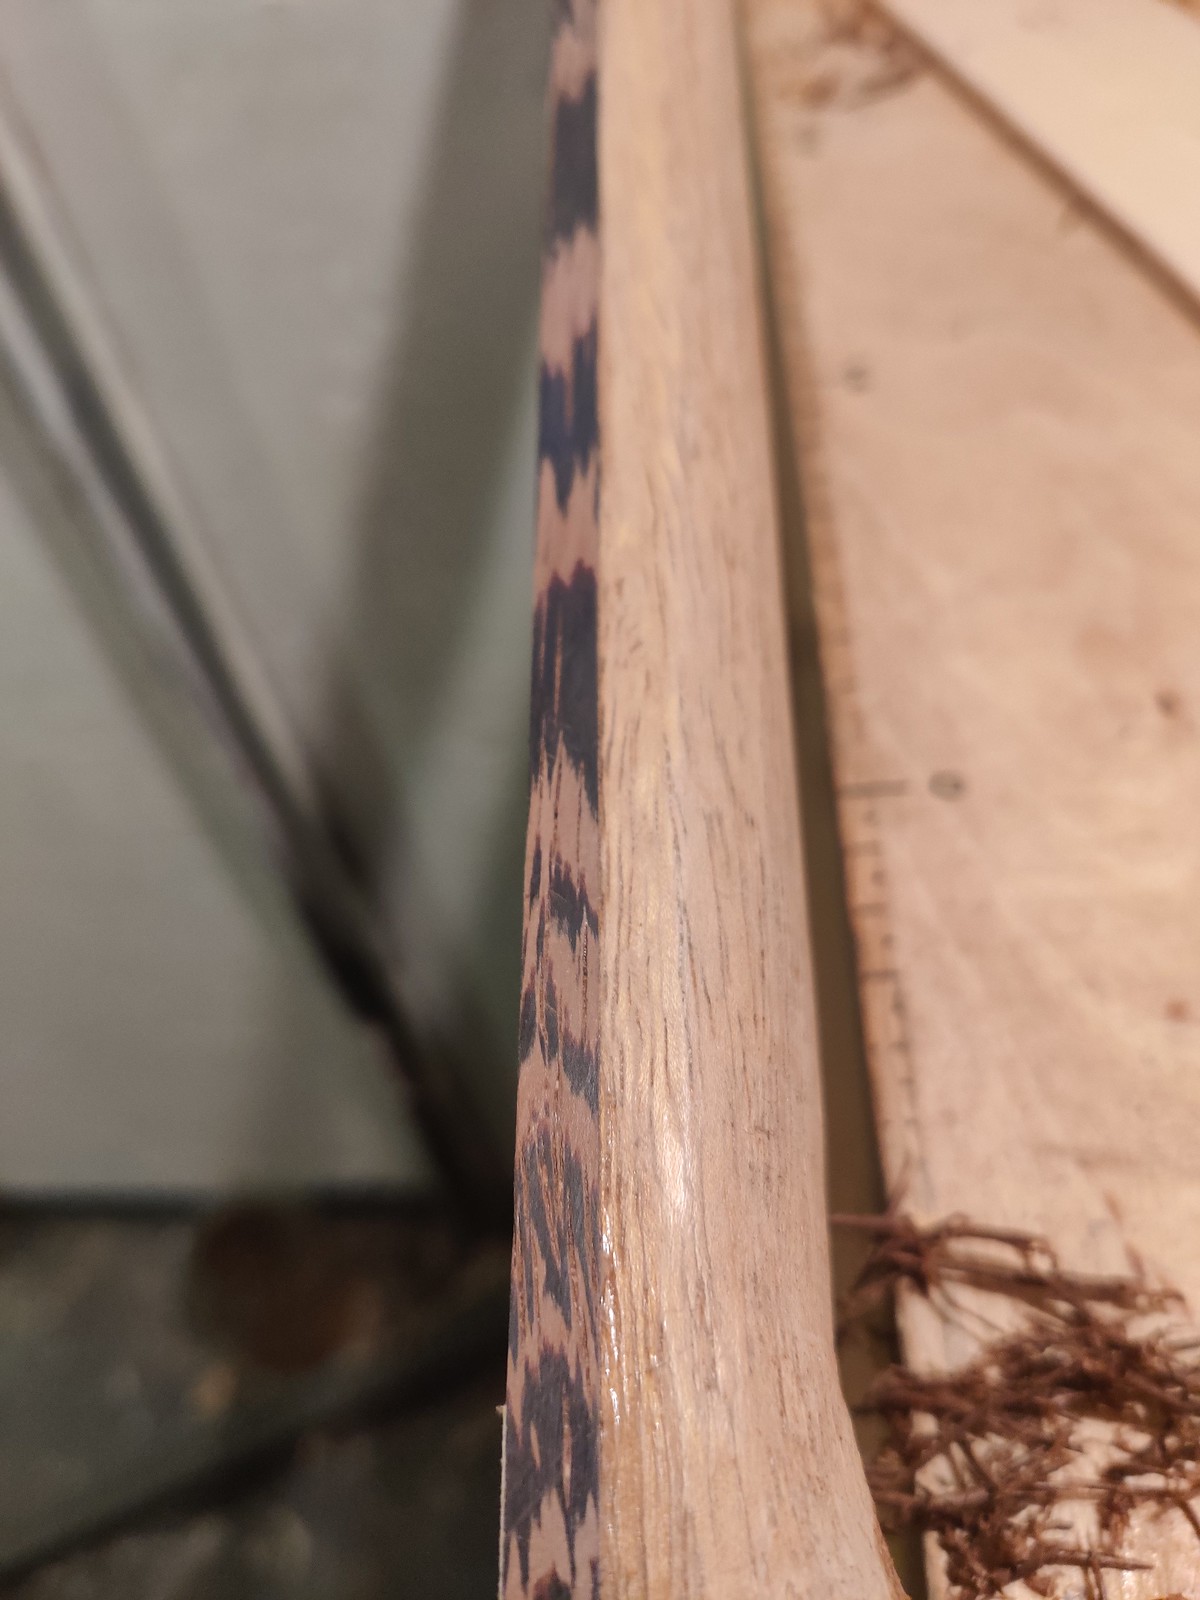
Side dots! Guess what they’re made of11.
2023-02-12
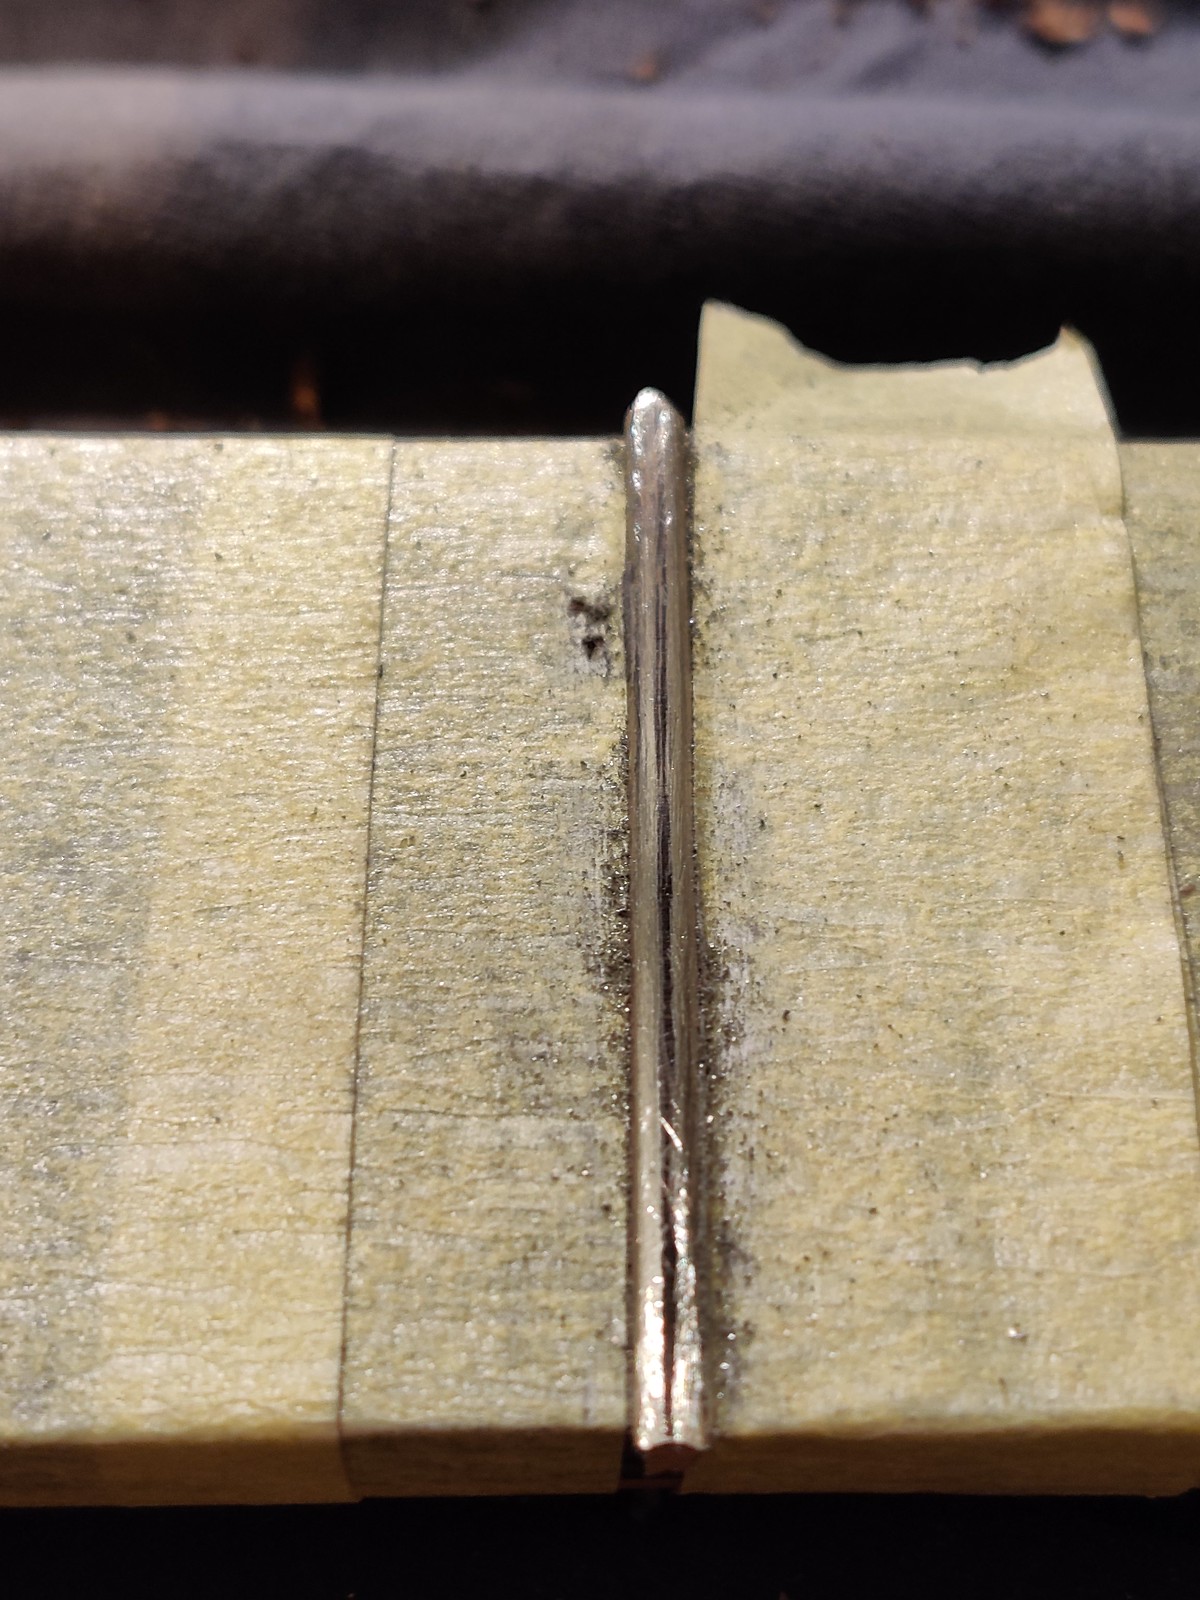
Leveling and dressing went quite alright for the first time, I’d say. The frets ended up a bit scratchy and rough, but they’re quite even. Considering how badly the pressing part was done, it’s a small miracle. My DMT diamond plates certainly helped here, they make excellent flat surfaces for leveling. I’m finding more and more uses for this tool, one of the best buys and worth every penny.
I would definitely consider investing in a StewMac’s Z-file if I were to do this more often. Doing dressing with a regular triangle file isn’t much slower at first, but the cleanup afterwards is horrendous. Every time my hand slipped, it left a gouge at the top of the fret which is really annoying during playing, if not correctly polished out.
2023-02-13
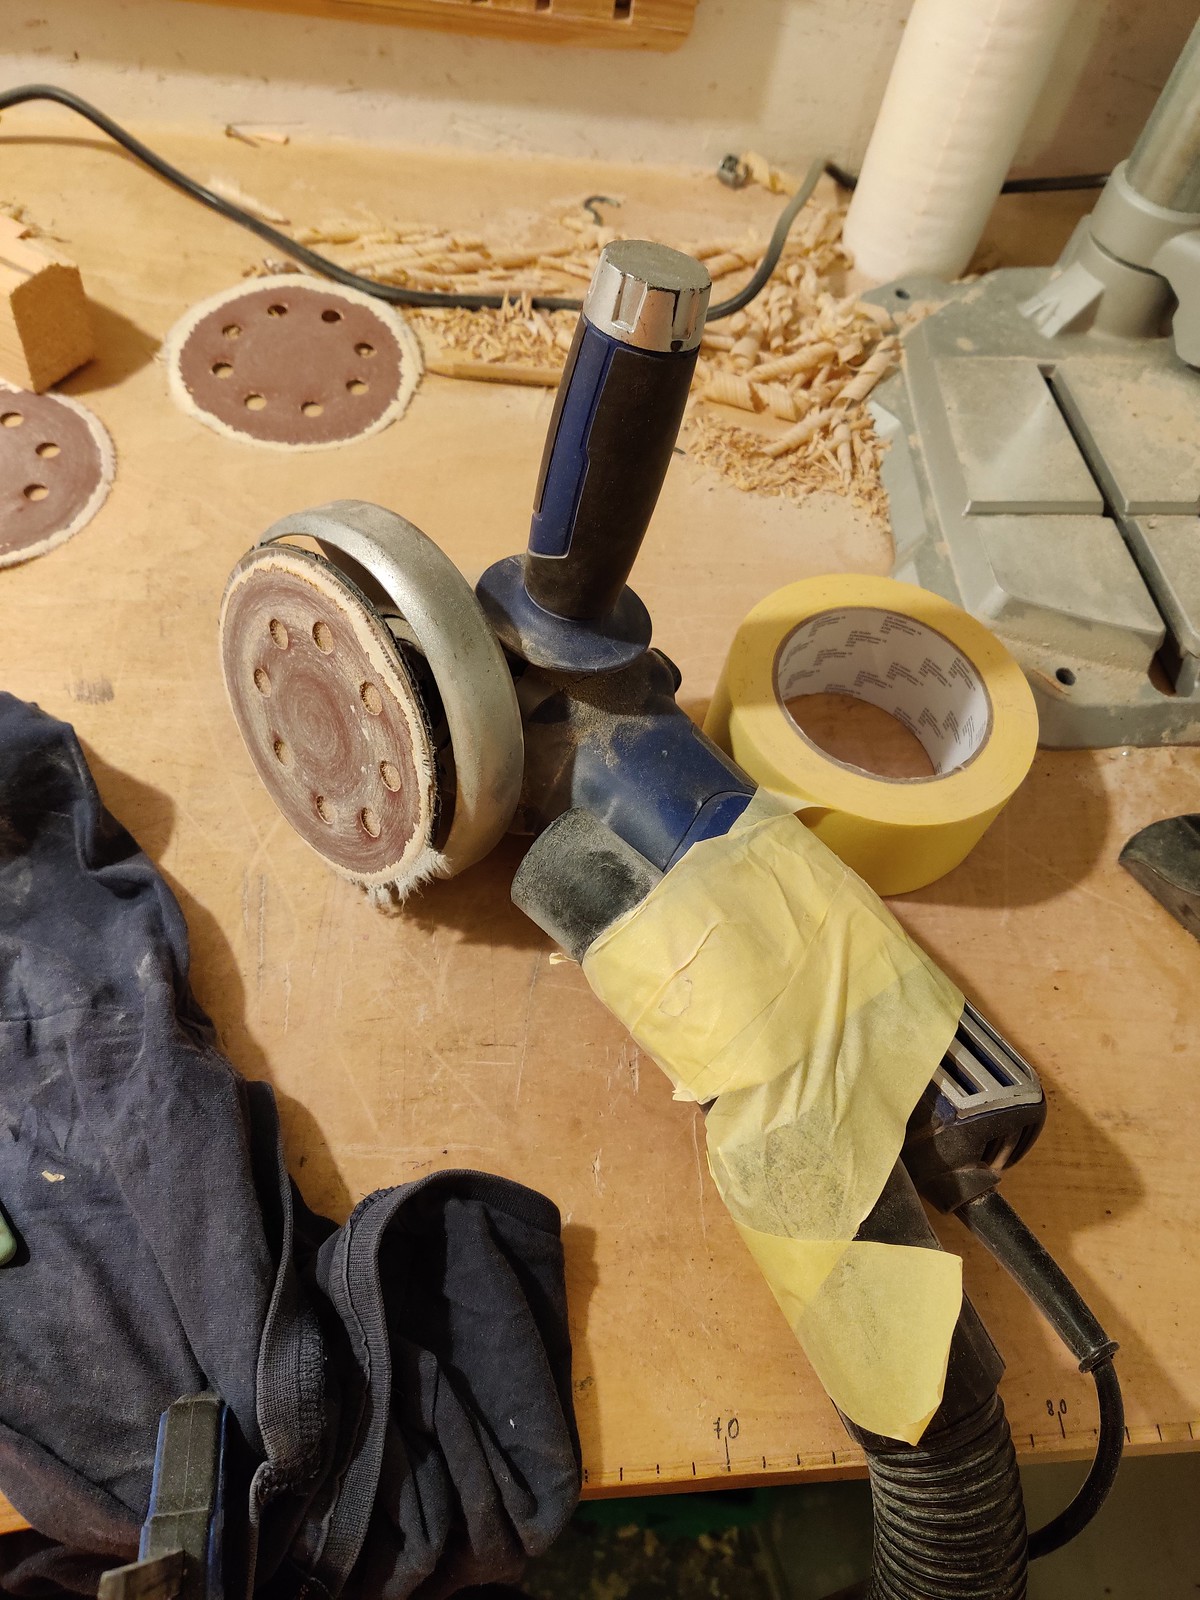
Can you tell that my patience started to run thin? Gosh, is that a terrifying tool. What it’s good at, though, is hogging a lot of material fast - and leaving reasonable finish, providing you’re extremely super careful not to tilt it. Compared to a random orbital sander, it will scratch, gouge and destroy your workpiece if you as much as blink wrongly during operation. I think it’d be much better during earlier stages with a carving disk on it. That being said, I don’t own a carving disk or an orbital sander, so I’m sticking to the tools I have.
And taping accessories to weapons is pretty cyberpunk, right?12
2023-02-14
A scraper was one of the tools I was supposed to buy before starting this project, but I either forgot or it was out of stock. The improvised one worked quite okay, but I’m still bad at sharpening scrapers. I wish Rex made a video about this.
2023-02-17
4 days of sanding later, we’re ready for varnishing. I chose perhaps a bit controversial but IMHO very effective Vidaron varnish13. Click the footnote for nerdy details. The process itself was rather uneventful.
2023-02-18
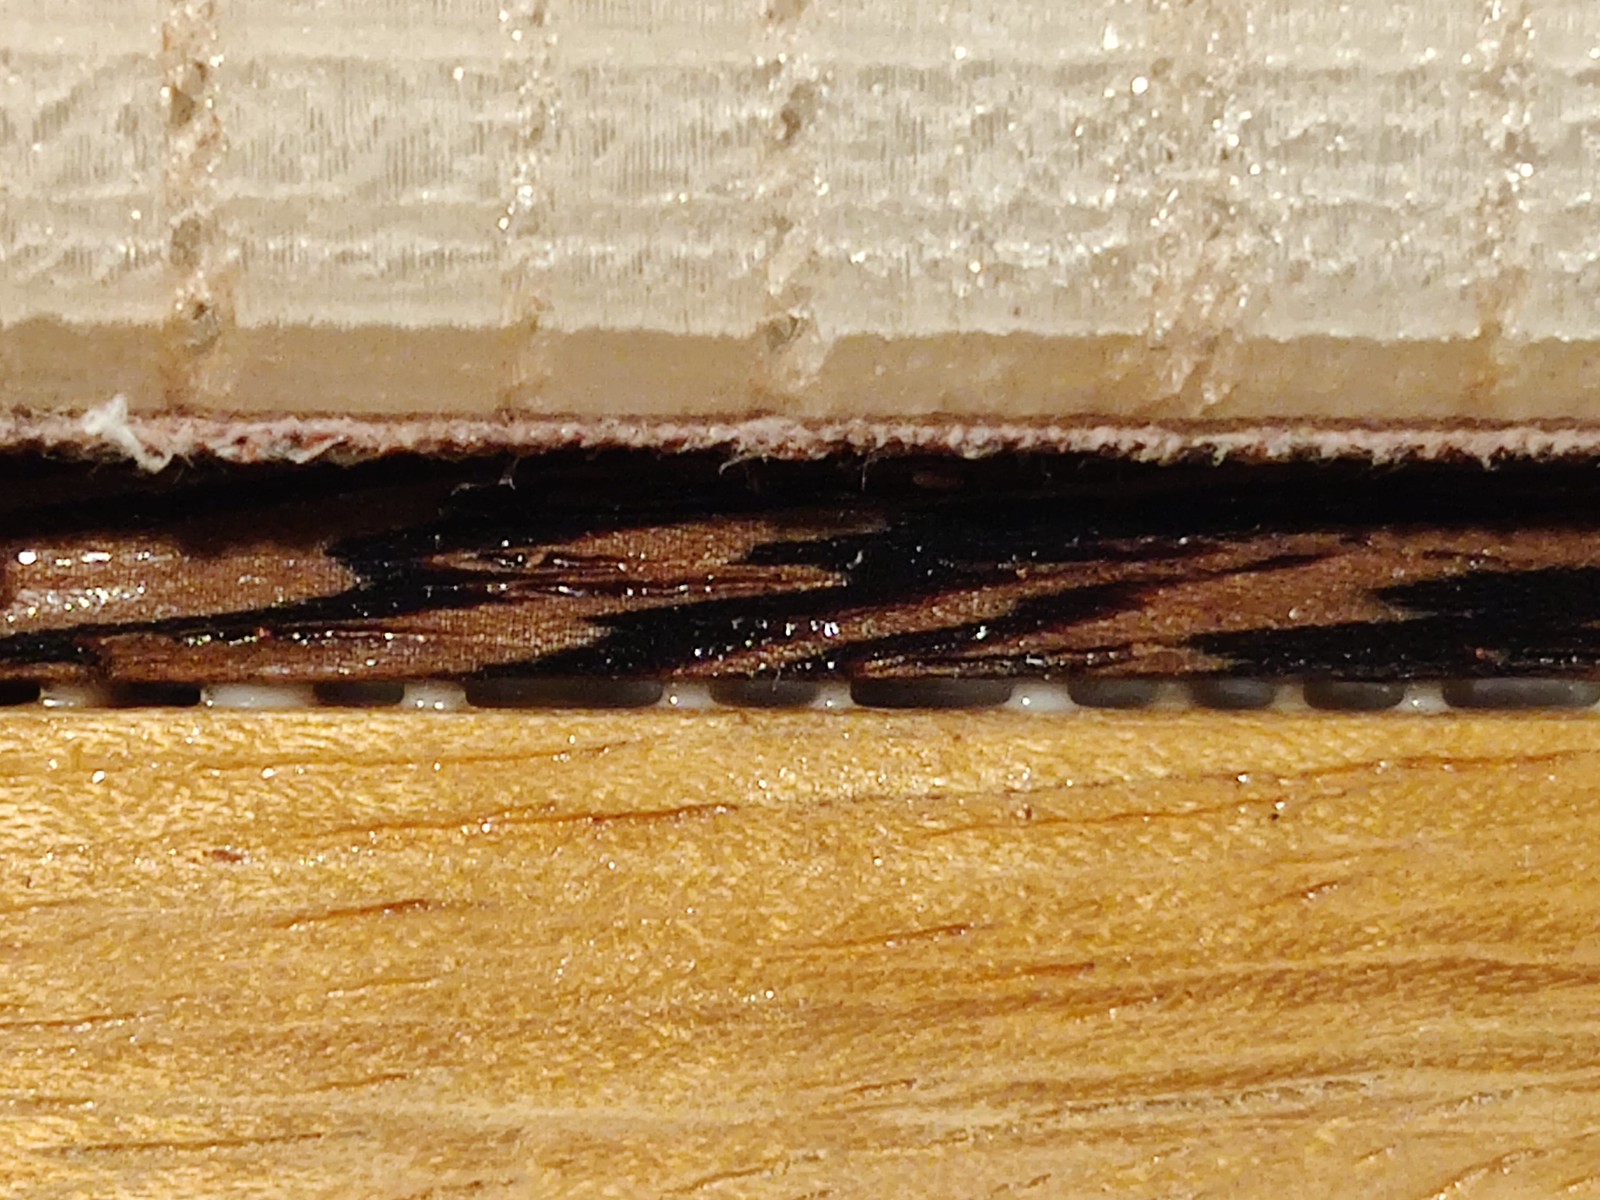
At last, four long months later, we’re ready for assembly and the biggest disaster of the entire project. I’m writing this at 2AM and need a break though.
Parts list
Wood-wise, a guitar can be made with as little as two pieces of wood, though that number can be much higher. The body on high quality instruments is typically made from a slab cut and glued back flipped in a process called bookmatching. This counteracts the twisting motion of the pieces and makes the wood more stable. Less expensive instruments are often joined from three or more parts, which disappears under thick finish.
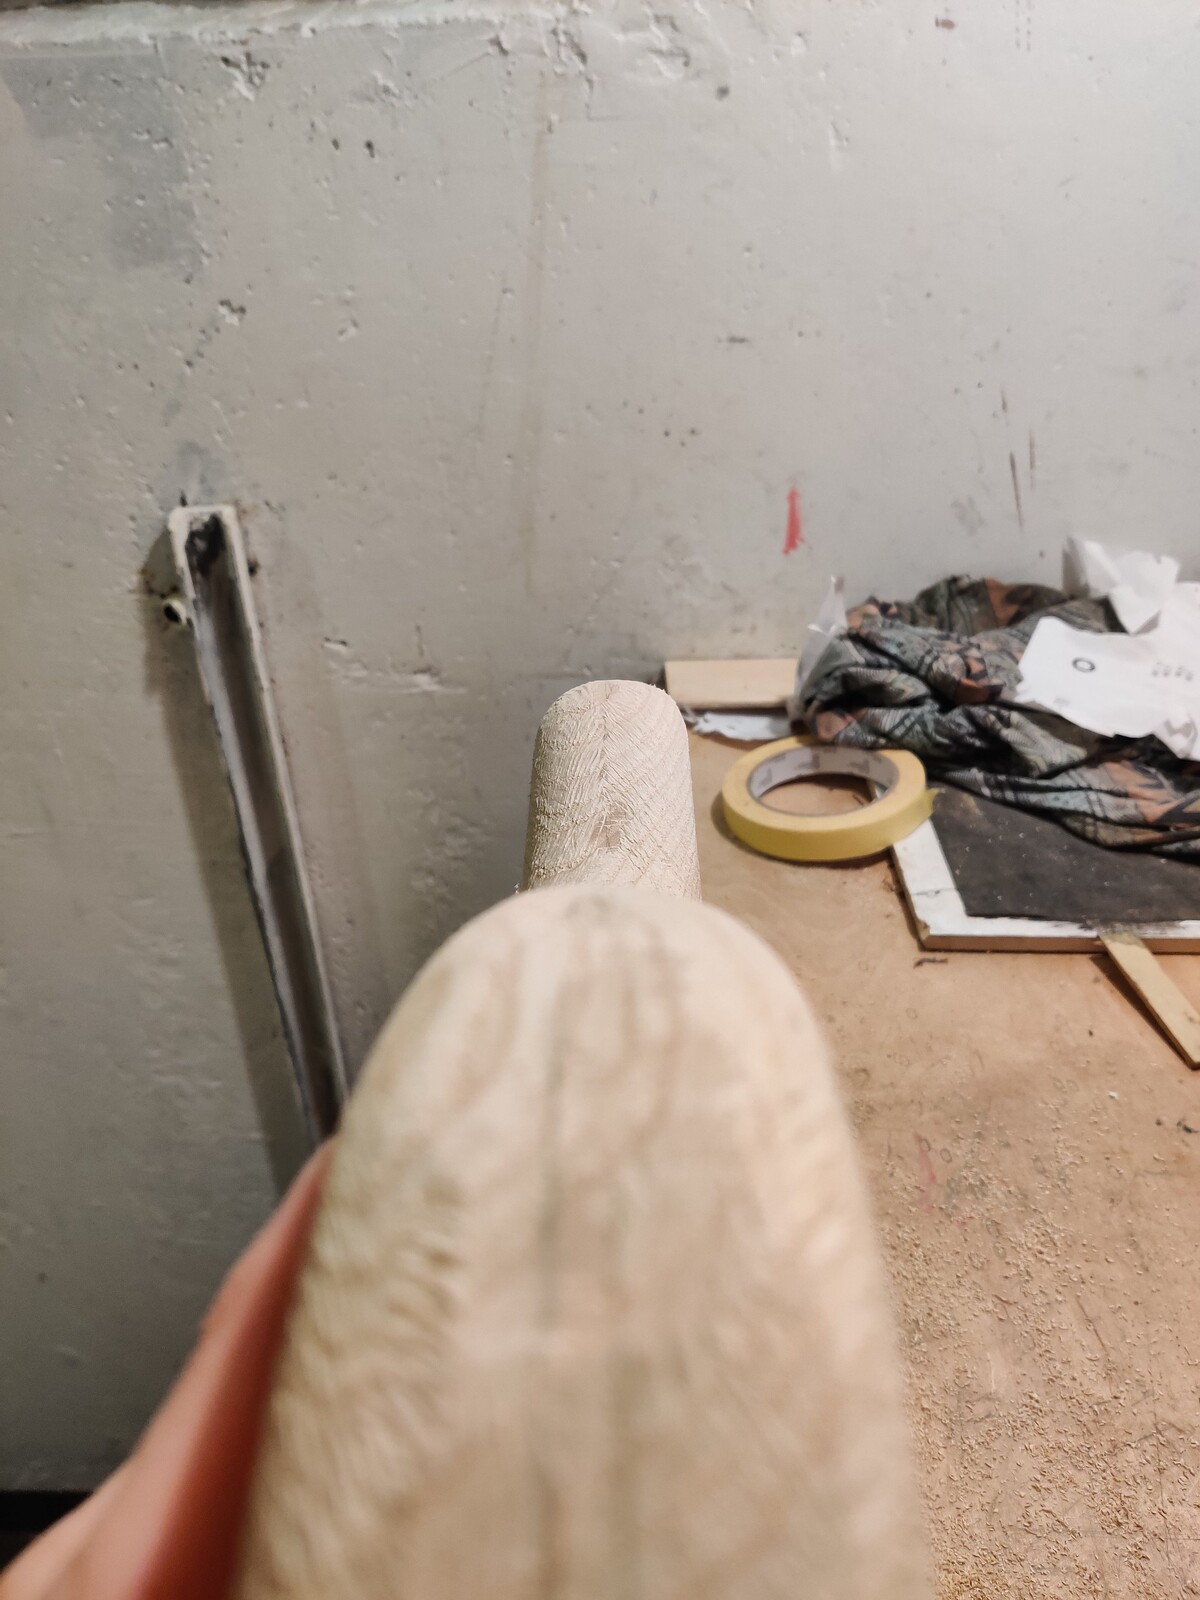
I wanted to use my mystery wood for the neck; after some quick planing, I’ve identified it as some kind of (likely African) mahogany, which meant I’ll need something harder for the fretboard. I had some Wenge offcuts which I hoped will be large enough, but they were ever so slightly too narrow. Thankfully, I found a great solution; inspire by the Hand Tool Builds ADDLINK channel, I decided to simply bind the sides to add the necessary thickness. With 3mm thick binding, I’d still have room to remove material for jointing, so that seemed ideal (FORESHADOWING). Of course the whole idea of building a guitar with only hand tools was very appealing to me, not just because i liked it, but because I don’t have many power tools in the first place.
I decided to order all other parts in bulk from GuitarProject.pl ADDLINK. Here’s a complete parts list with prices at the day of purchase (all prices in PLN; divide by 4 for rough conversion to EUR/USD).
| Part | Price | Translation |
|---|---|---|
| Dwustronny pręt regulacyjny GOELDO WS48G (460mm) | 59.00 | truss rod |
| Mostek do gitary BOSTON T-66 (BK) | 99.00 | bridge |
| Wkręty mocowania gryfu GOTOH TS-03 (BK) | 13.00 | neck screws |
| Płytka mocowania gryfu VPARTS NP-01 (BK) | 13.00 | neck plate |
| Docisk strun GOTOH RG30 (BK) | 15.00 | string puller D&G |
| Docisk strun GOTOH RG15 (BK) | 15.00 | string puller B&E |
| Potencjometr CTS/Allparts 250K audio no-load (std) | 32.00 | tone pot |
| Potencjometr CTS 250K audio (std) | 34.00 | vol pot |
| Struny ERNIE BALL 2221 Nickel Slinky (10-46) | 34.00 | strings |
| Metalowa gałka na śrubkę FRAMUS (BK) x2 | 32.00 | knobs |
| Cylindryczne gniazdo jack mono VPARTS EJ111 (BK) | 22.00 | jack socket |
| Progi FENDER 0991998000 medium-jumbo | 79.00 | frets |
| Tulejki strun do gitary BOSTON TB-05 (BK) | 20.00 | ferrules |
| Grafitowe siodełko szyjki VPARTS VNT042 43x6x9 BK | 8.00 | saddle |
| Przełącznik 3-pozycyjny VPARTS TG-30 (BK) | 32.00 | switch |
| Zaczepy do strap-locków BOSTON (BK) | 8.00 | straplock pegs |
| Klucze do gitary VPARTS VG-07 (BK, 6L) | 99.00 | tuning machines |
Not gonna go over every single choice here - I went for budget parts where i felt it didn’t matter, buying brand stuff where it was affordable. I don’t really like EB strings, so I chose them simply to not be sad if I had to take them on and off a couple times during initial setup. I recommend Elixir Nano- or OptiWeb instead.
Notes
-
The reason for that arrangement is pretty fun, actually. Original two-humbucker (or rather, two-full-size-humbucker) model only had 22 frets. This obviously wasn’t enough for Joe at some point, but he didn’t want to sacrifice the tone provided by placing the pickup right next to the guitar’s 4th harmonic point (24th fret is exactly between 12 and the bridge). By shrinking a humbucker into a singlecoil shape, it could be placed much closer in its entirety without sacrificing the tonal qualities. ↩
-
Especially considering that early tele pickups were body-mounted, and had no pickguard holes. This made adjustment a royal pain, so moving the pickup to the pickguard was one of the earliest (of many) tele mods. ↩
-
The outer outline of the body shape is exactly the same as on my beloved S-series; or rather I should say that S is the same as the JSX, which is the same as earlier Radius model. JSX is very heavily based on the Radius, but I believe it differs by slightly asymmetrical cross-section; don’t quote me on that, though. ↩
-
A perk of using A3 paper is that it barely fits a 25.5” (647.7mm) fretboard in its entirety. ↩
-
If it looks like a regular saw mounted the opposite way to pretend it’s a Ryoba, that’s because it is; the only reason it exists is because my partner was conducting ergonomics research as a part of her Industrial Design studies and it was a prototype/showpiece. It was never meant to be used to cut anything serious, but the teeth pitch, the ability to sharpen it properly because of the lack of hardpoint and pull-configuration mounting made it my best precision rip-saw. Hey! And I think the rust actually made it bind in the cut less, so… ↩
-
I think I used the drill press to make cutting contours on the body easier. Could be done just as easily with a hand crank, though, assuming I had one. ↩
-
Do you think I could do macrophotography? ↩
-
A good idea, IMHO, is to leave the neck overhang in the body a bit oversize. That way you can route the entire thing having support for the router plate at all sides, and then just cut off the excess. It’s less of an issue if you have a rigid template, of course. ↩
-
Another skill that the project taught me was sharpening the Forstner bits. I own an inexpensive set from Lidl, and similarly inexpensive drill press, and sharpening made all the difference. With a dull bit, the press was struggling with a 25mm hole; after I sharpened them on my diamond plates, it cut with the 30mm like butter. Perhaps the biggest difference was that it was actually able to take a much finer cut, thus reducing the pressure needed and heat buildup. ↩
-
I said I didn’t buy any luthiery tools and I didn’t lie; this is my partner’s press, and it’s for leatherworking, not guitars; duh! ↩
-
It’s 3D printer filament, of course. I had to slightly sand a 2mm drill to make a better fit for the 1.75 plastic, but with superglue it’s in there solid. ↩
-
Honestly, it didn’t do much. Or rather, maybe it did, but my workshop was (still is) entirely covered in dust anyway. Please don’t use this kind of setup without ear protection and a good air filter mask. ↩
-
I love this stuff. It’s water soluble (all my finishes are, i hate using solvents to clean stuff up), it’s safe for toys (and cat’s chewing on things), applies well with just a brush, dries evenly, and most importantly leaves a very natural satin finish that almost looks like the surface was left completely bare. At the same time, it’s really durable, stain resistant and reasonably inexpensive. For someone looking for a “natural” look, I think it’s a great way to go. ↩